
教程其实是介绍小块的水的制作方法。主要是用加深及减淡工具处理水的暗部及高光,再用滤镜等增加光效,更改混合模式后就可以融入环境
最终效果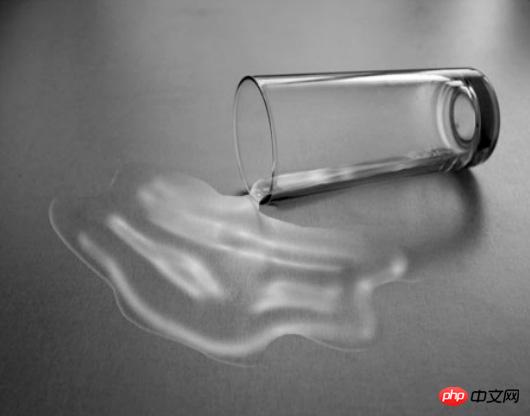
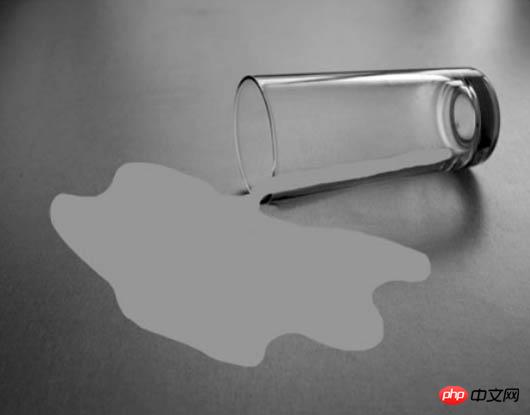
1、打开素材图片。创建新图层,用画笔工具画出液体基本形状。需要圆润一点,画点时间去修饰吧。使用硬边缘笔刷,在杯子中和杯口附近画出液体形状,颜色#848484。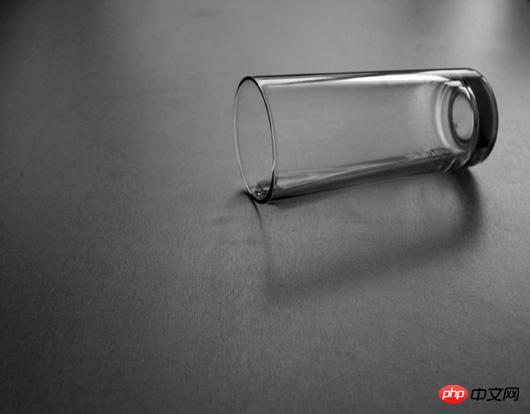
2、减淡工具可以减淡图像色彩,可以用作为形状的高光。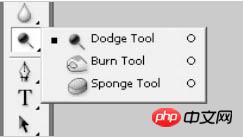
3、减淡工具设置:大小:45px;范围: 阴影;曝光度: 20%。
涂亮后的效果如下: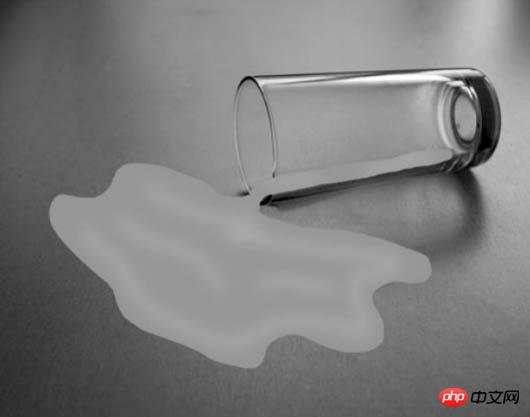
4、使用加深工具加深色彩,可以给形状加入阴影。设置参数如下: 大小: 35px;范围 : 阴影;曝光度 15%。
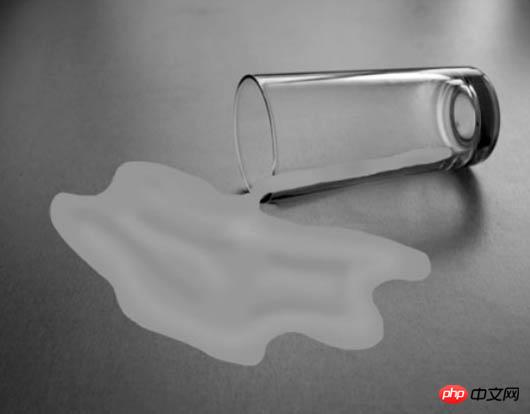
5、现在开始打造液体效果,使用滤镜库>艺术效果>塑料包装:高光强度: 13;细节: 15;平滑度: 14。参数可自行调节。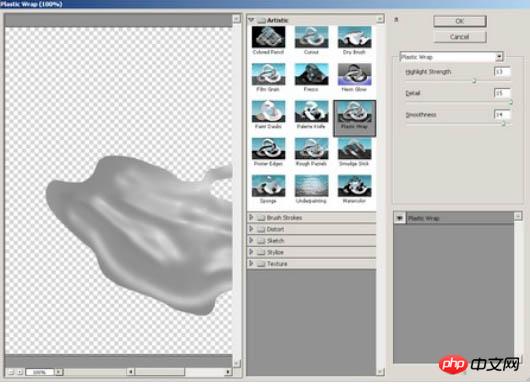
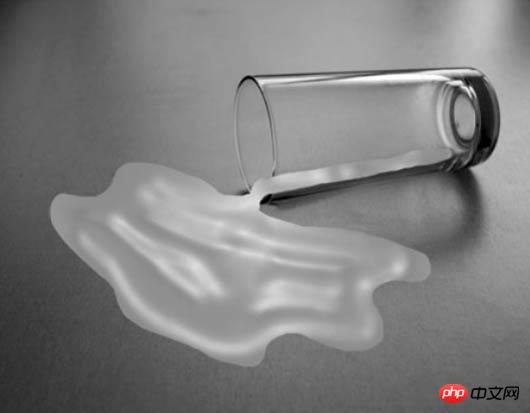
6、可以再进行一点阴影和高光的调整。液体图层,混合模式从正常变为高光。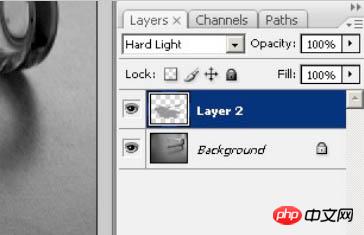
7、移除了灰色,仅剩下阴影和高光。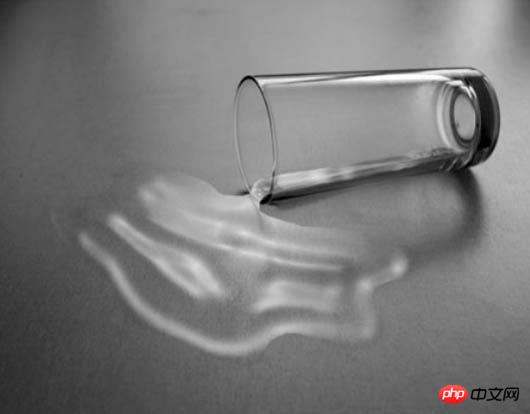
8、进入混合模式,加入斜面和浮雕效果让液体更逼真一点。参数:样式:内斜面;方法:平滑;高光模式:滤色;阴影模式:正片叠底;数值参考下图。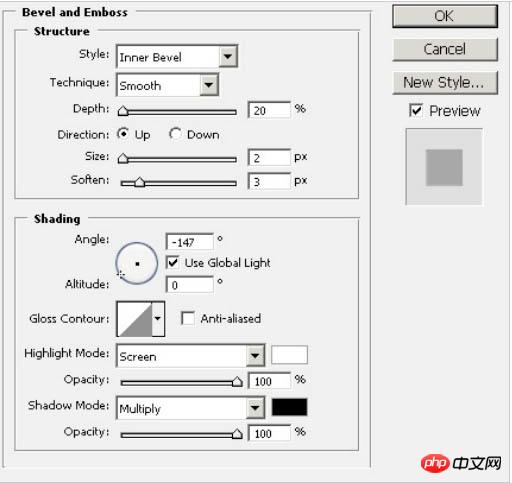
如果想要调节液体颜色,图像>调整>色彩平衡,满意为止。
 How to open html files
 Linux system installation tutorial
 ICP coin prospect analysis
 Thunder vip patch
 Mysql import sql file error report solution
 How to solve the problem of black screen after turning on the computer and unable to enter the desktop
 Introduction to the use of vscode
 Virtual currency exchange platform


