
这篇PS鼠绘质感禁止ICON教程是我在网络上看到的,教程比较简单,绘制的图标质感还不错了,推荐一下,和新手朋友们一起学习
最终的效果图吧:效果图……
具体的制作步骤如下:
1.新建一个200*200的画布,如图: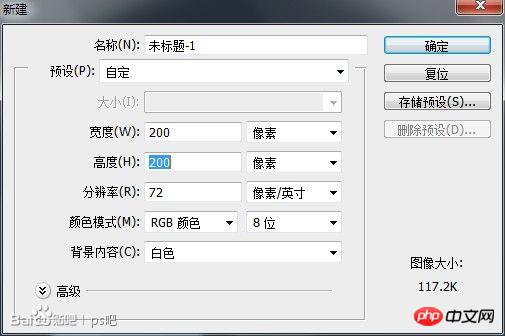
2.使用自定义形状工具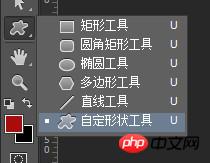
按住shift绘制一个颜色为#800000,无描边的正禁止符号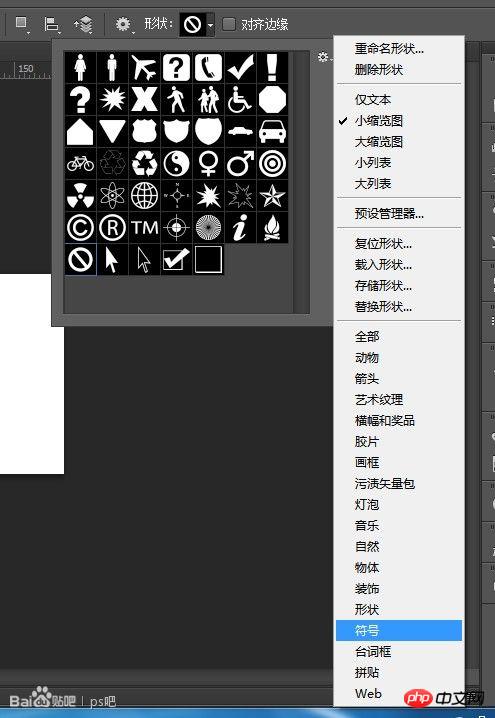
。好的,这是是这样的: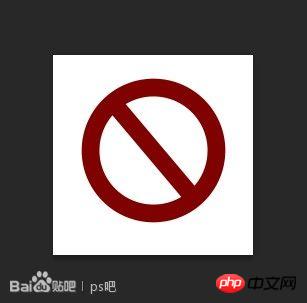
巧克力色有没有?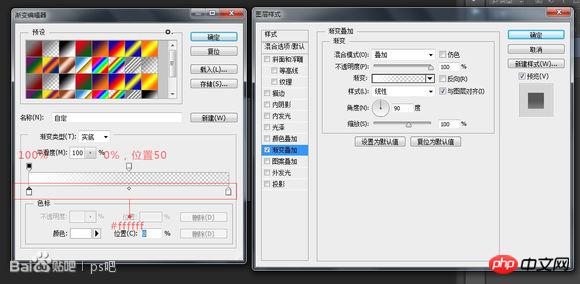 3.把背景填充为灰色方便观察。然后设置标志的图层样式:
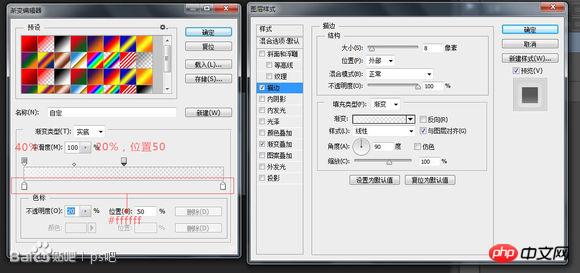
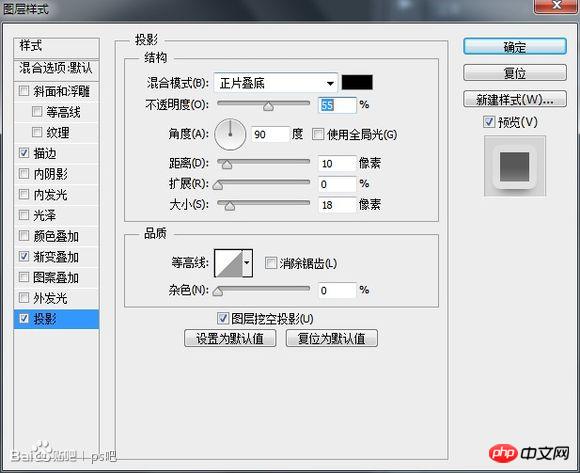
别忘了阴影: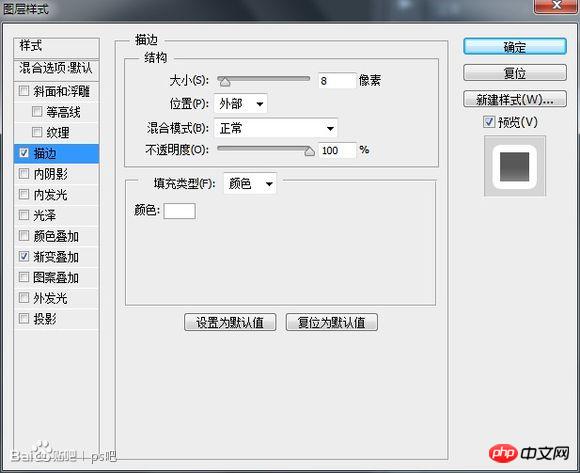
4.复制一层禁止图层,把图层样式描边的设置改成100%的白色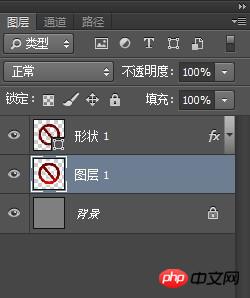
,接着按Ctrl+[ 把图层后移一层。5.在刚刚拷贝的图层下新建一空白图层,把拷贝的图层和空白图层合并,使成为普通图层。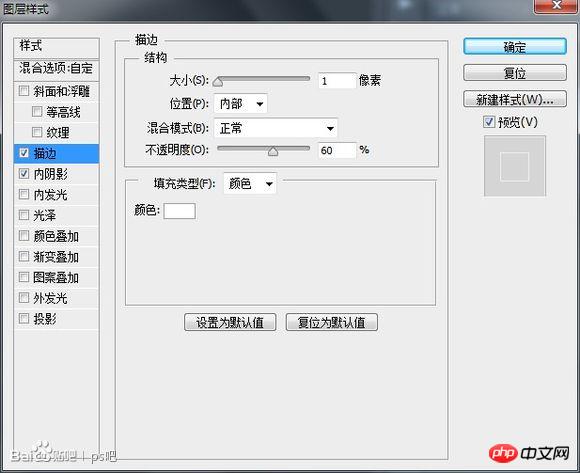
接着设置该图层填充为0%,图层样式: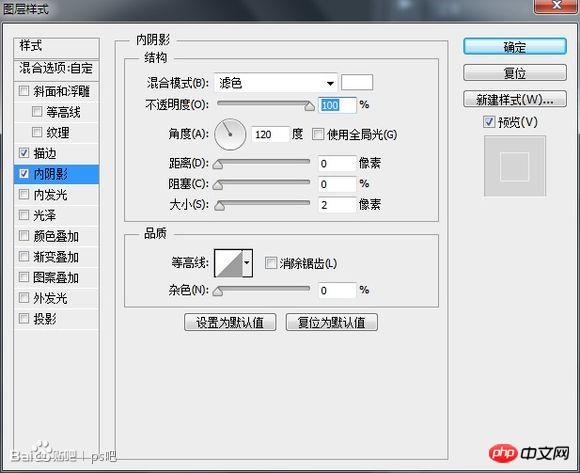
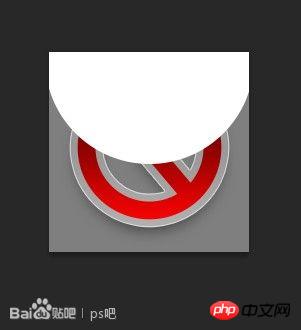 6.OK.现在给标志添加高光。使用椭圆工具什么的绘制一个圆,调好位置:
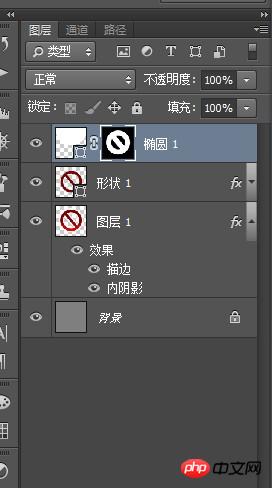
7.按Ctrl键加图层一略缩图载入选区,接着选中刚刚的椭圆图层,点击添加蒙版按钮。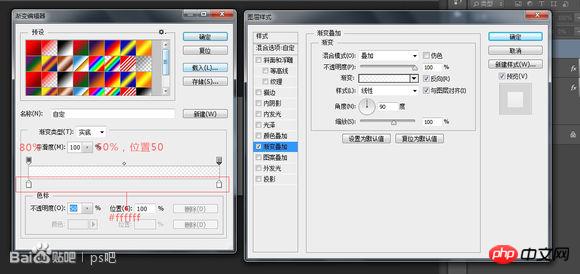
然后栅格化图层,应用图层蒙版。8.将椭圆图层填充设置为13%,设置图层样式:

 How to light up Douyin close friends moment
 microsoft project
 What is phased array radar
 How to use fusioncharts.js
 Yiou trading software download
 The latest ranking of the top ten exchanges in the currency circle
 What to do if win8wifi connection is not available
 How to recover files emptied from Recycle Bin


