photoshop利用滤镜及涂抹工具快速制作灰白色毛毛球
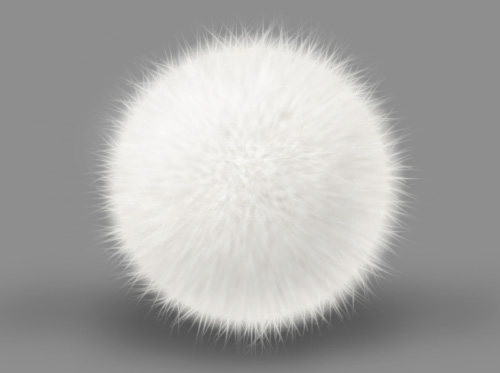
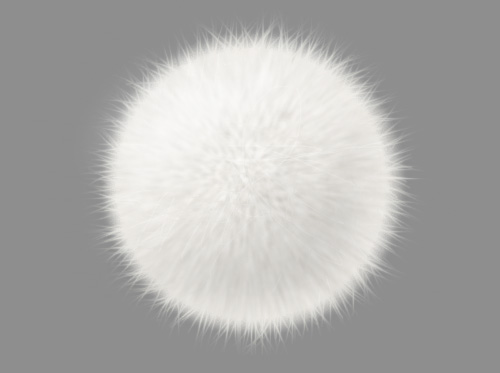
毛毛球如果要用手工画出来是非常复杂的!这里介绍一种非常简便的方法,直接用一组滤镜做出毛发的纹理,然后再用涂抹工具加强边缘的毛发,效果很快就出来。
最终效果
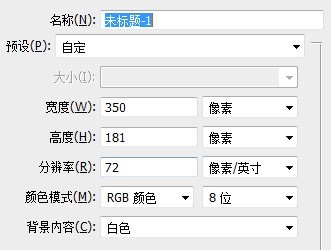
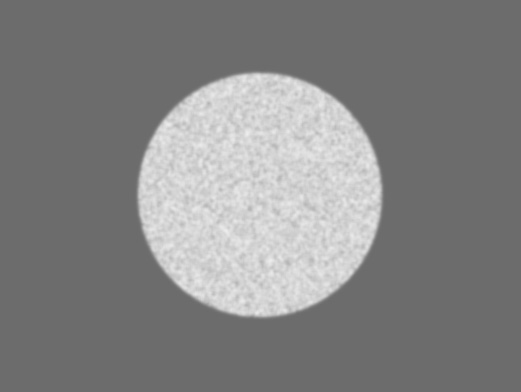
1、新建下图所示的文档。
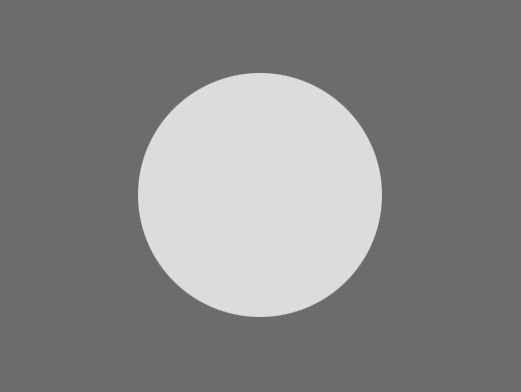
2、新建图层画圆,填充颜色。(根据个人喜好)。
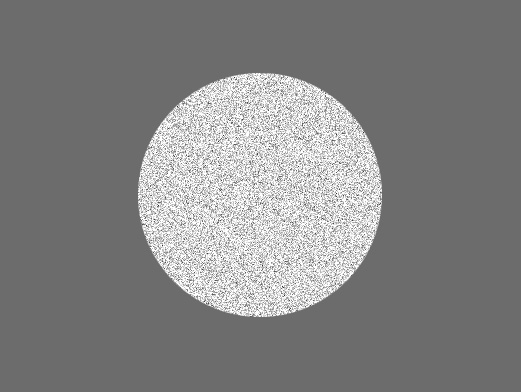
3、滤镜 > 杂色 > 添加杂色。20% 高斯分布。
4、滤镜 > 模糊 > 高斯模糊,半径1.5像素。
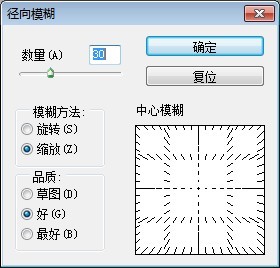
5、滤镜 > 模糊 > 径向模糊。数量30,缩放,好。
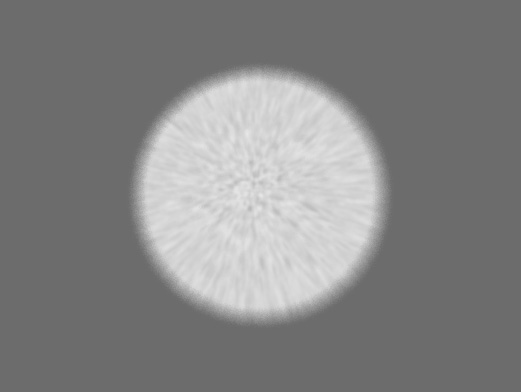
6、(关键性步骤)涂抹工具,2像素。强度80% 在图像边缘处涂抹。以至产生毛毛的效果。其实很简单。需要耐心。
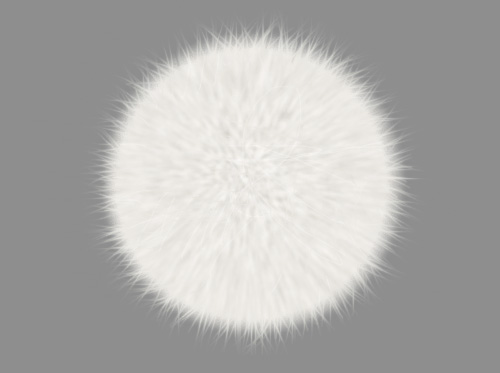
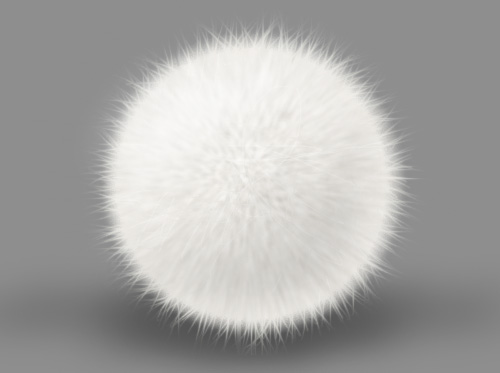
7、新建阴影图层和高光图层,阴影图层正片叠底,绘制半透明黑色。高光图层叠加,绘制半透明白色。
8、添加阴影,调整细节,完成最终效果。

Hot AI Tools

Undresser.AI Undress
AI-powered app for creating realistic nude photos

AI Clothes Remover
Online AI tool for removing clothes from photos.

Undress AI Tool
Undress images for free

Clothoff.io
AI clothes remover

AI Hentai Generator
Generate AI Hentai for free.

Hot Article

Hot Tools

Notepad++7.3.1
Easy-to-use and free code editor

SublimeText3 Chinese version
Chinese version, very easy to use

Zend Studio 13.0.1
Powerful PHP integrated development environment

Dreamweaver CS6
Visual web development tools

SublimeText3 Mac version
God-level code editing software (SublimeText3)

Hot Topics
 1386
1386
 52
52
 C++ Image Processing Practice Guide: Implementing Image Special Effects and Filters
Nov 27, 2023 am 11:40 AM
In the fields of computer science and image processing, C++ has always been one of the most commonly used programming languages. Image processing is one of the important subfields of computer vision, including image analysis, processing and recognition. This article will introduce some basic concepts and techniques in C++ image processing, and provide some sample codes for implementing image special effects and filters to help readers better understand and practice C++ image processing. 1. Basics of C++ image processing 1.1 Commonly used image file formats In image processing, we usually need to use various image file formats, including
 Find another way! See how to use CSS filters to create rounded corners and wavy effects
Oct 18, 2022 pm 08:21 PM
This article will take you through a different approach and talk about how to use CSS filters to create rounded corners, and how to use rounded corners to achieve a wave effect. I hope it will be helpful to you!
 Let's talk about how to use CSS filters to achieve rounded corners and wave effects.
Jul 28, 2022 pm 07:42 PM
How to use CSS to achieve rounded corners and wave effects? The following article will show you how to skillfully use CSS filters to create rounded corners and wave effects. I hope it will be helpful to you!
 Cleverly use CSS3 filters to create text flash switching animation effects!
Jul 20, 2022 am 10:55 AM
This article will show you how to use CSS3 filters to achieve a high-end text flash switching animation effect. I hope it will be helpful to you!
 Develop image filter effects based on JavaScript
Aug 09, 2023 pm 11:46 PM
Summary of developing image filter effects based on JavaScript: This article introduces how to use JavaScript to develop image filter effects. By using the Canvas element and related APIs, we can achieve common picture filter effects, such as grayscale, blur, contrast adjustment, etc. This article will provide detailed code examples and implementation processes for each filter effect to help readers quickly get started developing image filter effects. 1. Introduction In web development, we often encounter the need to process and beautify images.
 How to choose a Clip-on filter
Feb 28, 2024 pm 01:10 PM
Clipshot software provides a series of powerful functions in the field of video editing to meet users' needs for all-round video processing. The software has built-in many popular and rich functions and material libraries, allowing users to easily create personalized video works. Users can use this software to easily add filters to enhance the visual appeal of their videos. However, many users still don’t know how to add filters, so players who want to know more about it can follow this article to learn more about it. How to add filters to Clip Shot? 1. Enter the Clip Recording screen and select the "Color Five Star" tool. 2. Open more options and select the "Required Filter Effect" option in the Select Filter tab. 3. Then select "Close" in the option bar. "Button 4, and then add filters to the camera image
 How to add filter effects to images using Python
Aug 18, 2023 pm 01:09 PM
How to add filter effects to pictures using Python In this digital age, picture processing has become an integral part of our daily lives. If you are someone who is interested in image processing, then you will definitely be interested in how to add filter effects to images. This article will introduce how to use the Python programming language to implement image filter effects and provide relevant code examples. First, we need to install Python’s image processing library PIL (PythonImagingLibrary
 How to use filters to create bubble effect in PS
Feb 27, 2024 pm 03:34 PM
PS filter is a powerful tool in Photoshop, which can help us quickly achieve various visual effects, including creating realistic bubble effects. The editor of this website will bring you this article to help you start from scratch and gradually master how to use PS filters to create natural effects and master the bubble effect production skills. If you want to learn, come and follow this article to learn more. . Let’s take a look at the steps of how to use filters to create bubble effects in ps: the article is not original, but is based on combining other people’s methods and exploring the details on your own. After consulting and consulting a large amount of information, I finally summarized this simple production process. There are many ways to make it, the key is to find the one that works for you. Create a canvas: black is for the subsequent filter color


