

Photoshop CS6设计制作可口的饼干文字特效

本教程主要使用Photoshop制作可口的饼干文字特效,将会向大家展示用Photoshop CS6打造趣多多饼干文字特效的详细步骤,我们会对一些基本的PS技能进行练习,如快速选择工具,图层蒙版,图层混合选项之类的。
教程中会用到下面的素材:饼干、牛奶
最终效果图
图00
第一步
新建一个1100 * 440 px的文档, 白色背景,选择渐变填充工具,设置为“径向渐变”,颜色配置如下:
图01
用该渐变如下所示地填充背景图层: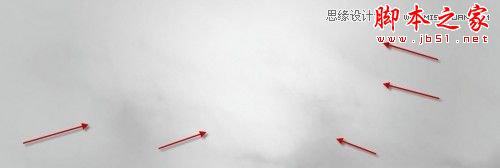
图02
然后在顶部新建一个图层,使用一个白色的软笔刷,在画布的顶部边缘上画上一个圆点。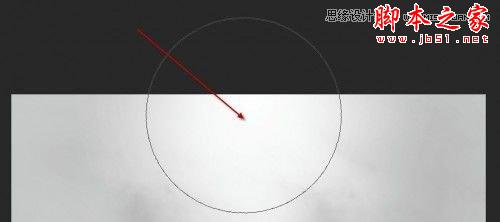
图03
使用自由变换工具向下压缩: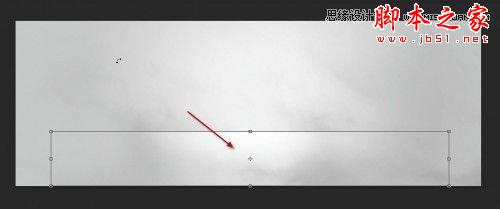
图04
目前,你看到的效果是这样的: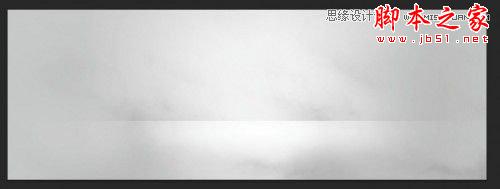
图05
第二步
现在,我们需要在画布上打几个字,我这里使用的是Photoshop自带的“Thick Chocolate”款字体
图06
使用选择工具将文字图层选中:
图07
然后将选区移动到饼干素材上面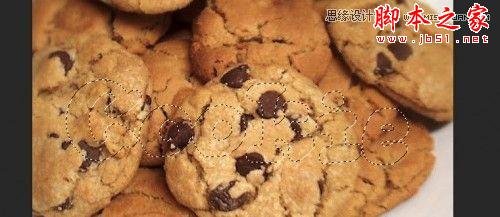
图08
复制,将选区粘贴到我们的文档中,隐藏原先的文字图层:
图09
我们现在回到饼干图片,然后使用快速选择工具,将笔尖大小设置为6px
如下图所示,作几个小的选区: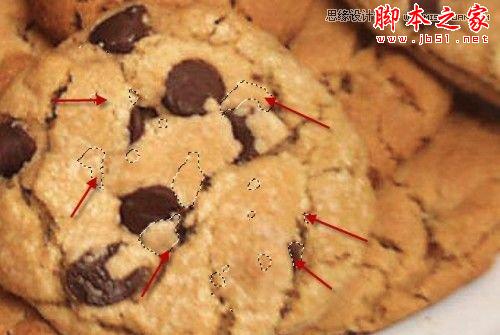
图10
在饼干纹理图层上添加一个图层蒙版,然后将这些选区移动到饼干纹理的图层上面来
图11
单击图层蒙版缩略图,然后编辑>清除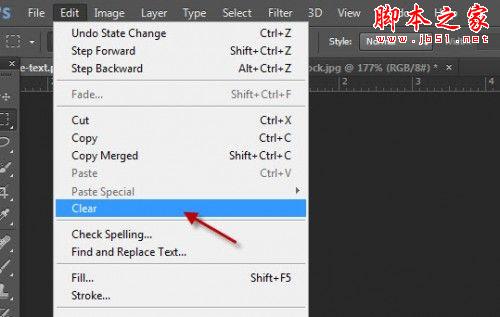
图12
多重复该步骤几次,然后就能看到饼干被咬掉的效果了:
图13
第三步
现在,我们要使用图层的混合模式来给文字图层添加一点深度
斜面和浮雕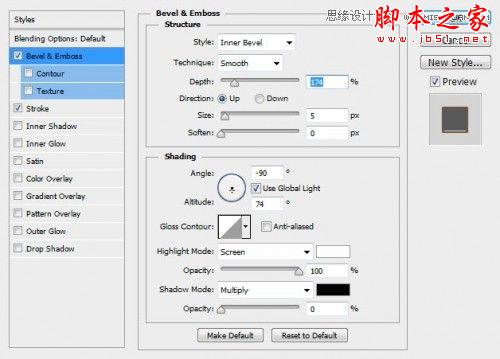
图14
描边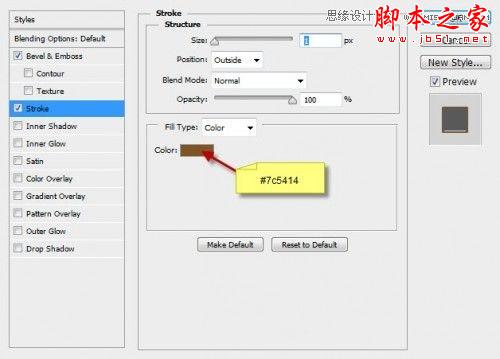
图15
然后你会得到如下的效果
图16
我们也可以使用前面在饼干素材上的制作的选区来添加一些小的饼干碎屑,当复制粘贴的时候你会发现,会有一些多余的线,看吧: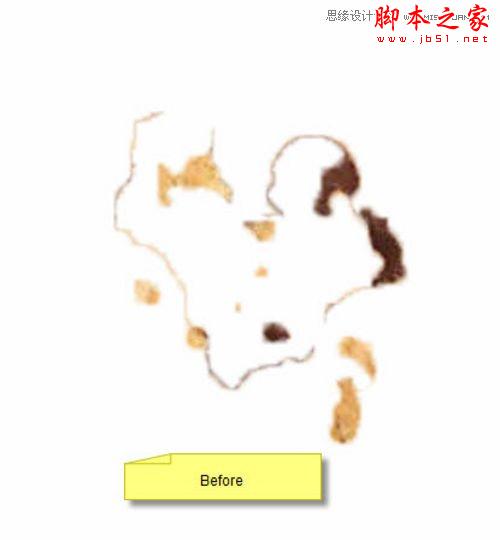
图17
可以使用调整边缘工具来解决,进行如下调整: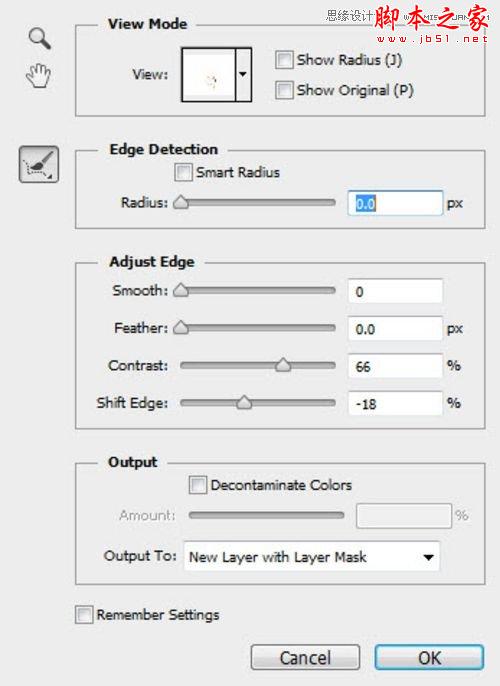
图18
然后你就能得到这样的效果了。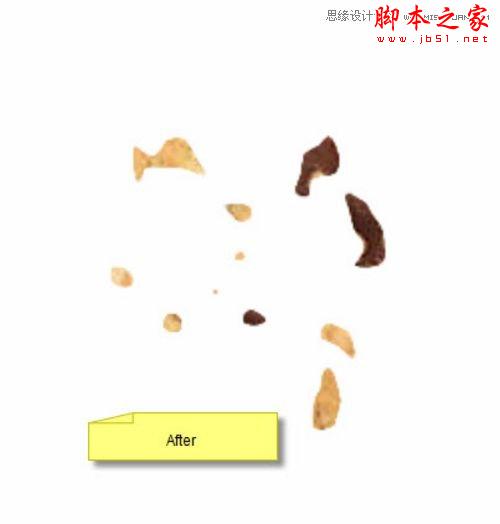
图19
把这些碎屑添加到文字的周围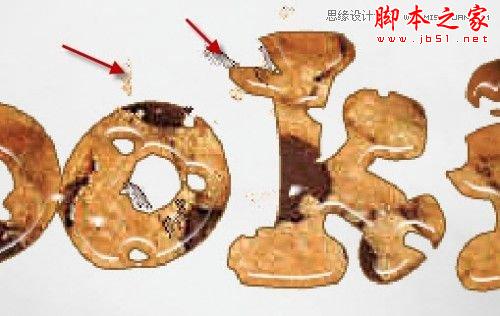
图20
目前为止,总的效果是这样的:
图21
第四步
就快要完成了,现在来做一些最后的修整,盖印图层(CTRL + Shift + Alt +E),然后对拷贝的图层使用油画滤镜,混合模式为柔光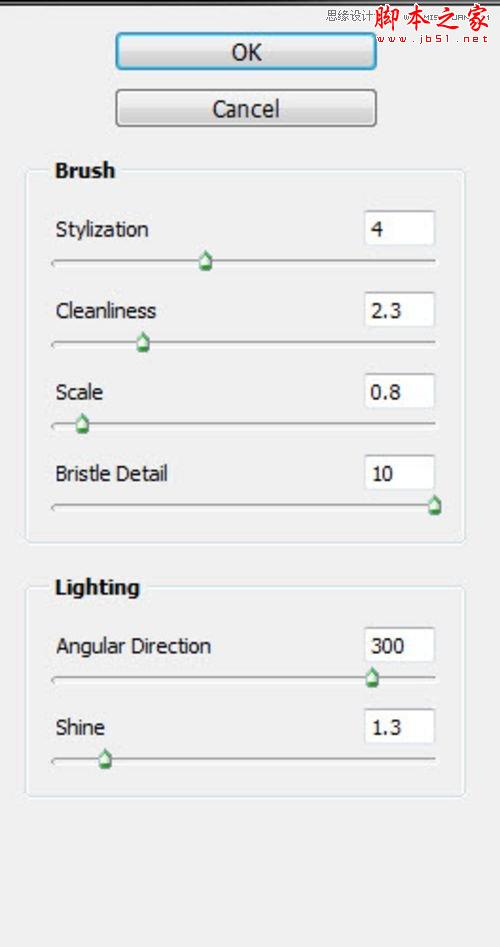
图22
在牛奶中选中牛奶的纹理部分,给文字添加牛奶的喷溅效果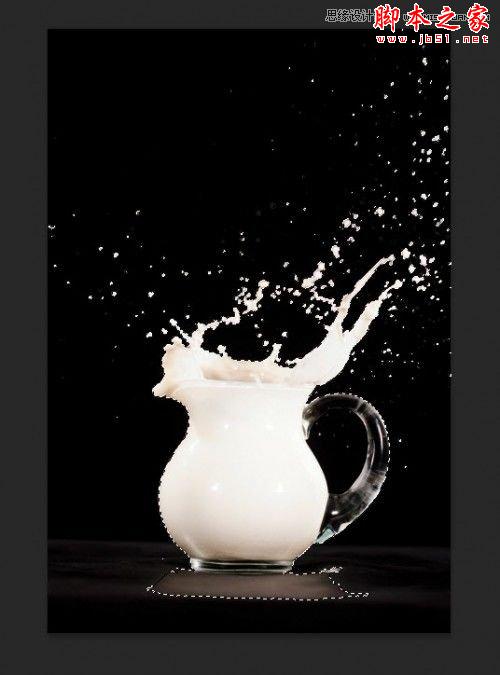
图23
复制,粘贴该选区文档中,混合模式改为变亮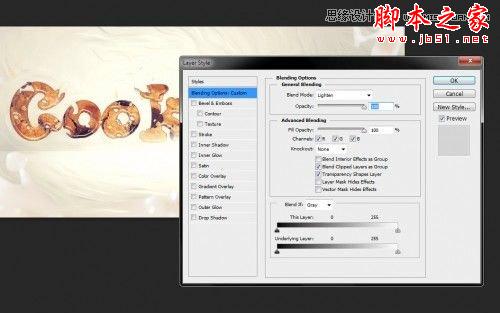
图24
然后就得到最终效果了。
图25

Hot AI Tools

Undresser.AI Undress
AI-powered app for creating realistic nude photos

AI Clothes Remover
Online AI tool for removing clothes from photos.

Undress AI Tool
Undress images for free

Clothoff.io
AI clothes remover

AI Hentai Generator
Generate AI Hentai for free.

Hot Article
Hot Tools

Notepad++7.3.1
Easy-to-use and free code editor

SublimeText3 Chinese version
Chinese version, very easy to use

Zend Studio 13.0.1
Powerful PHP integrated development environment

Dreamweaver CS6
Visual web development tools

SublimeText3 Mac version
God-level code editing software (SublimeText3)
Hot Topics
 1378
1378
 52
52

 How to make round pictures and text in ppt
Mar 26, 2024 am 10:23 AM
How to make round pictures and text in ppt
Mar 26, 2024 am 10:23 AM
First, draw a circle in PPT, then insert a text box and enter text content. Finally, set the fill and outline of the text box to None to complete the production of circular pictures and text.
 How to add dots to text in word?
Mar 19, 2024 pm 08:04 PM
How to add dots to text in word?
Mar 19, 2024 pm 08:04 PM
When we create Word documents on a daily basis, we sometimes need to add dots under certain words in the document, especially when there are test questions. To highlight this part of the content, the editor will share with you the tips on how to add dots to text in Word. I hope it can help you. 1. Open a blank word document. 2. For example, add dots under the words "How to add dots to text". 3. We first select the words "How to add dots to text" with the left mouse button. Note that if you want to add dots to that word in the future, you must first use the left button of the mouse to select which word. Today we are adding dots to these words, so we have chosen several words. Select these words, right-click, and click Font in the pop-up function box. 4. Then something like this will appear
 Golang Image Processing: Learn How to Add Watermarks and Text
Aug 17, 2023 am 08:41 AM
Golang Image Processing: Learn How to Add Watermarks and Text
Aug 17, 2023 am 08:41 AM
Golang Image Processing: Learn How to Add Watermarks and Text Quotes: In the modern era of digitalization and social media, image processing has become an important skill. Whether for personal use or business operations, adding watermarks and text are common needs. In this article, we will explore how to use Golang for image processing and learn how to add watermarks and text. Background: Golang is an open source programming language known for its concise syntax, efficient performance and powerful concurrency capabilities. it has become the subject of many developments
 How to modify text on pictures
Aug 29, 2023 am 10:29 AM
How to modify text on pictures
Aug 29, 2023 am 10:29 AM
Modifying the text on the image can be done by using image editing software, online tools or screenshot tools. The specific steps are: 1. Open the picture editing software and import the picture that needs to be modified; 2. Select the text tool; 3. Click the text area on the picture to create a text box; 4. Enter the text you want in the text box. 5. If you just want to delete the text on the picture, you can use the eraser tool or the selection tool to select and delete the text area.
 Detailed method for setting up PPT slides by moving the mouse to text to display pictures
Mar 26, 2024 pm 03:40 PM
Detailed method for setting up PPT slides by moving the mouse to text to display pictures
Mar 26, 2024 pm 03:40 PM
1. First set a custom animation for the picture object. 2. If you want to make the effect more realistic, please use the animation effect [Appear] as shown above. After setting the custom effect for the picture object, we will see the name of the custom animation on the right side of the window, such as [1good] in the picture. Now use the left button of the mouse to click on the small triangle facing downwards in the direction of the picture, and a pop-up will appear as follows Figure menu list. 3. In the menu shown above, select [Effect Options], and a pop-up will appear as shown in the picture. 4. In the picture above, switch to the [Timing] tab, click [Trigger], then select [Start the effect when the following objects are clicked] below, and select [Title 1: Picture 1] on the right. This setting means that when playing the slideshow, click on the text in [Picture 1], and it will
 Semantic role annotation issues in text semantic understanding technology
Oct 08, 2023 am 09:53 AM
Semantic role annotation issues in text semantic understanding technology
Oct 08, 2023 am 09:53 AM
The problem of semantic role annotation in text semantic understanding technology requires specific code examples. Introduction In the field of natural language processing, text semantic understanding technology is a core task. Among them, semantic role annotation is an important technology, which is used to identify the semantic role of each word in the sentence in the context. This article will introduce the concepts and challenges of semantic role annotation and provide a concrete code example to solve the problem. 1. What is semantic role labeling? Semantic role labeling (SemanticRoleLabeling) refers to sentences
 How to read text on Tomato Listen
Feb 27, 2024 pm 03:58 PM
How to read text on Tomato Listen
Feb 27, 2024 pm 03:58 PM
In a busy life, you can easily listen to wonderful stories with your ears, and at the same time, you can easily switch to text reading and listen on Tomato when needed. This unique novel software brings you an unprecedented dual experience. However, many users, during the use process, encounter text that they want to read carefully or do not understand clearly, but they do not know how to view the text. So users who want to know, please come and follow this article for details. Find out. How to read text on Tomato Listening? Answer: [Tomato Listening]-[Novel]-[Read e-books]. Specific steps: First, start the Tomato Listening software. After entering the homepage, you will find many popular novels to choose from. Here, choose a novel and click to read. 2. Then in the details page of the novel, I
 How to combine text and pictures in PPT
Mar 26, 2024 pm 03:16 PM
How to combine text and pictures in PPT
Mar 26, 2024 pm 03:16 PM
1. Click [Insert] on the menu bar, and then click [Picture]. 2. Select the picture you need. 3. Click to insert a text box and select [Horizontal Text Box]. 4. Enter text in the inserted text box. 5. Hold down the Ctrl key while selecting the picture and text box. 6. Right-click the mouse and click [Combine]. 7. At this time, the picture and text box are combined together.
