
How to set the fade effect in Final Cut Pro? Want to know the detailed steps to set up the fade effect in Final Cut Pro? PHP editor Xigua will bring you a detailed tutorial to teach you step by step how to use Final Cut Pro to easily set the fade in and fade out effect.
1. First, click to select the audio in the final cut story line, and click the icon pointed by the arrow.
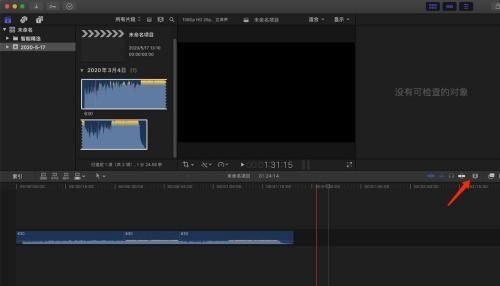
2. Then in the pop-up drop-down menu, click on the icon pointed by the selected arrow, hold down the left mouse button and drag to the right.
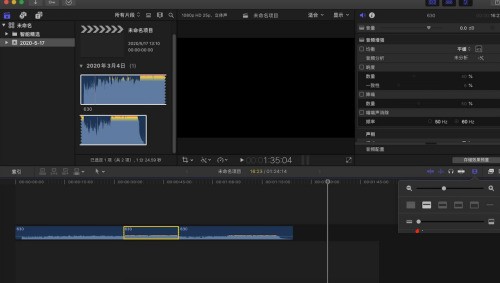
3. In this way, we have enlarged the height of the audio track; hold down the left button of the mouse on the position pointed by the arrow and drag it to the right to enlarge the length of the audio track.
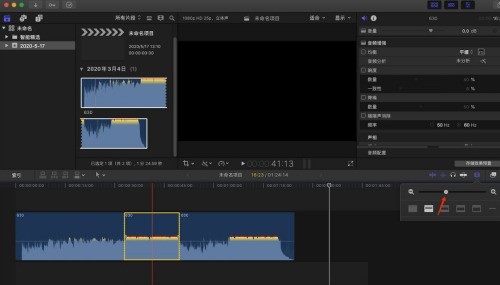
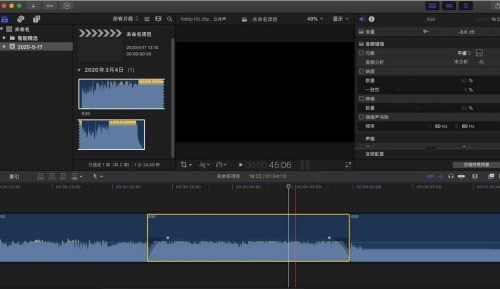
4. Then we click to select the audio material. We can find that there are two adjustment points at the entry and exit points of the audio. We hold down one of the adjustment points and drag it toward the middle.
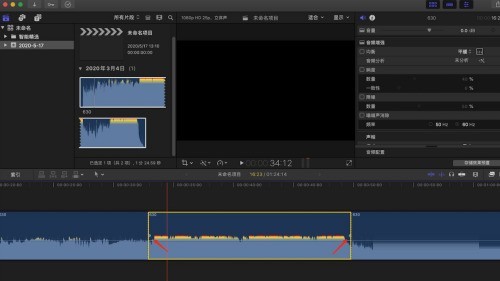
5. At this time, the audio in point will have an ease-in effect; similarly, we hold down the audio out point adjustment point and drag it toward the middle.
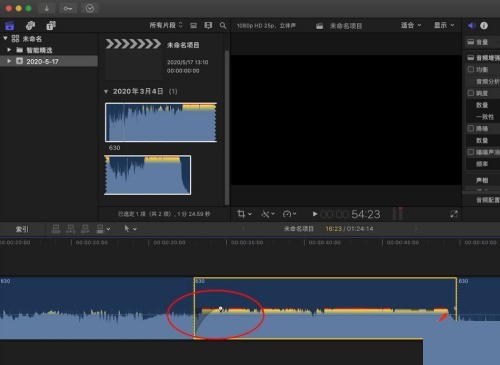
6. Finally, we set the fade effect for the video and audio.
The above is the detailed content of How to set up the fade-in and fade-out effect in Final Cut_Final Cut setting up the fade-in and fade-out effect tutorial. For more information, please follow other related articles on the PHP Chinese website!
 Blue screen code 0x000009c
 A collection of common computer commands
 You need permission from admin to make changes to this file
 Tutorial on turning off Windows 11 Security Center
 How to set up a domain name that automatically jumps
 What are the virtual currencies that may surge in 2024?
 The reason why header function returns 404 failure
 How to use js code


