
Audio keyframing is a powerful feature in Final Cut Pro that allows you to precisely control the volume, equalizer settings, or other parameters of your audio over time. If you're not sure how to set keyframes, don't worry! This article will walk you through a step-by-step guide that will allow you to master this essential aspect of audio editing. Read on to learn the secrets to Final Cut audio keyframing and dramatically improve your video and audio production.
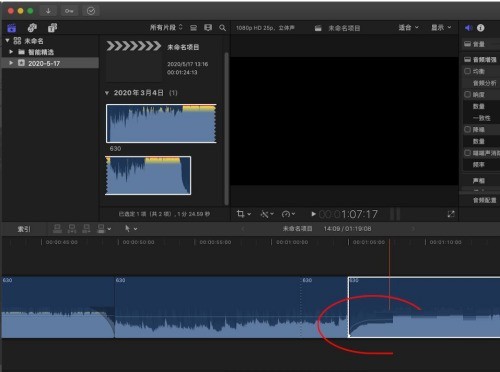
1. First, we click on the audio material in the audio track, place the mouse on the audio volume adjustment line, press the keyboard option, and then click the left mouse button on the adjustment line.
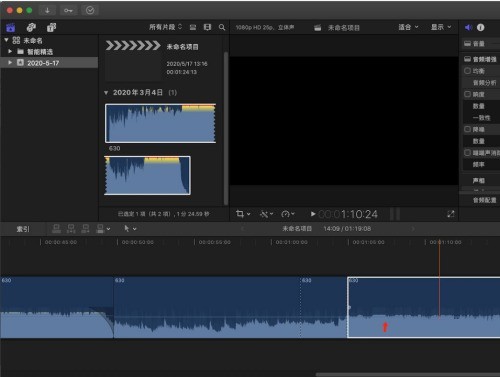
2. Then a key frame appears on our audio volume adjustment line.
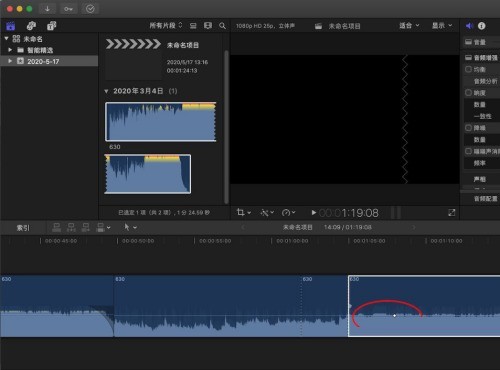
3. In the same way, hold down option and click the left mouse button again on the volume adjustment line.
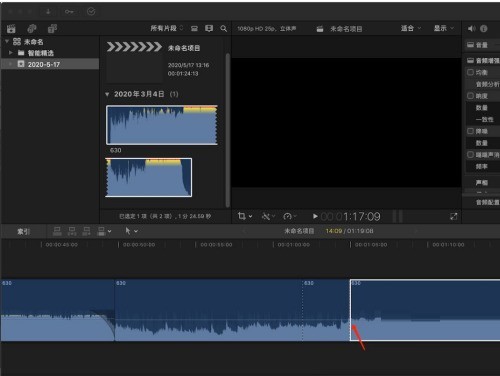
4. Then we hold down one of the keyframes with the left mouse button and drag it down.
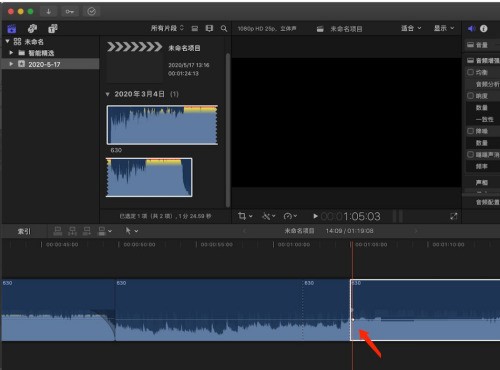
5. Finally, our audio will have an ease-in effect through keyframe settings.
The above is the detailed content of How to set keyframes for Final Cut audio_Tutorial for setting keyframes for Final Cut audio. For more information, please follow other related articles on the PHP Chinese website!
 How to use digital currency
 what is okx
 Software testing tools
 How to change ip address in linux
 What are the advantages of the Spring Boot framework?
 What are the spring frameworks?
 How to use plot function in Python
 Introduction to the main work content of front-end engineers
 What is the shortcut key for brush size?


