
最终效果
1、首先打好网格线,亮点透视。我推荐先找到一个方形的物体来参考,确定角度。记住你看到的面越小,那么他们的放射点就越近。将需要的角度画出来后再连接竖线。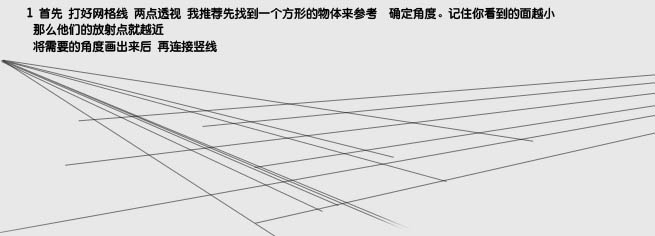
2、接着将竖线对角连接,并交叉点连接到一起。如果连接的线为直线,那么你的透视就没有问题。
3、将其他先连接到一起,一个方形就完成了。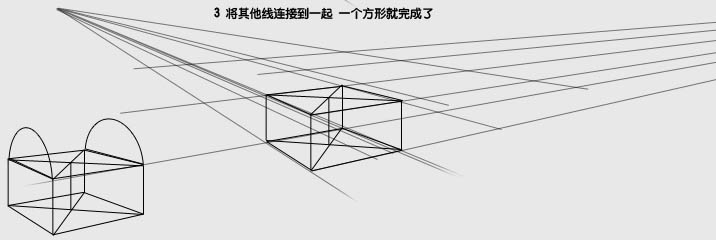
4、画出两个圆角,圆是从方形中得来的,那么你可以简单的利用PS做这样的事情,如下图。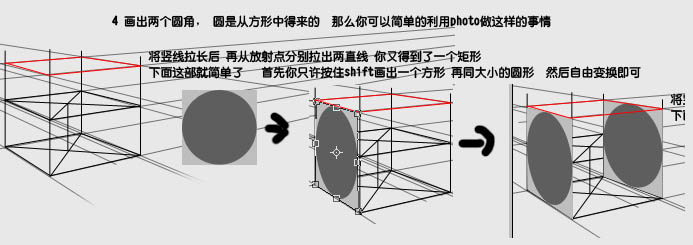
5、删除矩形,然后删除半个圆形,用线将圆形的顶部节点相连。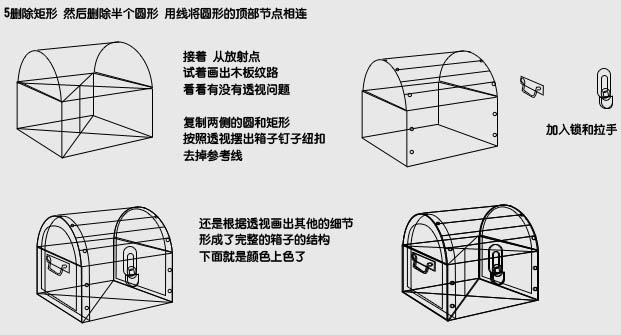
6、将每个可以看到的地方组成矩形,然后铺上简单的底色。
7、从放射点画出木头的纹路,因为之前在图层组上添加了遮罩,所以不会露出来。选择叠加模式,并加上一层投影。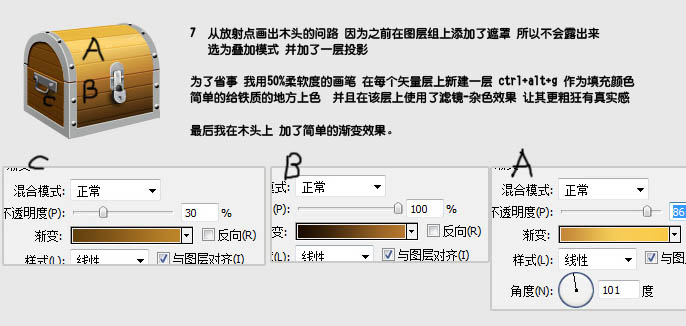
8、选择木质纹理图片,减少饱和度,叠加在木头组里面的最上面。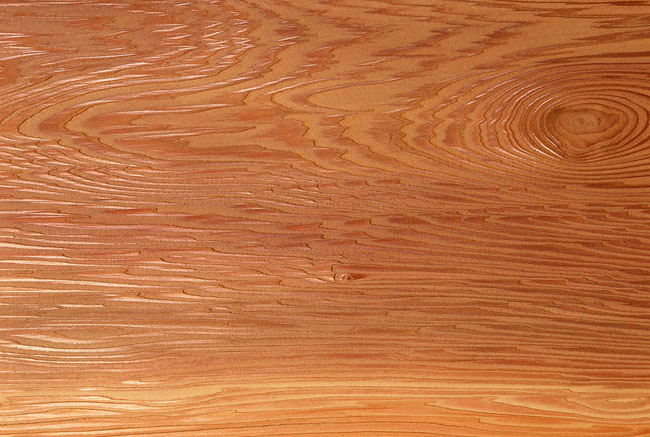
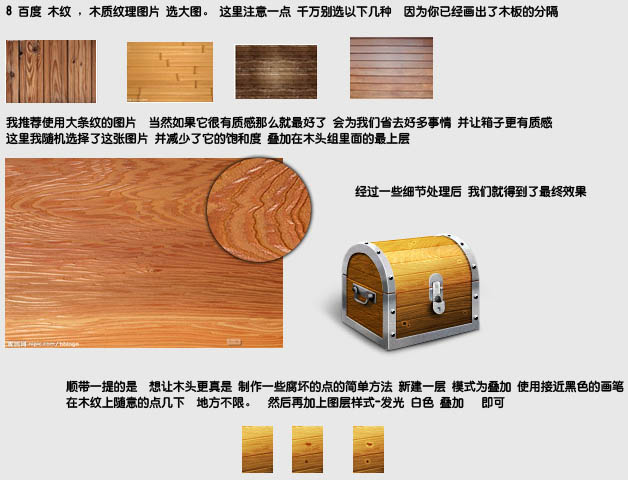
流程及最终效果: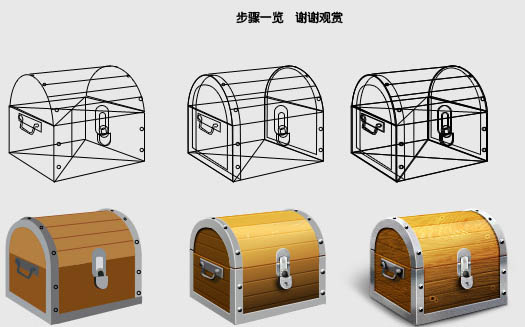
最终效果:
以上就是Photoshop设计制作一个逼真的古典小木箱的内容,更多相关内容请关注PHP中文网(www.php.cn)!
 photoshop cs5 serial number
 What should I do if the ps temporary disk is full?
 The role of html title tag
 Why can swoole be resident in memory?
 geforce 940mx
 How much does it cost to replace an Apple mobile phone battery?
 Usage of parseInt in Java
 Reasons why website access prompts internal server error


