How to install cdr_cdr installation tutorial
Cdr installation encounters problems, don’t know how to start? PHP editor Strawberry brings you a detailed tutorial on cdr installation, explaining the installation process step by step to solve your installation problems. The following content will provide you with clear and easy-to-understand guidance to help you easily install cdr and start your design journey.
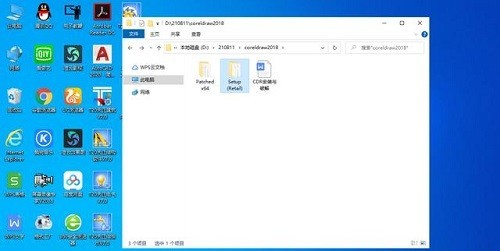
1. Open the [Setup (Retail)] folder (as shown in the picture).
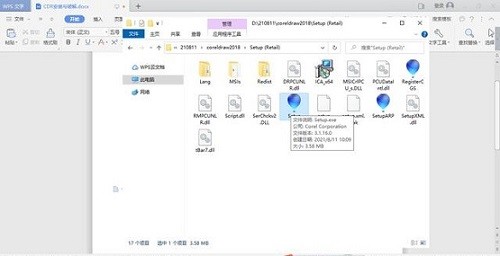
2. Double-click [Setup] to install the software (as shown in the figure).
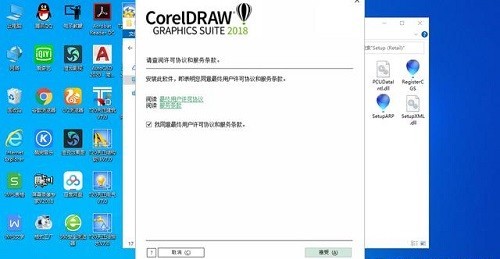
3. Check [I agree to the End User License Agreement and Terms of Service] and click the [Accept] button (as shown in the picture).
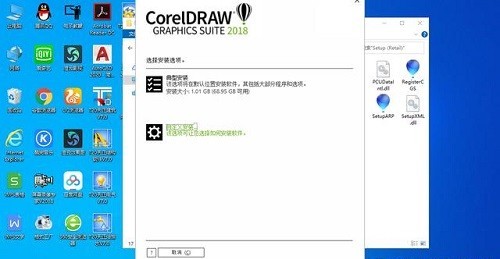
4. Click [Custom Installation] (as shown in the picture).
5. Uncheck the following four items, leaving only the top one selected. We only need to install the main program of Coreldraw. Of course, you can also install them all without canceling (as shown in the figure) shown).
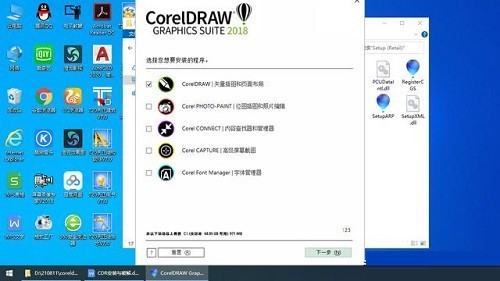
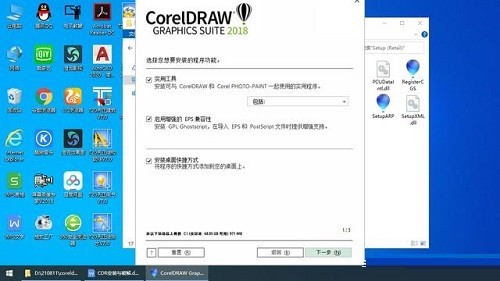
6. Keep everything unchanged and click the [Next] button (as shown in the picture).
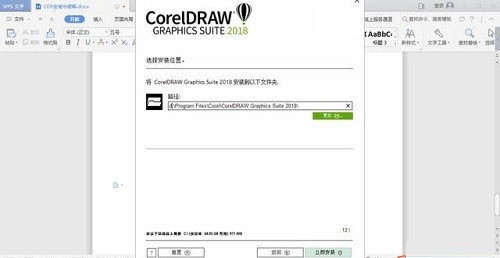
7. Change the installation drive letter to d and install to the D drive. Click the [Install Now] button (as shown in the picture).
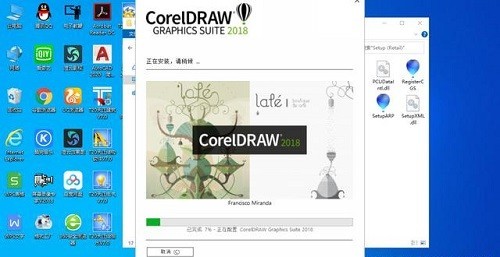
8. Wait for the installation. It will take about 5-10 minutes depending on the configuration of the computer hardware (as shown in the picture).
9. The [Let Us Get to Know You] window pops up, which actually prompts you to purchase the software. We do not need to purchase it. Just click the X in the upper right corner to close the purchase page (as shown in the picture) Show).
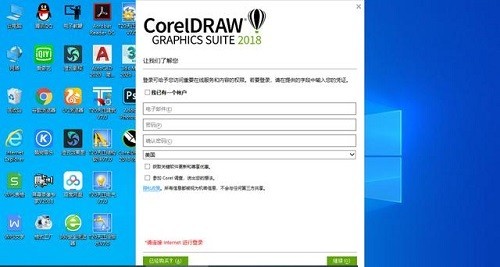
Note: CorelDRAW will automatically connect to the network during the installation process and force the user to purchase it before the installation can be successful. Therefore, the installation of CorelDRAW needs to be offline to be installed successfully.
The above is the detailed content of How to install cdr_cdr installation tutorial. For more information, please follow other related articles on the PHP Chinese website!

Hot AI Tools

Undresser.AI Undress
AI-powered app for creating realistic nude photos

AI Clothes Remover
Online AI tool for removing clothes from photos.

Undress AI Tool
Undress images for free

Clothoff.io
AI clothes remover

AI Hentai Generator
Generate AI Hentai for free.

Hot Article

Hot Tools

Notepad++7.3.1
Easy-to-use and free code editor

SublimeText3 Chinese version
Chinese version, very easy to use

Zend Studio 13.0.1
Powerful PHP integrated development environment

Dreamweaver CS6
Visual web development tools

SublimeText3 Mac version
God-level code editing software (SublimeText3)

Hot Topics
 how to unlink rockstar account from steam
Mar 11, 2025 pm 07:39 PM
This article explains how to unlink a Rockstar Games Social Club account from Steam. The process involves using the Rockstar Games Launcher to manage linked accounts, removing the Steam connection without impacting game progress or future Steam purc
 why is steam downloading so slow
Mar 11, 2025 pm 07:36 PM
Slow Steam downloads stem from various factors: network congestion (home or ISP), Steam/game server issues, limited bandwidth, high latency, and computer hardware limitations. Troubleshooting involves checking internet speed, optimizing Steam settin
![[PROVEN] Steam Error e87 Fix: Get Gaming Again in Minutes!](https://img.php.cn/upload/article/202503/18/2025031817560457401.jpg?x-oss-process=image/resize,m_fill,h_207,w_330) [PROVEN] Steam Error e87 Fix: Get Gaming Again in Minutes!
Mar 18, 2025 pm 05:56 PM
[PROVEN] Steam Error e87 Fix: Get Gaming Again in Minutes!
Mar 18, 2025 pm 05:56 PM
Article discusses causes of Steam Error e87, including network issues, security software, server problems, outdated clients, and corrupted files. Offers prevention and solution strategies.[159 characters]
 Steam Error e87: What It Is & How to Fix It
Mar 18, 2025 pm 05:51 PM
Steam Error e87 occurs during Steam client updates or launches due to connection issues. Fix it by restarting devices, checking server status, changing DNS, disabling security software, clearing cache, or reinstalling Steam.
 Steam Error e87: Why It Happens & 5 Ways to Fix It
Mar 18, 2025 pm 05:55 PM
Steam Error e87 disrupts gaming on Steam due to connectivity issues. The article discusses causes like unstable internet and server overload, and offers fixes like restarting Steam and checking for updates.
 How to Fix Steam Error Code e87: The ULTIMATE Guide
Mar 18, 2025 pm 05:51 PM
Article discusses fixing Steam Error Code e87, caused by network issues, corrupt files, or client problems. Provides troubleshooting steps and prevention tips.
 Easy Fix: Steam Error e87 Explained & Solved
Mar 18, 2025 pm 05:53 PM
Steam Error e87, caused by connectivity issues, can be fixed without reinstalling by restarting, checking internet, and clearing cache. Adjusting Steam settings helps prevent future occurrences.
 how to add page numbers in google docs
Mar 14, 2025 pm 02:57 PM
The article details how to add, customize, start from a specific page, and remove page numbers in Google Docs using step-by-step instructions.


