When making gradient border pictures in InDesign, we often encounter some difficulties, such as unnatural gradient transitions and unclear borders. In response to the above problems, PHP editor Youzi brings you a detailed tutorial on making gradient border pictures in InDesign. This tutorial will introduce in detail the method of making gradient border pictures, solve common difficulties, and help you easily create gradient border pictures.
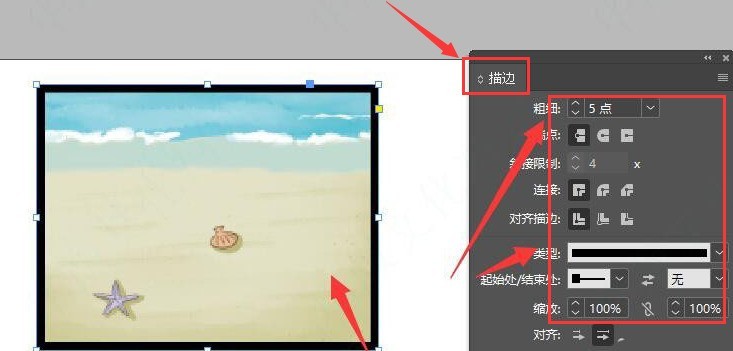
1. First, after opening the InDesign interface, insert a picture material, turn on the stroke option, and adjust the length and width of the outline line

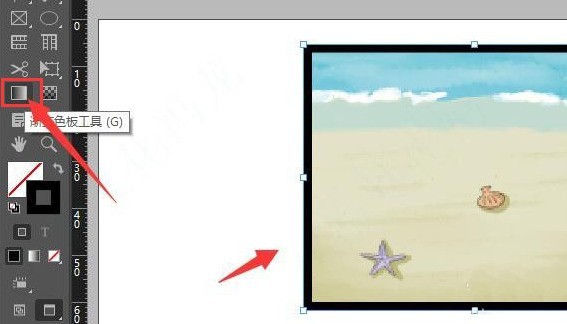
2. Then, add After completing the outline effect, select the image and click the Gradient Tool option

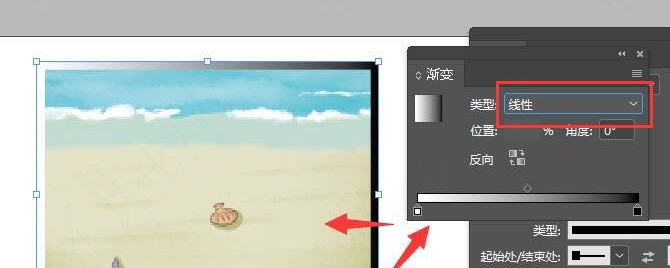
3. Then, in the gradient panel window that opens, add a linear gradient effect

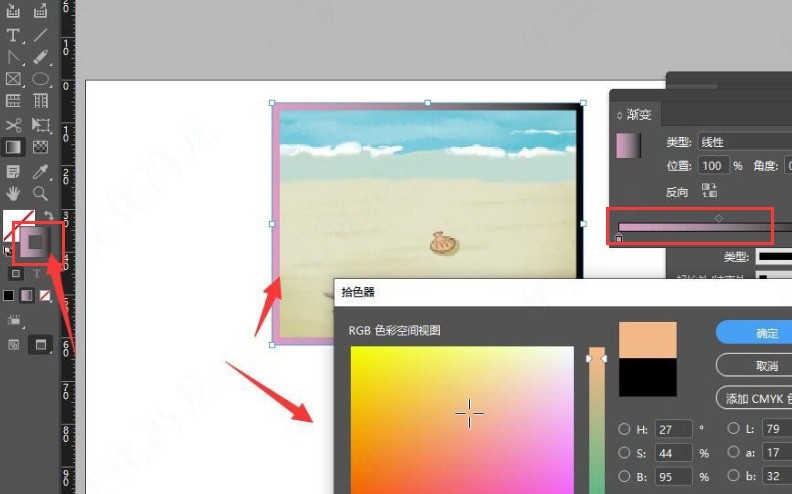
4. Finally, open the color picker page and adjust the gradient color appropriately according to your personal needs

The above is the detailed content of How to create a gradient border picture in InDesign How to create a gradient border picture in InDesign. For more information, please follow other related articles on the PHP Chinese website!
 How to light up Douyin close friends moment
 microsoft project
 What is phased array radar
 How to use fusioncharts.js
 Yiou trading software download
 The latest ranking of the top ten exchanges in the currency circle
 What to do if win8wifi connection is not available
 How to recover files emptied from Recycle Bin


