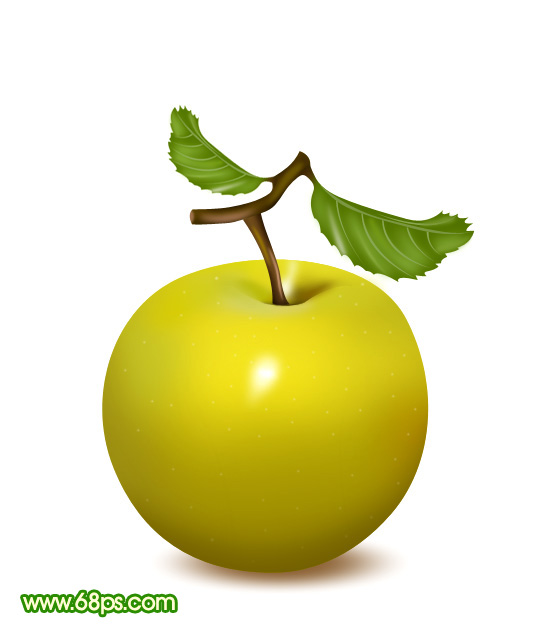
最终效果
1、新建一个600 * 800像素的文档,背景填充白色。新建一个图层,用钢笔勾出梨子的主体路径,转为选区如下图。
 photoshop cs5 serial number
 What should I do if the ps temporary disk is full?
 Interview assessment tools
 Detailed explanation of nginx configuration
 Regular expression tool
 How to solve the problem that suddenly all folders cannot be opened in win10
 What are the data analysis methods?
 How to check deleted call records
 How to use mysql workbench


