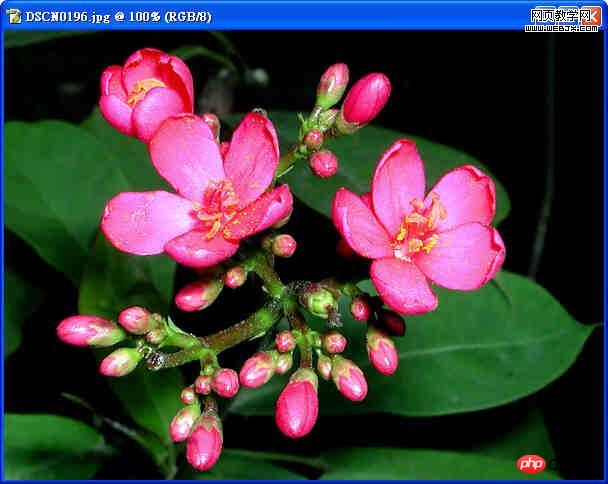
【滤镜应用】绘图效果==油画== 原图

第一步
点选「Filter」>「Pixelate」>「Crystallize」结晶化滤镜
可以使原图的图像粒子变粗,比较有手绘图的感觉。

第二步
点选「Filter」>「Brush Strokes」>「Angled Strokes」角度描边滤镜

第三步
点选「Filter」>「stylize」>「Emboss」立体浮雕滤镜

第四步
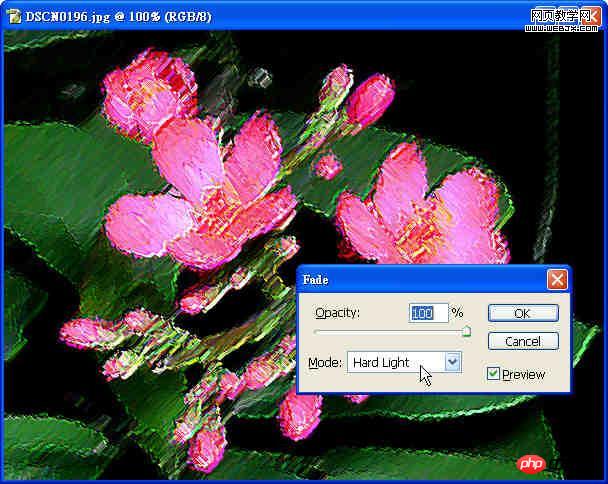
点选「Edie」>「Fade Emboss」调整滤镜使用后的效果
将Mode设定为HardLight

成品

 How to light up Douyin close friends moment
 microsoft project
 What is phased array radar
 How to use fusioncharts.js
 Yiou trading software download
 The latest ranking of the top ten exchanges in the currency circle
 What to do if win8wifi connection is not available
 How to recover files emptied from Recycle Bin


