

Photoshop 漂亮的蓝色音乐海报

本教程介绍音乐海报的制作方法。作者制作的非常细腻,从选材到制作,每一步都非常讲究,尤其人物部分的调色非常专业。后期的装饰效果可以按照自己的喜好添加。
原图  最终效果
最终效果 
1、新建画布,尺寸宽度30厘米,高度为15厘米,分辨率72,填充白色。 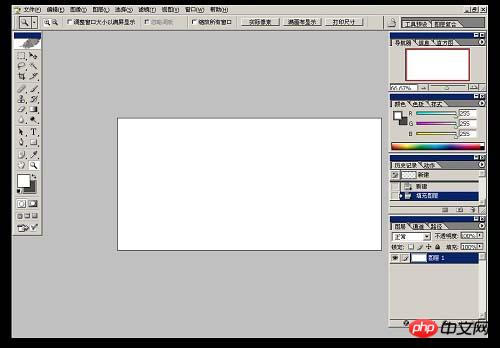 #p# 2、将背景素材拖入画布中,适当调整好大小,效果如图所示。
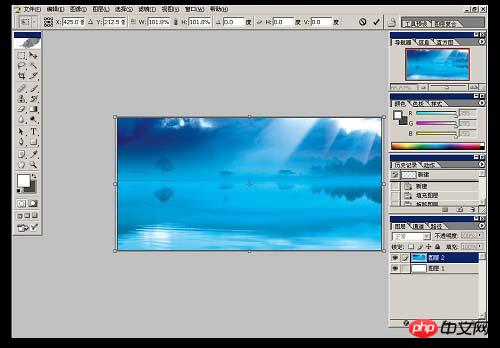
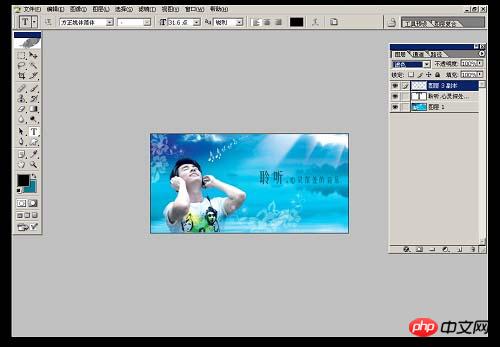
3、将人物拖入画布中,适当调整好位置和大小。 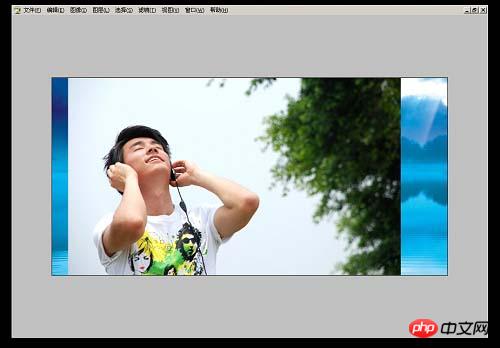 #p# 4、将多余的背景扣除,效果如图所示。
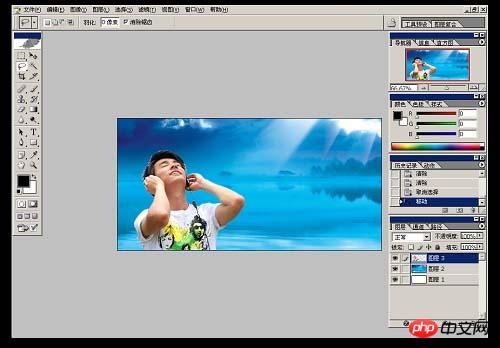
5、复制图层3,并将此图层模式更改为正片叠底。 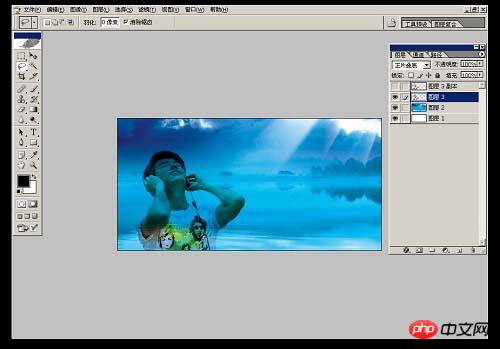
6、在图层3副本上加蒙版,用画笔适当将人物头发边缘的白色擦掉, 效果如图所示。 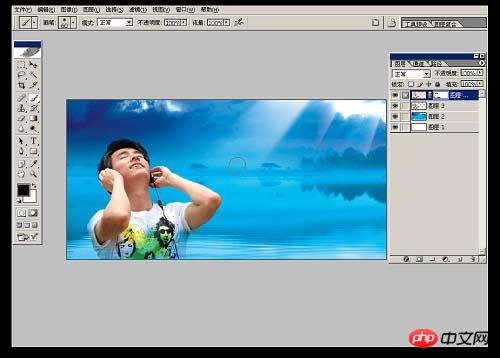 #p# 7、在图层3副本上执行色相/饱和度,编辑红色,用吸管吸取人物皮肤的颜色,明度+53,效果如图所示。
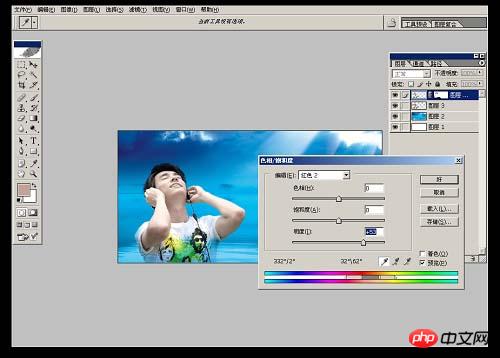
8、执行色彩平衡--暗调,参数如图所示。 
9、执行色彩平衡--高光,参数如图所示。 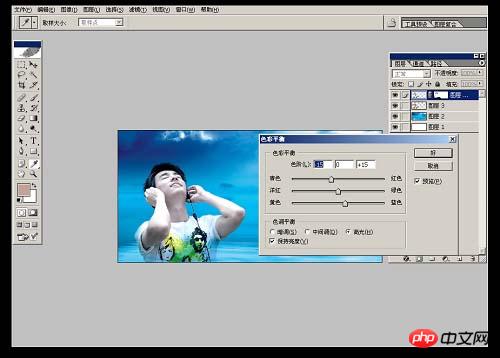 #p# 10、合并所有图层。
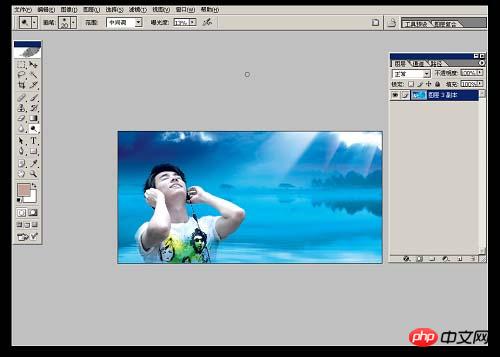
11、选择自定义形状工具,工具的形状选择红色方框内图标。 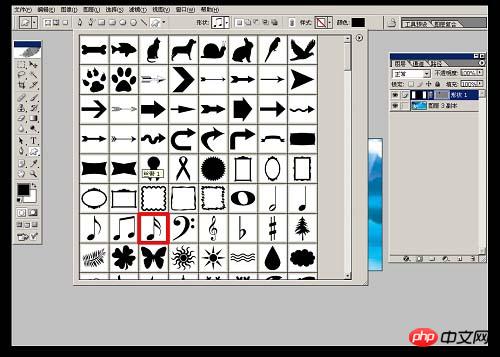
12、新建图层,前景色为白色,画出形状,并适当调整好大小,效果如图所示。 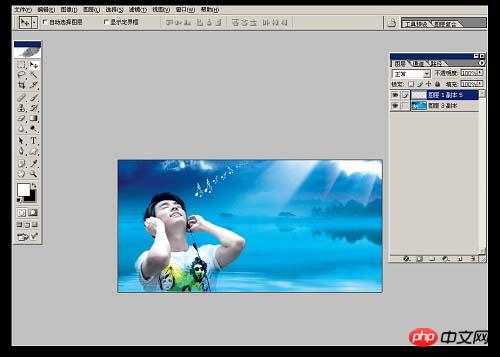
13、新建画布,尺寸为4x4像素,分辨率为72,背景内容为透明,如图所示。  #p# 14、将画布拉到最大效果。
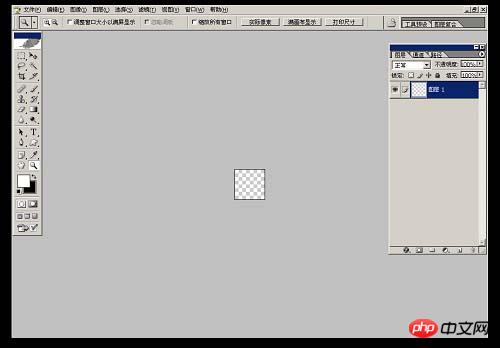
15、在画布内做出选区,并填充白色。 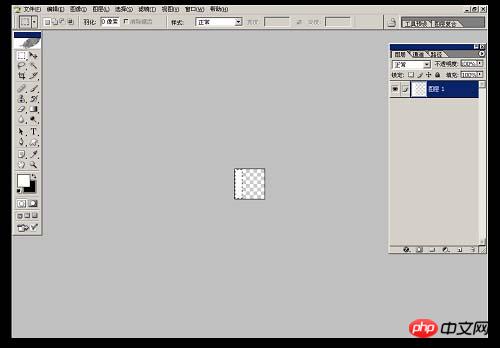
16、将白色选区适当拉大并旋转角度,效果如图所示。 
17、编辑/自定义图案。 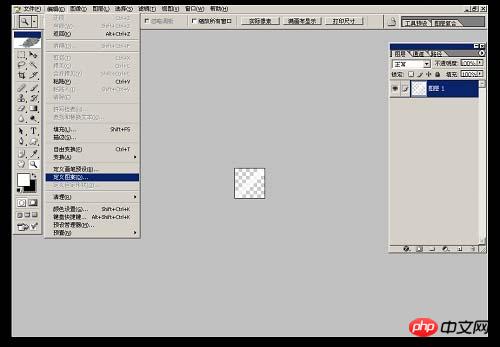 #p# 18、图案名称可以自定,以方便以后好查找。
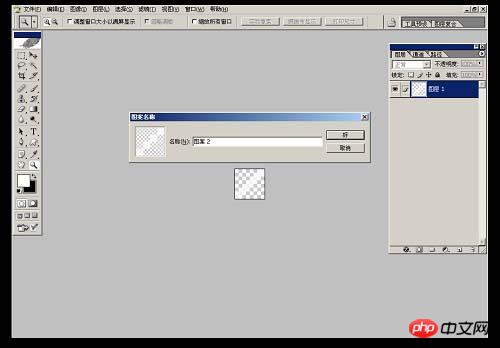
19、打开刚才设计的图片,新建图层,执行编辑-填充。 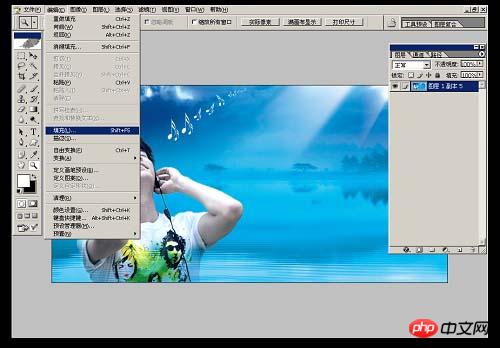
20、自定图案为红色方框内图标,也就是刚才保存的图案,如图所示。 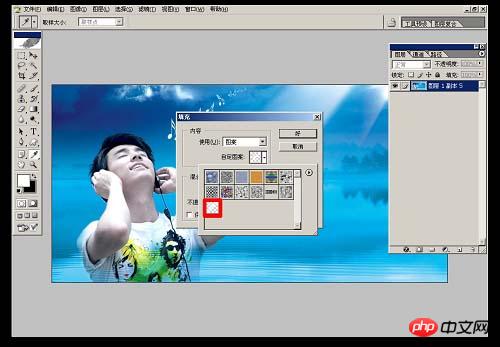 #p# 21、模式为正常,不透明为100%,如图所示。
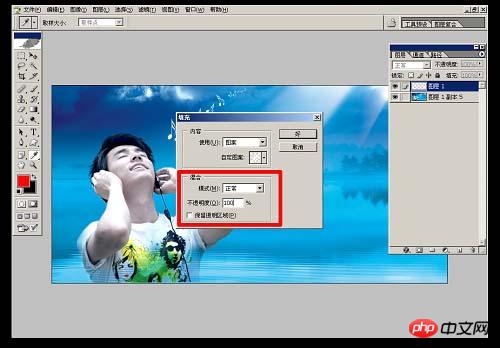
22、图层1模式为叠加,并加蒙版,用画笔将人物脸上的斜纹擦掉,画笔的不透明度为32%。 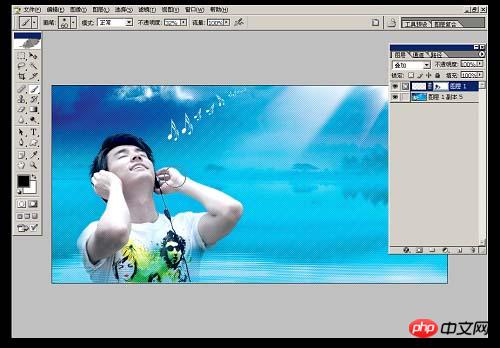
23、新建图层,在图片上打上要表达的字体。 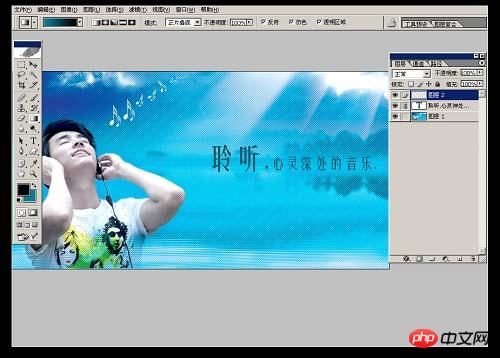 #p# 24、将花纹素材拖入画布中,图层模式为滤色,并适当调整大小和角度。
25、选择红色方框内画笔工具,并将不透明度更改为87%。 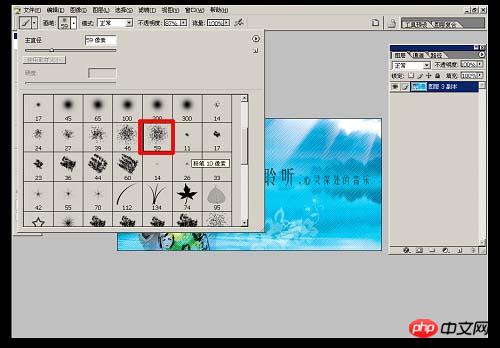
26、前景色为白色,在图片四周适当的画出不规则图案,完成最终效果。

Hot AI Tools

Undresser.AI Undress
AI-powered app for creating realistic nude photos

AI Clothes Remover
Online AI tool for removing clothes from photos.

Undress AI Tool
Undress images for free

Clothoff.io
AI clothes remover

Video Face Swap
Swap faces in any video effortlessly with our completely free AI face swap tool!

Hot Article
Hot Tools

Notepad++7.3.1
Easy-to-use and free code editor

SublimeText3 Chinese version
Chinese version, very easy to use

Zend Studio 13.0.1
Powerful PHP integrated development environment

Dreamweaver CS6
Visual web development tools

SublimeText3 Mac version
God-level code editing software (SublimeText3)
Hot Topics
 1387
1387
 52
52

 What are the permanently free photoshopcs5 serial numbers?
Jul 06, 2023 am 10:00 AM
What are the permanently free photoshopcs5 serial numbers?
Jul 06, 2023 am 10:00 AM
The permanently free photoshopcs5 serial numbers are: 1. 1330-1440-1602-3671-9749-7897; 2. 1330-1191-2998-6712-2520-5424; 3. 1330-1367-4285-4928-0630-3107; 4. 1330-1570-9599-9499-8092-8237; 5. 1330-1028-1662-3206-1688-5114, etc.
 Solution: Fix keyboard shortcuts not working in Photoshop
Sep 22, 2023 pm 03:17 PM
Solution: Fix keyboard shortcuts not working in Photoshop
Sep 22, 2023 pm 03:17 PM
Adobe Photoshop is the industry standard for digital design, loved and used every day by the online community. However, when keyboard shortcuts stutter or fail entirely, it can significantly slow down any project or your overall productivity on Windows 11. Whether you're an experienced designer or just dabbling in photo editing, these glitches are more than just minor annoyances in Photoshop and Photoshop CC. First, let's look at the common reasons why custom or default shortcuts stop working. Why don't my shortcuts work in Photoshop? Customize workspace settings: Sometimes, adjusting or switching between workspace settings can reset keyboard shortcuts. Sticky Keys: This accessibility feature
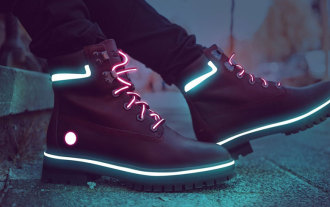 How to make blue fluorescent effect in PS
Feb 27, 2024 pm 12:55 PM
How to make blue fluorescent effect in PS
Feb 27, 2024 pm 12:55 PM
The editor of this website brings you this tutorial to take you into the wonderful world of Photoshop and learn how to create a charming blue fluorescent effect. Whether you are new to Photoshop or an experienced user, you can find inspiration and practical tips from this tutorial. So how to create the blue fluorescent effect in PS? This tutorial guide will give you a detailed introduction, I hope it can help you. PS blue fluorescence effect production method steps final effect: 1. Adjust the brightness of the picture. 2. Add curves to adjust the overall light and dark contrast of the picture. 3. Use a pen to hook out the "edge strips" of the shoes. 4. After cutting out, create a selection and fill it with white. 5. Select the blur tool and blur the hooked white part. 5. Use a pen to mark the shoelaces
 What should I do if the file name turns blue in win7 system?
Jul 20, 2023 pm 11:57 PM
What should I do if the file name turns blue in win7 system?
Jul 20, 2023 pm 11:57 PM
What should I do if the file name turns blue in win7 system? The win7 system is currently the most popular Windows system. It has a very long history of development and is deeply loved by users. However, the win7 system also has problems, big and small. When many friends use the win7 system, they will find that the file names on the computer turn blue, and other newly created folders will also turn blue. This is What is the situation and how to solve it? Below, the editor will bring you a method to restore the win7 system file name to blue. Recovery method of win7 system file name turning blue 1. First, right-click the disk with blue file name and open properties. 2. Find the option to compress this drive to save disk space in the properties window and remove it.
 Adobe Photoshop official web version AI generated fill and generate extended image tools
Sep 29, 2023 pm 10:13 PM
Adobe Photoshop official web version AI generated fill and generate extended image tools
Sep 29, 2023 pm 10:13 PM
Adobe's Photoshop web service (an online web version) is now generally available. The web version of Photoshop will soon support the AI-generated fill and generate extended image tools, which were recently released for the desktop version of Photoshop. Powered by the Adobe Firefly generative AI model, these features are commercially available and allow users to quickly add, remove, or expand images using text-based descriptions in more than 100 languages while matching the lighting conditions and perspective of the original image. The web version of Photoshop also provides many of the most commonly used tools from the desktop version, but with a redesigned layout to provide a more "simplified" user experience for new Photoshop users. This includes early this year
 How to deal with blurred scanned documents
Jan 05, 2021 pm 03:09 PM
How to deal with blurred scanned documents
Jan 05, 2021 pm 03:09 PM
Processing method: 1. Open the scanned image to be processed in the PS software; 2. Click "Filter" - "Sharpening" - "Smart Sharpening" on the top toolbar; 3. In the pop-up window, select according to your needs Sharpen the radius and click "OK"; 4. Click "File" - "Save As" and save it as a file.
 Which company does photoshop belong to?
Jul 20, 2022 am 11:47 AM
Which company does photoshop belong to?
Jul 20, 2022 am 11:47 AM
photoshop is owned by Adobe. Photoshop is an image processing software developed and distributed by Adobe. It mainly processes digital images composed of pixels. Adobe is an American computer software company headquartered in San Jose, California. It is mainly engaged in the development of multimedia production software; its customers include enterprises, knowledge workers, creative people and designers, OEM partners, and developers around the world.
 Which company developed photoshop?
Jul 08, 2022 am 11:34 AM
Which company developed photoshop?
Jul 08, 2022 am 11:34 AM
Photoshop was developed by Adobe Systems; Photoshop is a graphics processing software developed and distributed by "Adobe Systems", which mainly processes digital images composed of pixels. Adobe Systems is an American multinational computer software company headquartered in San Jose, California.
