
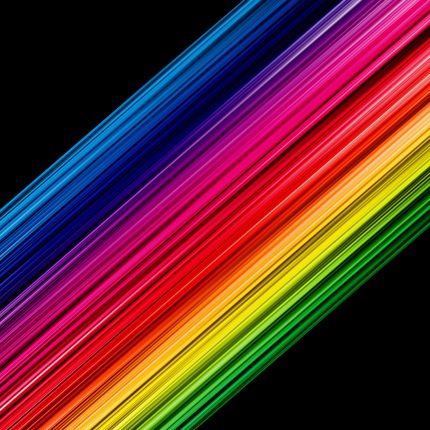
第一歩:新建一个1000px*1000px的新文件,把背景填充为黑色.
第二歩:新建一个图层,填充为白色,并放在最上面.
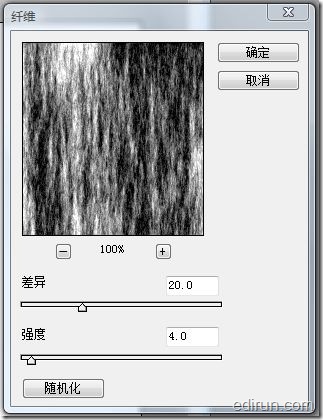
第三步:选择白色图层,点击滤镜-渲染-纤维.按照图片的参数设置.(差异20,强度4).
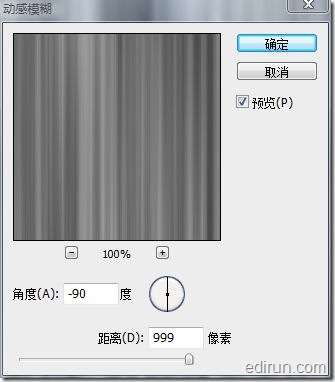
第四步:点击滤镜-模糊-动感模糊,按照图片设置参数(角度-90,距离999).
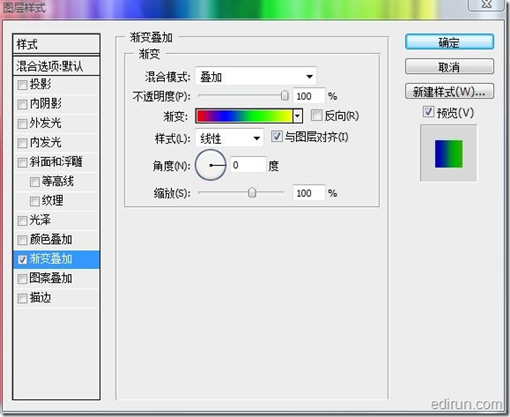
第五步:为这个图层添加”渐变叠加”,记得混合模式选”叠加”,角度为0.
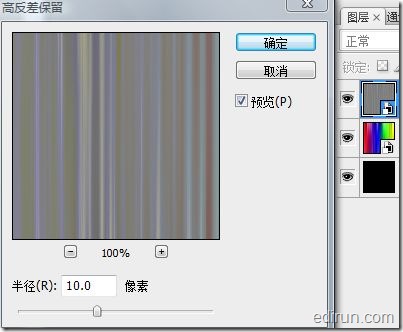
第六步:在当前图层点右键,转换为智能对象.然后复制一个新图层放在最上面,选择复制的新图层,把图层混合模式设置为”叠加”,接下来点击滤镜-其它-高反差保留,半径10.
第七步:点击背景图层(黑色)前面的小眼睛把它设置为不可见,然后拼合可见图层(shift ctrl E),然后把已拼合的图层改变大小为如图:
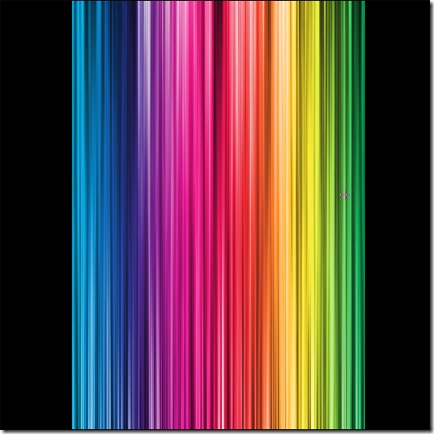
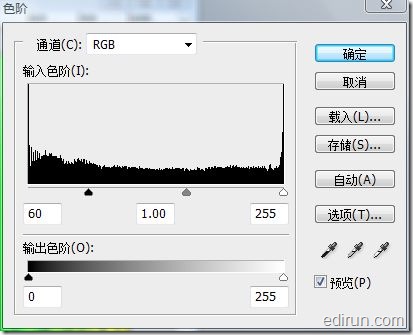
第八歩:把图层旋转为45度角并向2个对角拉伸.然后点击图像-调整-色阶,设置如下
 How to light up Douyin close friends moment
 microsoft project
 What is phased array radar
 How to use fusioncharts.js
 Yiou trading software download
 The latest ranking of the top ten exchanges in the currency circle
 What to do if win8wifi connection is not available
 How to recover files emptied from Recycle Bin


