This article is adapted from Feiyu’s "[Translation] Getting Started Guide for Front-end Developers, Building Node.js, Express, Jade, Mongodb Server from Scratch". The reason why I changed Jade to Ejs is because I think ejs is more suitable. The habits of WEB programmers, more precisely, should be more in line with the usage habits of PHP and ASP programmers. Okay, without further ado, let’s start the tutorial directly.
Part 1 – 15 Minute Installation
If you really want to learn from scratch, then take the time to set up the environment first. It's not difficult, I'm using Win8, so this looks a little different than the tutorials for using Mac and Ubuntu or other *nix systems, but it's basically the same.
Step 1 – Install Node.JS
It's easy, go to the Node.js official website, click the big green Install button, it will automatically detect your system and give you a download of the correct installation file. (If not, click the Download button to select the download you need). Run the installer and you're good to go. You have Node.js installed, and NPM (Node Package Manager) allows you to easily install various useful packages into Node.
Step 2 – Install Express
Now that we have Node running, we need a few things that will allow us to actually create a usable site. Next we need to install Express, which is a framework that turns Node from a primitive application into a web server that is more like the web server we usually use. We need to start with Express because we need the scaffolding functionality it provides. We enter this command:
Step 3 – Create an Express project
We are going to use Express and Ejs, but not for CSS preprocessing. We'll write some CSS by hand. We need to use Ejs or other template engines to process Node and Express data. If you know HTML, Ejs is not difficult. Just remember you need to concentrate, otherwise things can easily go wrong.
Now in the same command line window type:
install dependencies:
$ cd nodetest1 && npm install
run the app:
$ node app
Step 4 – Edit Dependencies
Okay, we now have some basic project structure, but we’re not done yet. You will notice that the express installation process creates a file called package.json in your nodetest1 directory. Open this file with a text editor. It should look like this.
Step 5 – Install dependencies
Now we have defined the project’s dependencies. The * will tell NPM to "install the latest version". Return to the command line window, enter the nodetest1 directory, and enter:
Now we have a fully functional App and it’s ready to run. Let’s give it a try! Make sure your current directory is the nodetest1 directory, enter:

Now you have your own Node JS WebServer running with Express engine and Ejs HTML template engine. It's not that difficult, right?
Part 2 – Okay, let’s write “Hello, World!”
Open your commonly used text editor or other IDE. I personally like to use Sublime Text. Open app.js in your nodetest1 directory. This file is the core of your App. You should see something like this:
Write at the end of the above file:
Note: You need to put this line
Then add:
Continue to increase:
Continue to increase:
(The above content is complete in the template generated by the new express, no need to write it in yourself)
Now, let’s write something useful. We will not write "Hello World!" directly in our index page. We will take this opportunity to learn how to use route routing and learn how the Ejs engine works. Add a line after the app.get() section of the above app.js file:
app.get('/helloworld', routes.helloworld);
If you press ctrl C in the command line window to end the app.js process and then restart it, and then use a browser to access http://localhost:3000/helloworld, you will get a very exciting node error and the following message in the command line window: A bunch of crash prompts. This is because we haven't modified the routing to handle this path. Let’s do this. In your editor, go to the routes directory, find index.js, and open it. It should look like this:
exports.index = function(req, res){
res.render('index', { title: 'Express' });
};
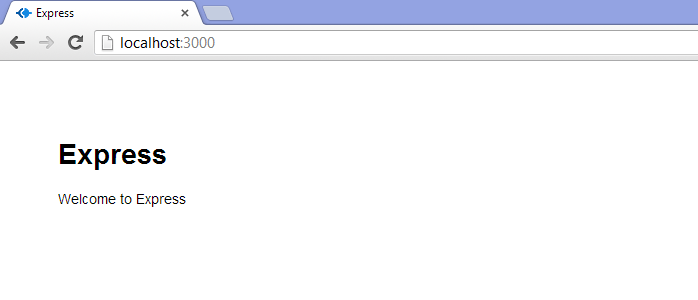
Welcome to <%= title %>
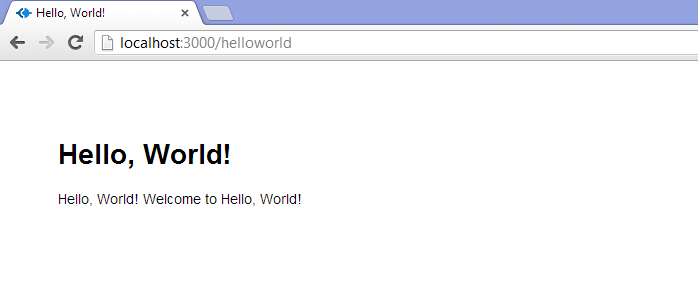
After the server starts, note that the server opens http://localhost:3000/helloworld, and you should be able to see this beautiful interface:

Okay! Now that we have a route that can handle our template, we see the effect we want. Next we will make some Model (data layer).
Part 3 – Creating the database and reading the data
Step 1 – Install Mongodb
Let’s close the text editor and return to the command line window. First use a browser, open http://mongodb.org/, and download Mongo. Click the download link in the main menu to find the version suitable for your system. For 64-bit win8, download the 64-bit *2008R2 version. After downloading it is a zip file, unzip it to c:mongo or c:program filesmongo or wherever, it doesn't matter. We save the data in our nodetest1 directory.
Step 2 – Run Mongod and mongo
Create a subdirectory data in our nodetest1 directory, then enter the bin directory of your mongodb directory in the command line window and enter:
Step 3 – Create a database
Don’t worry about the above prompt to connect to test. That's just the default database that mongo uses when you don't specify a database. It won't even create the database named test unless you add a record to it. Let's create a database of our own. In the mongo command line window, enter:
Step 4 – Add some data
My favorite feature of MongoDB is that it uses JSON as the data structure, which means I am very familiar with it. If you're not familiar with JSON, read up on it first; it's beyond the scope of this tutorial.
We add some data to the collection. In this tutorial, we only have a simple database, leaving only two fields: username and email. Our data looks like this:
Tip: As a formal service, you should not want all data to be stored at the top level. Regarding the design of mongodb data structure, take a look at Google.
Now that we have a piece of data, let’s add more. Enter in the mongo window:
Now let’s integrate the web server and database built previously.
Step 5 – Connect mongo to node
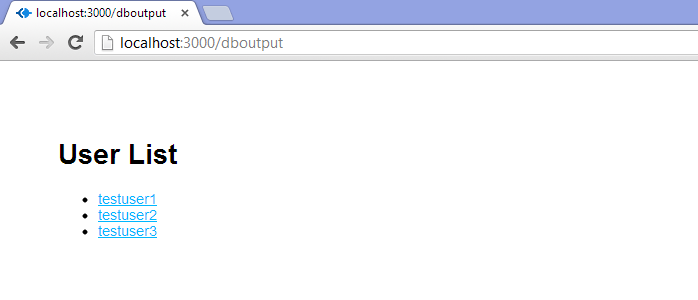
Now let’s create a page to display the records in the database into a beautiful table. This is the HTML content we are going to generate:
Step 6 – Read the data in mongo and display
Open c:nodenodetest1routesidnex.js with your editor. There are two routes, index and hello world. Now let’s add the third one:
Next create our Ejs template. Open index.ejs in the views directory, save it as userlist.ejs, and then modify its HTML to look like this:

Click the submit button and you will see a "can't post to /adduser" error. Let's fix it.
Step 2 – Create your database processing function
As before, we modify app.js, then the route file, and then the ejs template. However, there is no need for an ejs template here, because our post will jump later. Add a line after the app.get() section of app.js:
// Get our form values. These rely on the "name" attributes
var userName = req.body.username;
var userEmail = req.body.useremail;
// Set our collection
var collection = db.get('usercollection');
// Submit to the DB
collection.insert({
"username" : userName,
"email" : userEmail
}, function (err, doc) {
if (err) {
// If it failed, return error
res.send("There was a problem adding the information to the database.");
}
else {
// If it worked, set the header so the address bar doesn't still say /adduser
res.location("userlist");
// And forward to success page
res.redirect("userlist");
}
});
}
}
Is this the best way?
Step 3 – Connect to the database and write data
Make sure your mongod is running! Then restart your node server. Open http://localhost:3000/newuser with a browser. Now we fill in some content and click the submit button. If everything goes well, we should be back on the userlist page and see the new data we just added.
Now that we have officially completed reading and writing Mongodb database using Node.js, Express, and Ejs, we are already awesome programmers.
Congratulations, really. If you read this tutorial carefully and study it carefully instead of just copying the code, you should have a complete concept of routes, views, reading data, and writing data. This is everything you need to know to develop any other complete web site! No matter what you think, I think it's pretty cool.
Part 5 – Next Steps
Start now and your possibilities are endless. You can take a look at Mongoose, another Node package for working with MongoDB databases. It is larger than Monk and has more features. You can also take a look at Stylus, a CSS engine for Express. You can Google Node Express Mongo Tutorial to see what follows. Study hard and make progress every day.
I hope this tutorial can be helpful, I wrote this because when I started learning I really needed something like this, but couldn't find it. If you've made it this far, thank you very much!
 The difference between mongodb and mysql
 mongodb startup command
 How to delete data in MongoDB
 node.js debugging
 Commonly used database software
 What are the application areas of mongodb?
 Which one has faster reading speed, mongodb or redis?
 How to completely delete mongodb if the installation fails


