

Node est un environnement dans lequel vous pouvez exécuter du code JavaScript "en dehors du navigateur Web". Node ressemble à – "Hé, vous me donnez votre code JS et je vais l'exécuter ?". Il utilise le moteur V8 de Google pour convertir le code JavaScript en code machine.
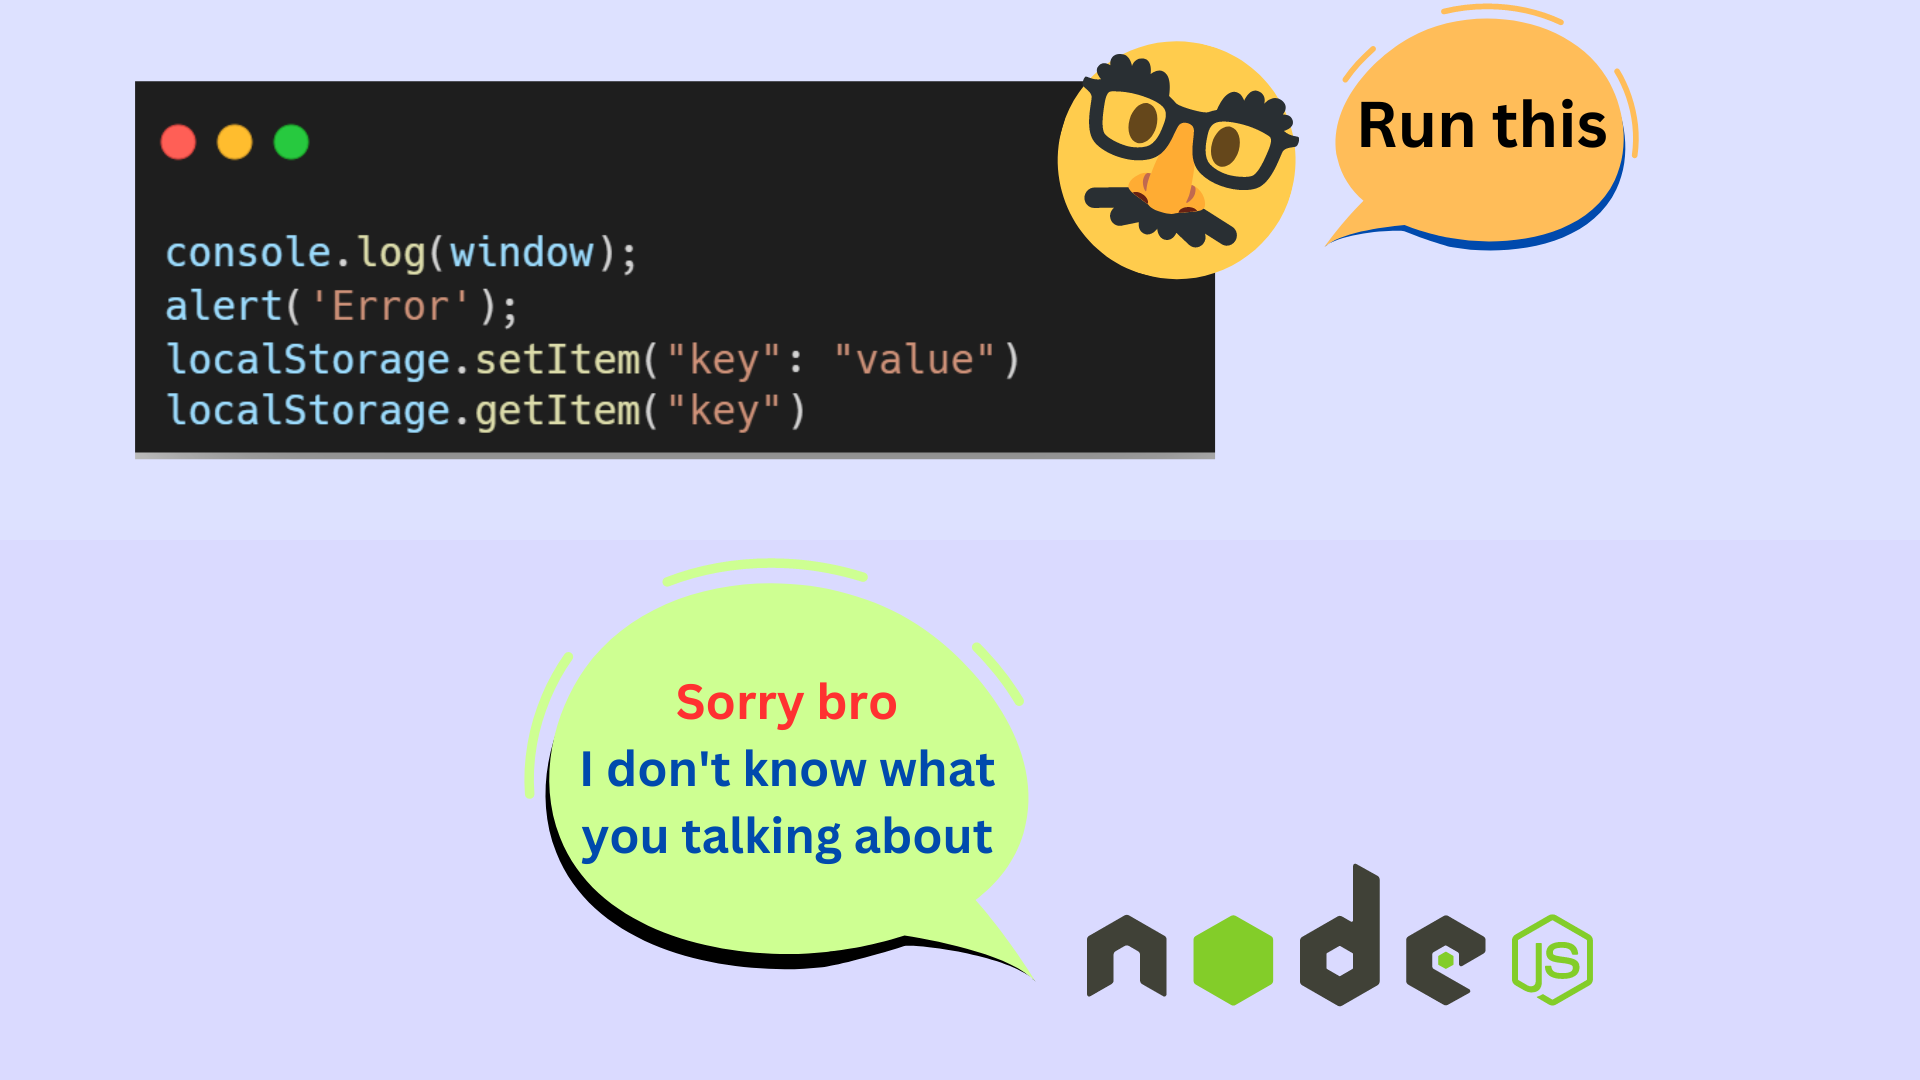
Étant donné que Node exécute le code JavaScript en dehors du navigateur Web, cela signifie qu'il n'a pas accès à certaines fonctionnalités qui ne sont disponibles que dans le navigateur, comme le DOM ou l'objet window ou même localStorage.
Cela signifie qu'à aucun moment de votre code, vous ne pouvez saisir document.querySelector() ou alert() car cela produira des erreurs (ce est ce qui est montré dans l'image ci-dessous).
Rappelez-vous : Node est destiné à la programmation côté serveur, tandis que ces fonctionnalités du navigateur sont destinées à la programmation côté client.
Les gens du front-end ne soient pas tristes – il y a plus que ça ! Node vous fournit de nombreuses API et modules avec lesquels vous pouvez effectuer diverses opérations telles que la gestion de fichiers, la création de serveurs et bien plus encore. Avant de plonger dans NodeJS, installons-le d'abord sur notre machine.
L'installation de NodeJS est simple. Si Node est déjà installé sur votre ordinateur, vous pouvez ignorer cette section. Sinon, suivez-nous.
Voici les étapes pour télécharger NodeJS sur votre ordinateur :
Remarque : Si vous rencontrez des problèmes pendant le processus d'installation, vous pouvez vous référer à la documentation officielle de NodeJS pour des instructions plus détaillées et des conseils de dépannage.
Commençons cet article par découvrir certaines variables présentes dans NodeJS appelées variables globales. Il s'agit essentiellement de variables qui stockent certaines données et sont accessibles de n'importe où dans votre code, quelle que soit la profondeur de l'imbrication du code.
Vous devez connaître ces variables globales couramment utilisées :
Utilisons-les et voyons quelle valeur ils contiennent. Pour cela, créons un nouveau dossier appelé NodeJSTut sur votre bureau et ouvrons-le avec votre éditeur de texte préféré (dans tout le didacticiel, nous utiliserons VS Code). Créez un nouveau fichier appelé app.js et ouvrez un nouveau terminal VS Code intégré.
Collez le code suivant dans le fichier app.js et enregistrez-le :
// __dirname Global Variableconsole.log(__dirname);// __filename Global Variableconsole.log(__filename);
Pour exécuter ce code à l'aide de Node, saisissez la commande suivante dans le terminal et appuyez sur Entrée : node app.js. Vous verrez le chemin absolu vers le répertoire de travail actuel et le chemin d'accès au fichier actuel est imprimé dans le terminal. Voici à quoi ressemble le résultat dans mon cas :
C:\Desktop\NodeJSTut
C:\Desktop\NodeJSTut\app.js
Vous pouvez continuer et créer vos propres variables globales accessibles depuis n'importe où dans votre code. Vous pouvez le faire, comme ceci :
// Define a global variable in NodeJSglobal.myVariable = 'Hello World';// Access the global variableconsole.log(myVariable); // Output: Hello World
Dans Node.js, un module est essentiellement un bloc de code réutilisable qui peut être utilisé pour effectuer un ensemble spécifique de tâches. tâches ou fournir une fonctionnalité spécifique. Un module peut contenir des variables, des fonctions, des classes, des objets ou tout autre code pouvant être utilisé pour accomplir une tâche ou un ensemble de tâches particulier.
L'objectif principal de l'utilisation de modules dans Node.js est d'aider à organiser codez en morceaux plus petits et plus faciles à gérer. Un module peut ensuite être importé à tout moment et utilisé de manière flexible, ce qui facilite la création de composants de code réutilisables qui peuvent être partagés sur plusieurs projets.
Pour comprendre cela, considérons cet exemple : disons que vous avez défini de nombreuses fonctions dans votre code qui fonctionne avec un énorme volume de données JSON.
La perte de sommeil et l'augmentation des niveaux d'anxiété sont des effets secondaires courants du stockage de tous ces éléments (fonctions données une autre logique) dans un seul fichier.
Alors vous, en tant que programmeur intelligent, avez pensé à créer un fichier séparé pour les données JSON et un fichier séparé pour stocker toutes les fonctions. Désormais, vous pouvez simplement importer les données et les fonctions quand vous le souhaitez et les utiliser en conséquence. Cette méthode augmente l'efficacité à mesure que la taille de votre fichier diminue considérablement. C'est le concept des modules !
Voyons comment nous pouvons créer nos propres modules. Pour cela, nous allons écrire du code dans lequel nous définirons une fonction appelée sayHello() dans un fichier appelé hello.js. Cette fonction acceptera un nom comme paramètre et imprimera simplement un message de bienvenue dans la console.
Nous l'importerons ensuite dans un autre fichier appelé app.js et l'utiliserons là. Comme c'est intéressant, non ?? Voyons le code :
Voici le code dans le fichier hello.js :
function sayHello(name){
console.log(`Hello ${name}`);}module.exports = sayHelloVoici le code dans le fichier app.js :
const sayHello = require('./hello.js');sayHello('John');sayHello('Peter');sayHello('Rohit');Le fichier hello.js peut être appelé le module dans ce cas. Chaque module possède un objet appelé exports qui doit contenir tous les éléments que vous souhaitez exporter à partir de ce module, comme des variables ou des fonctions. Dans notre cas, nous définissons une fonction dans le fichier hello.js et l'exportons directement.
Le fichier app.js importe la fonction sayHello() de hello.js et la stocke dans la variable sayHello . Pour importer quelque chose depuis un module, nous utilisons la méthode require() qui accepte le chemin d'accès au module. Maintenant, nous pouvons simplement invoquer la variable et passer un nom en paramètre. L'exécution du code dans le fichier app.js produira le résultat suivant :
Hello John
Hello Peter
Hello Rohit
Dans la section précédente de l'article, nous avons vu comment utiliser le module. exports, mais j'ai pensé qu'il était important de comprendre comment cela fonctionne un peu plus en détail. Par conséquent, cette section de l'article est comme un mini didacticiel dans lequel nous verrons comment exporter une variable/fonction ainsi que plusieurs variables et fonctions à l'aide de module.exports. Alors, commençons :
module.exports est un objet spécial dans NodeJS qui vous permet d'exporter des fonctions, des objets ou des valeurs d'un module, afin que d'autres modules puissent y accéder et les utiliser. Voici un exemple d'utilisation de module.exports pour exporter une fonction à partir d'un module :
// myModule.jsfunction myFunction() {
console.log('Hello from myFunction!');}module.exports = myFunction;Dans cet exemple, nous définissons une fonction myFunction puis l'exportons à l'aide de module.exports. D'autres modules peuvent désormais nécessiter ce module et utiliser la fonction exportée :
// app.jsconst myFunction = require('./myModule');myFunction(); // logs 'Hello from myFunction!'Tout semble bien maintenant et la vie est belle. Mais le problème se pose lorsque nous devons exporter plusieurs fonctions et variables à partir d’un seul fichier. Le fait est que lorsque vous utilisez module.exports plusieurs fois dans un seul module, il remplacera la valeur précédemment attribuée par la nouvelle. Considérez ce code :
// module.jsfunction myFunction() {
  console.log('Hello from myFunction!');}function myFunction2() {
console.log('Hello from myFunction2!');}// First Exportmodule.exports = myFunction;// Second Exportmodule.exports = myFunction2;Dans cet exemple, nous exportons d'abord myFunction(). Mais nous remplaçons ensuite module.exports par une nouvelle fonction : myFunction2(). Par conséquent, seule la deuxième instruction d'exportation prendra effet et la fonction myFunction() ne sera pas exportée.
Ce problème peut être résolu si vous attribuez module.exports à un objet qui contient toutes les fonctions que vous souhaitez exporter, comme ceci :
// myModule.jsfunction myFunction1() {
  console.log('Hello from myFunction1!');}function myFunction2() {
  console.log('Hello from myFunction2!');}module.exports = {
  foo: 'bar',
  myFunction1: myFunction1,
myFunction2: myFunction2};Dans cet exemple, nous exportons un objet avec trois propriétés : foo, myFunction1 et myFunction2. D'autres modules peuvent nécessiter ce module et accéder à ces propriétés :
// app.jsconst myModule = require('./myModule');console.log(myModule.foo); // logs 'bar'myModule.myFunction1(); // logs 'Hello from myFunction1!'myModule.myFunction2(); // logs 'Hello from myFunction2!'To summarize, you can use module.exports as many times as you want in your NodeJS code, but you should be aware that each new assignment will replace the previous one. You should use an object to group multiple exports together.
There are 2 types of modules in NodeJS:
Here is an image of popular built-in modules in NodeJS and what can you do using them:

Let's go over each of these in more detail so you can learn more about what they do.
The OS Module (as its name implies) provides you methods/functions with which you can get information about your Operating System.
To use this module, the first step is to import it like this:
const os = require('os');This is how you can use the OS Module to get information about the Operating System:?
const os = require('os')// os.uptime()const systemUptime = os.uptime();// os.userInfo()const userInfo = os.userInfo();// We will store some other information about my WindowsOS in this object:const otherInfo = {
    name: os.type(),
    release: os.release(),
    totalMem: os.totalmem(),
freeMem: os.freemem(),}// Let's Check The Results:console.log(systemUptime);console.log(userInfo);console.log(otherInfo);This is the output of the above code:
Note that the output shows information about the Windows Operating System running on my system. The output could be different from yours.
521105
{
    uid: -1,
    gid: -1,
    username: 'krish',
    homedir: 'C:\\Users\\krish',
    shell: null
}
{
    name: 'Windows_NT',
    release: '10.0.22621',
    totalMem: 8215212032,
    freeMem: 1082208256
}Let's break down the above code and output:
    {
        uid: -1,
        gid: -1,
        username: 'krish',
        homedir: 'C:\\Users\\krish',
        shell: null
}The uid and gid is set to -1 in Windows, because Windows does not have the concept of user IDs like Unix-based systems. The username of my OS is krish and the home directory is 'C:\\Users\\krish'. The shell is set to null because the concept of a default shell does not exist on Windows. Windows has a default command interpreter program called Command Prompt (cmd.exe), which runs commands and manages the system.
The other methods related to OS Module like os.type(), os.release() and so on, which you saw in the above code has been used within the otherInfo object. Here is a breakdown of what these methods do:
This is the information which the above methods display about my OS:
{
    name: 'WindowsNT', // Name of my OS
    release: '10.0.22621', // Release Version of my OS
    totalMem: 8215212032, // Total Memory Available in bytes (~ 8 GB)
freeMem: 1082208256 // Free Memory Available in bytes (~ 1 GB) }The PATH module comes in handy while working with file and directory paths. It provides you with various methods with which you can:
You an see the PATH Module in action in the code below.
Code:
// Import 'path' module using the 'require()' method:const path = require('path')// Assigning a path to the myPath variableconst myPath = '/mnt/c/Desktop/NodeJSTut/app.js'const pathInfo = {
    fileName: path.basename(myPath),
    folderName: path.dirname(myPath),
    fileExtension: path.extname(myPath),
    absoluteOrNot: path.isAbsolute(myPath),
detailInfo: path.parse(myPath),}// Let's See The Results:console.log(pathInfo);Output:
{
  fileName: 'app.js',
  folderName: '/mnt/c/Desktop/NodeJSTut',
  fileExtension: '.js',
  absoluteOrNot: true,
  detailInfo: {
    root: '/',
    dir: '/mnt/c/Desktop/NodeJSTut',
    base: 'app.js',
    ext: '.js',
    name: 'app'
  }
}Let's have a detailed breakdown of the above code and its output:
The first and foremost step to work with path module is to import it in the app.js file using the require() method.
Next, we are assigning a path of some file to a variable called myPath. This can be a path to any random file. For the purpose of understanding the path module, I chose this: /mnt/c/Desktop/NodeJSTut/app.js.
Using the myPath variable, we will understand the path module in detail. Let's check out the functions which this module has to offer and what can we do with it:
However, if you just change the myPath variable to this: Desktop/NodeJSTut/app.js (converting it to a relative path), isAbsolute() returns false.
Before continuing with the other functions of the path module, we need to understand something called path separator and the path structure.
You must have seen that the path to a same file looks different in different Operating Systems. For example, consider the path to a file named example.txt located in a folder called Documents on the desktop of a Windows user:
C:\Users\username\Desktop\Documents\example.txt
On the other hand, the file path to the same file for a user on a macOS system would look like this:
/Users/username/Desktop/Documents/example.txt
2 differences are to be noted here:
With this in mind, let's move ahead and understand some other functions provided by the path module:
console.log(path.join('grandParentFolder', 'parentFolder', 'child.txt'))The above code prints different results for different Operating Systems.
In Windows, it will give this output: grandParentFolder\parentFolder\child.txt while in macOS/Linux, it will give this output: grandParentFolder/parentFolder/child.txt. Note that the difference is only in the path separators - backward slash and forward slash.
Suppose you are a Windows user and the absolute path to your present working directory is this: C:\Desktop\NodeJSTut, If you run this code:
console.log(path.resolve('grandParentFolder', 'parentFolder', 'child.txt'));You will see the following output in the console:
C:\Desktop\NodeJSTut\grandParentFolder\parentFolder\child.txt
The same is applicable to a macOS or a Linux user. It's just the difference in the absolute path of the present working directory and the path separator.
Ce qui précède est le contenu détaillé de. pour plus d'informations, suivez d'autres articles connexes sur le site Web de PHP en chinois!
 qu'est-ce que nodejs
 Nodejs implémente le robot d'exploration
 La différence entre les ports d'accès et les ports réseau
 Comment supprimer complètement MongoDB si l'installation échoue
 Encyclopédie ChatGPT nationale gratuite
 Logiciel de création de site internet
 Comment utiliser la fonction vlookup
 Comment utiliser la porte dérobée Shift


![[Web front-end] Démarrage rapide de Node.js](https://img.php.cn/upload/course/000/000/067/662b5d34ba7c0227.png)


