Maison > interface Web > tutoriel HTML > Introduction détaillée aux nouveaux sélecteurs en CSS3

Introduction détaillée aux nouveaux sélecteurs en CSS3

零下一度
Libérer: 2017-07-24 10:20:17
original
1758 Les gens l'ont consulté

1. Nouveau sélecteur en CSS3

1. 🎜> Selector:nth-chlid(n) signifie trouver le nième élément enfant et l'élément est la balise de sélection

 1 <!DOCTYPE html> 2 <html lang="en"> 3 <head> 4     <meta charset="UTF-8"> 5     <title>Title</title> 6     <style> 7         *{ 8             margin:0; 9             padding:0;10         }11         .box p,.main p{12             background:red;13             color:#fff;14             margin-top:10px;15         }16         /*找到类为box下的第三个子元素并该元素为p标签的*/17         .box p:nth-child(3){18             background:gold;19         }20         .box p:nth-of-type(3){21             background:gold;22         }23         /*找到类为main下的第三个子元素并该元素为div标签的*/24         .main div:nth-child(3){25             background: pink;26         }27         /*找到类为main下的第三个p标签*/28         .main p:nth-of-type(3){29             background:green;30         }31     </style>32 </head>33 <body>34 <div class="box">35     <p>段落1</p>36     <p>段落2</p>37     <p>段落3</p>38     <p>段落4</p>39     <p>段落5</p>40     <p>段落6</p>41 </div>42 <div class="main">43     <p>段落1</p>44     <p>段落2</p>45     <div>这是一个div</div>46     <p>段落3</p>47     <p>段落4</p>48     <p>段落5</p>49     <p>段落6</p>50 </div>51 </body>52 </html>
Copier après la connexion

2 , utilisation de nth-last-chlid(n) selector:nth-last-chlid(n) signifie trouver le nième sous-élément à partir du dernier et l'élément est le balise de sélection

3. sélecteur : contrôles de formulaire disponibles activés

4. >

5、E>F  E元素下的第一层子集

6、E~F E元素后面的兄弟元素

7、E+F 紧挨着的兄弟元素

8、属性选择器 E[data-attr]含有data-attr属性的元素

  a、E[data-attr='ok'] 含有data-attr属性的元素且它的值为"ok";

  b、E[data-attr^='ok']含有data-attr属性的元素且它的值开头含有"ok";

  c、E[data-attr$='ok']含有data-attr属性的元素且它的值结尾含有"ok";

  d、E[data-attr*='ok']含有data-attr属性的元素且它的值中含有"ok";

eg  div[data-attr = "ok"]{

  color:red;

}

二、CSS3圆角

1、设置某一个角的圆角:border-radius:左上角 右上角 右下角 左下角;

  比如设置左上角的圆角:border-top-left-radius:30px 60px;

2、同时设置四个角:border-radius:30px 20px 10px 50px;

3、设置四个角相同(常用):border-radius:20%;border-radius:50%;(是正圆)

三、CSS3阴影

1、box-shadow:水平偏移  垂直偏移  羽化大小  扩展大小  颜色  是否内阴影

注:正值向右偏移,向下偏移,默认为外阴影

box-shadow:10px 5px 20px 2px pink;
Copier après la connexion

box-shadow:0 0 20px 2px red inset;
Copier après la connexion


四、CSS3 透明度rgba(新的颜色值表示法)

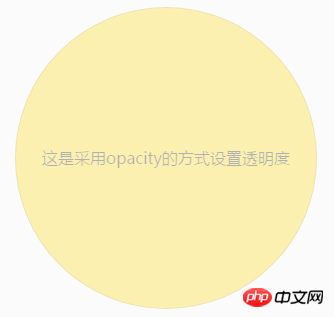
1、盒子透明度表示法:opacity:0.1;filter:alpha(opacity=10)(兼容IE)

2、rgba(0,0,0,0.1) 前三个数值表示颜色,第四个数值表示颜色的透明度
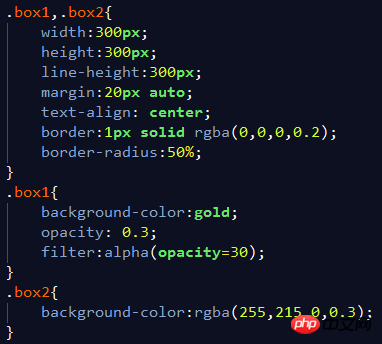
五、transition过渡动画 (需要触发)

transition:过渡属性  时间  运动方式  动画延迟

1、transition-property  设置过渡的属性,比如:width  height  background-color(是在宽度上做动画还是在高度上亦或是背景上)

2、transition-duration  设置过渡的时间,比如:1s  500ms

3、transition-time-function  设置过渡的运动方式

  a、linear  匀速

  b、ease  开始和结束慢速

  c、ease-in  开始时慢速

  d、ease-out  结束时慢速

  e、ease-in-out 开始和结束时慢速
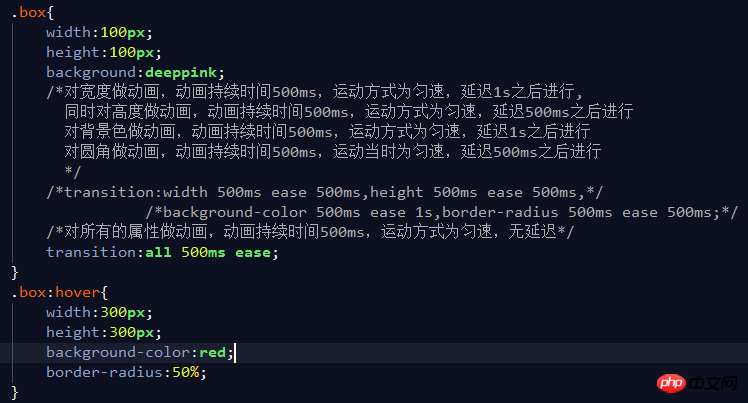
4、transition-delay  设置动画的延迟

制作图片文字遮罩

六、transform变换(一般配合transition使用,有个过渡效果不至于太突兀)

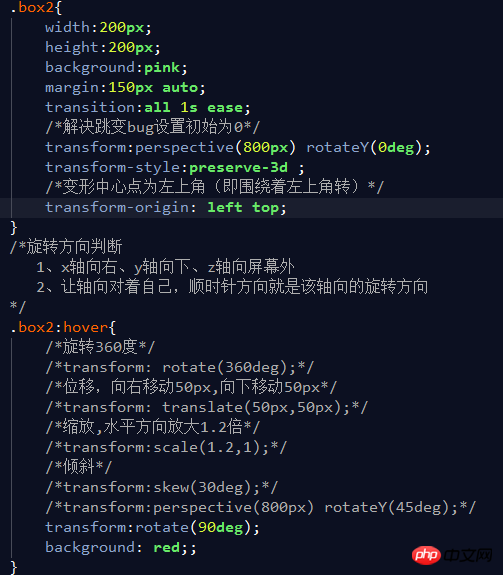
1、translate(x,y) 设置盒子位移    如:transform:translate(200px,300px);

2、scale(x,y) 设置盒子缩放          如:transform:scale(1.2,1);

3、rotate(deg) 设置盒子旋转        如:transform:rotate(360deg);

4、skew(x-angle,y-angle) 设置盒子倾斜     如:transform:skew(20deg,30deg);

5、perspective 设置透视距离(近大远小) 如:transform:perspective(800px) rotateX(30deg);

6、transform-style flat| preserve-3d 设置盒子是否按3d空间显示  如:transform-style:preserve-3d;

7、translateX、translateY、rotateZ 设置三维移动

8、rotateX、rotateY、rotateZ 设置三维旋转

9、scaleX、scaleY、scaleZ 设置三维缩放

10、transform-origin 设置变形的中心点  如:transform-origin:left top;transform-origin:20px 50px;

11、backface-visibility 设置盒子背面是否可见  如:backface-visibility:hidden;

例:翻面效果(正面是图片,鼠标点击图片之后,会翻转180度背面出现文字说明)

 1 <!DOCTYPE html> 2 <html lang="en"> 3 <head> 4     <meta charset="UTF-8"> 5     <title>翻面效果</title> 6     <style> 7         *{ 8             margin:0; 9             padding:0;10         }11         .con{12             width:200px;13             height:144px;14             border:1px solid #ccc;15             margin:100px auto;16             position: relative;17             transform-style: preserve-3d;18             transform:perspective(800px) rotateY(0deg);19         }20         .pic,.info{21             width:200px;22             height:144px;23             position:absolute;24             left:0;25             top:0;26             transform:perspective(800px) rotateY(0deg);27             backface-visibility: hidden;28             transition:all 500ms ease;29         }30         .info{31             background:gold;32             text-align: center;33             line-height: 144px;34             backface-visibility: hidden;35             transform:translateZ(2px) rotateY(180deg);36         }37         .con:hover .pic{38             transform:perspective(800px) rotateY(180deg);39         }40         .con:hover .info{41             transform:perspective(800px) rotateY(0deg);42         }43     </style>44 </head>45 <body>46     <div class="con">47         <div class="pic">48             <img src="../images/furit_01.jpg" alt="">49         </div>50         <p class="info">图片文字说明</p>51     </div>52 </body>53 </html>
Copier après la connexion

七、CSS3 animation动画(直接进行动画,不需要触发)

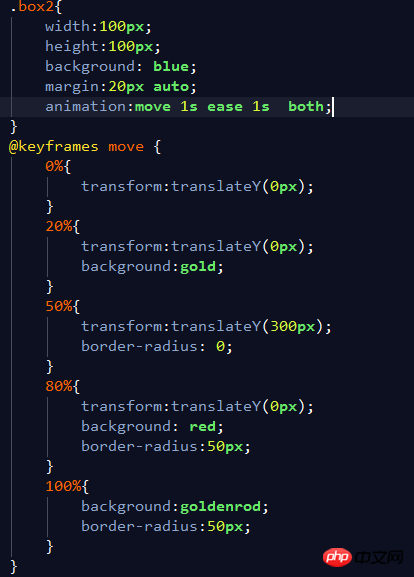
animation:动画名称 动画持续时间 动画运动方式 动画开始延迟时间 动画应用次数 动画结束后是否按原路返回 动画前后的状态;同时设置多个属性

如:animation:moving 1s ease 1s 6 alternate forwards;


1、@keyframes 定义关键帧动画  

如:@keyframes  动画名{

    from{属性:属性值}

    to{属性:属性值}

}

2、animation-name  动画名称

3、animation-duration  动画时间

4、animation-timing-function 动画曲线

  a、linear  匀速

  b、ease  开始和结束慢速

  c、ease-in  开始时慢速

  d、ease-out  结束时慢速

  e、ease-in-out 开始和结束时慢速
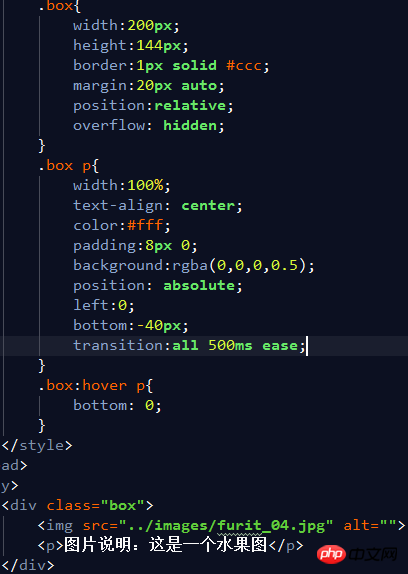
  f、steps 动画步数

5、animation-delay 动画延迟

6、animation-iteration-count 动画播放次数 n|infinite

7、animation-direction:normal 默认动画结束不返回/alternate 动画结束后返回

8、animation-play-state 动画状态

  a、paused 停止

  b、running 运动

9、animation-fill-mode  动画前后的状态

  a、none 不改变默认行为

  b、forwards 当动画完成后,保持最后一个属性值(在最后一个关键帧中定义)

  c、 backwards 在animation-delay所指定的一段时间内,在动画显示之前,应用开始属性值(在第一个关键帧中定义)
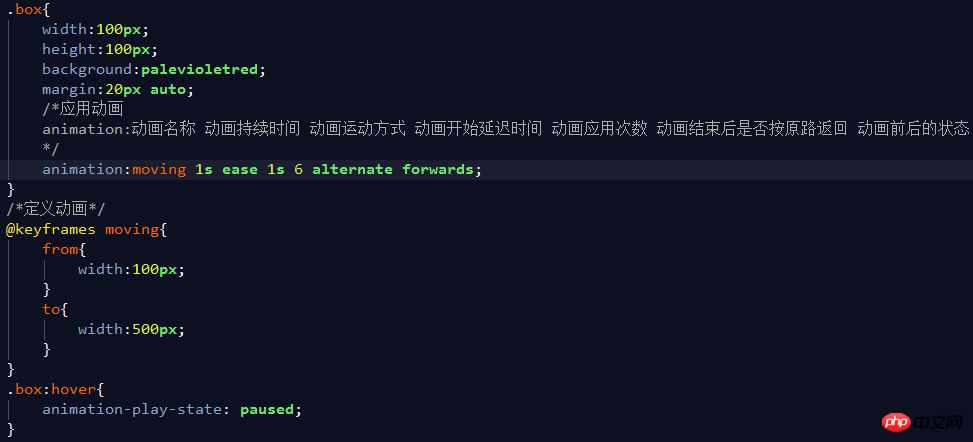
 

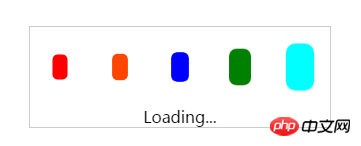
 例:loding动画,代码如下:

 1 <!DOCTYPE html> 2 <html lang="en"> 3 <head> 4     <meta charset="UTF-8"> 5     <title>Loading动画</title> 6     <style> 7         *{ 8             margin:0; 9             padding:0;10         }11         .con{12             width:300px;13             height:100px;14             margin:50px auto;15             border:1px solid #ccc;16             position: relative;17         }18         .con div{19             width:30px;20             height:50px;21             background:gold;22             margin:15px;23             float:left;24             border-radius: 10px;;25         }26         .con p{27             position: absolute;28             left:0;29             bottom:0;30             width:100%;31             text-align: center;32         }33         .con div:nth-child(1){34             background:red;35             animation:loading 500ms ease 0s infinite alternate;36         }37         .con div:nth-child(2){38             background:orangered;39             animation:loading 500ms ease 100ms infinite alternate;40 41         }42         .con div:nth-child(3){43             background: blue;44             animation:loading 500ms ease 200ms infinite alternate;45 46         }47         .con div:nth-child(4){48             background: green;49             animation:loading 500ms ease 300ms infinite alternate;50 51         }52         .con div:nth-child(5){53             background: cyan;54             animation:loading 500ms ease 400ms infinite alternate;55 56         }57         @keyframes loading {58             from{59                 transform:scale(1);60             }61             to{62                 transform: scale(0.5);63             }64         }65     </style>66 </head>67 <body>68     <div class="con">69         <div></div>70         <div></div>71         <div></div>72         <div></div>73         <div></div>74         <p>Loading...</p>75     </div>76 </body>77 </html>
Copier après la connexion

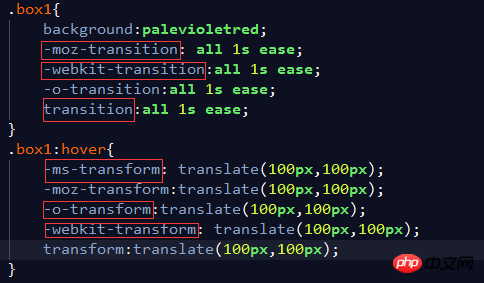
8. Préfixe de style de navigateur CSS3

1. Afin de rendre les styles CSS3 compatibles, certains styles doivent être ajoutés avec le préfixe de navigateur

a, -ms- compatible avec le navigateur IE

b, -moz- compatible avec firefox

c, -o- compatible avec opera

d, -webkit- Compatible avec Chrome et Safari

2 L'éditeur de texte Sublime ajoute automatiquement le préfixe du navigateur

Actuellement, certains. Les attributs CSS3 doivent être préfixés, certains n'ont pas besoin d'être ajoutés et d'autres ne doivent être ajoutés que partiellement. Ces tâches de préfixage peuvent être effectuées par des plug-ins, comme l'installation d'un préfixe automatique
Dans Sublime. texte, installez autoprefixer
a. Définissez les touches de raccourci {"key":["ctrl+alt+x"],"command":"autoprefixed"} dans les préférences/key Bindings-Users
grâce à cet outil pour suivre le dernier préfixe Utiliser la situation pour ajouter automatiquement le préfixe
: Dernières 7 versions : Les 7 dernières versions du navigateur
Cascade : se rétrécir dans la valeur de l'attribut d'embellissement
B, dans les préférences /paramètre du package & gt; préfixe automatique & gt; paramètre-utilisateur {
            "browsers":["dernières 7 versions"],
         "cascade":true,
         "remove":true
     }

Ce qui précède est le contenu détaillé de. pour plus d'informations, suivez d'autres articles connexes sur le site Web de PHP en chinois!

Étiquettes associées:
source:php.cn
Déclaration de ce site Web
Le contenu de cet article est volontairement contribué par les internautes et les droits d'auteur appartiennent à l'auteur original. Ce site n'assume aucune responsabilité légale correspondante. Si vous trouvez un contenu suspecté de plagiat ou de contrefaçon, veuillez contacter admin@php.cn
Tutoriels populaires
Plus>
Derniers téléchargements
Plus>
effets Web
Code source du site Web
Matériel du site Web
Modèle frontal