Cet article présente principalement la méthode d'implémentation d'un lecteur vidéo HTML simple. Il est très simple de créer un lecteur vidéo avec H5. Il vous suffit d'ajouter quelques balises H5 pour créer un lecteur sympa.
Cet article. Présente la méthode de mise en œuvre d'un simple lecteur vidéo HTML et la partage avec tout le monde. Les détails sont les suivants :
Liste des fichiers
root@tianshl:/data/video# ls
hch.mp4     test.mp4    xyx.mp4   index.html  video.list  jquery.js
<!DOCTYPE html>
<html>
<head>
<meta charset="UTF-8">
<style type="text/css">
body{
text-align: center;
}
#content-wrap{
margin-top: 50px;
display: inline-block;
}
#content{
display: flex;
}
/* 播放器 */
#video{
display: inline-block;
margin: 0;
border: 12px solid #eee;
box-sizing: border-box;
}
.video-list-wrap{
background-color: #eee;
border-right: 1px solid #fff;
}
/* 视频列表 */
.video-list{
display: inline-block;
box-sizing: border-box;
margin: 0;
width: 150px;
list-style: none;
padding: 0;
overflow: auto;
font-size: 12px;
}
/* 列表项 */
.video-item{
cursor: pointer;
width: 150px;
box-sizing: border-box;
text-align: left;
padding: 5px 0 5px 10px;
}
.video-item:not(:last-child){
border-bottom: 1px solid #fff;
}
.video-item:hover, .active{
background-color: #ddd;
color: #333;
}
/* 视频列表标题 */
.video-title{
background-color: gainsboro;
font-size: 12px;
height: 30px;
line-height: 30px;
text-align: center;
}
</style>
</head>
<body>
<p id="content-wrap">
<p id="content">
<p class="video-list-wrap">
<p class="video-title">视频列表</p>
<ul class="video-list"></ul>
</p>
</p>
</p>
</body>
<script type="text/javascript" src="./jquery.js"></script>
<script type="text/javascript">
$(function(){
var $content = $('#content');
// 初始化播放器
var init = function(src){
var $video = $('<video id="video" controls>');
$video.attr('preload', 'auto');
$video.attr('width', 720).attr('height', 405);
$video.attr('autoplay', 'autoplay');
$video.append($('<source>').attr('src', src).attr('type', 'video/mp4'));
$content.append($video);
};
/* 获取视频列表 */
var $video_list = $('.video-list');
$video_list.css('height', 340);
$.ajax({
url: "video.list",
type: "GET",
async: true,
success: function(resp){
$.each(resp.split('\n'), function(idx, item){
if (item === '') return;
var $p = $('<li>').addClass('video-item');
$p.text(item);
$p.data('path', item);
$video_list.append($p);
});
}
});
init();
/* 切换视频 */
$video_list.on('click', '.video-item', function(){
$("#video").remove();
var $this = $(this);
$this.parent().find('.active').removeClass('active');
$this.addClass('active');
init($this.data('path'));
});
})
</script>
</html># 该目录下的所有MP4文件, 供jQuery解析 root@tianshl:/data/video# ls *.mp4 > video.list
user root;
worker_processes  1;
events {
    worker_connections  1024;
}
http {
    include       mime.types;
    sendfile        on;
    keepalive_timeout  65;

    server {
        listen       8000;
        server_name  本机IP;
        location / {
            # 前两行是认证(可不加)
            auth_basic "secret";
            auth_basic_user_file /usr/local/nginx/passwd.db;

            # 路径
            root /data/video;
            # 首页
            index index.html;
        }
    }
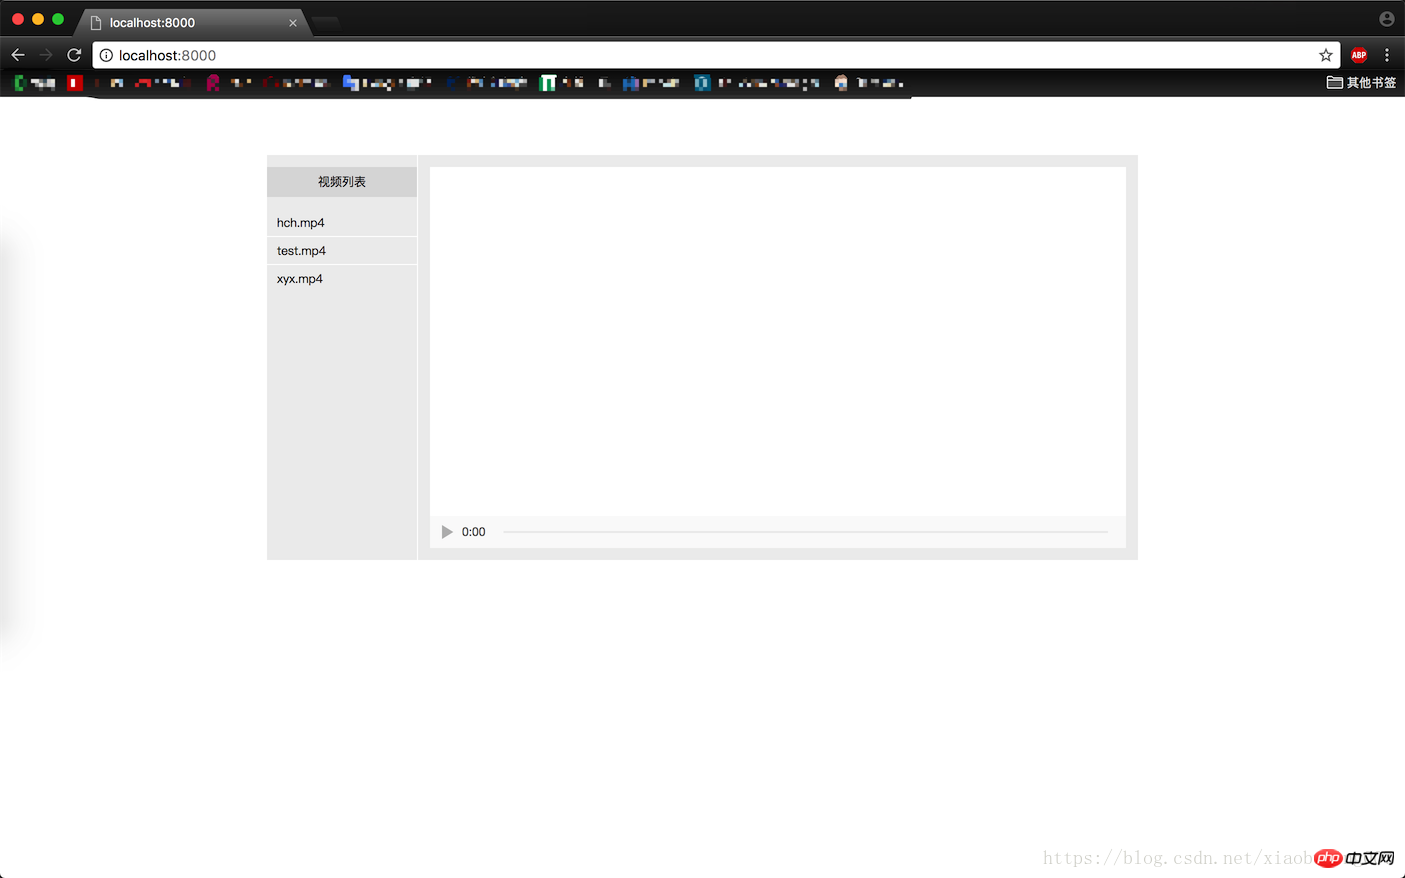
}Affichage de l'interface
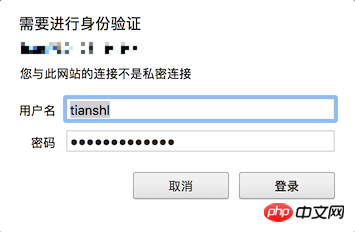
http://localhost:8000Authentification

Introduction à l'utilisation des balises vidéo HTML5
Ce qui précède est le contenu détaillé de. pour plus d'informations, suivez d'autres articles connexes sur le site Web de PHP en chinois!