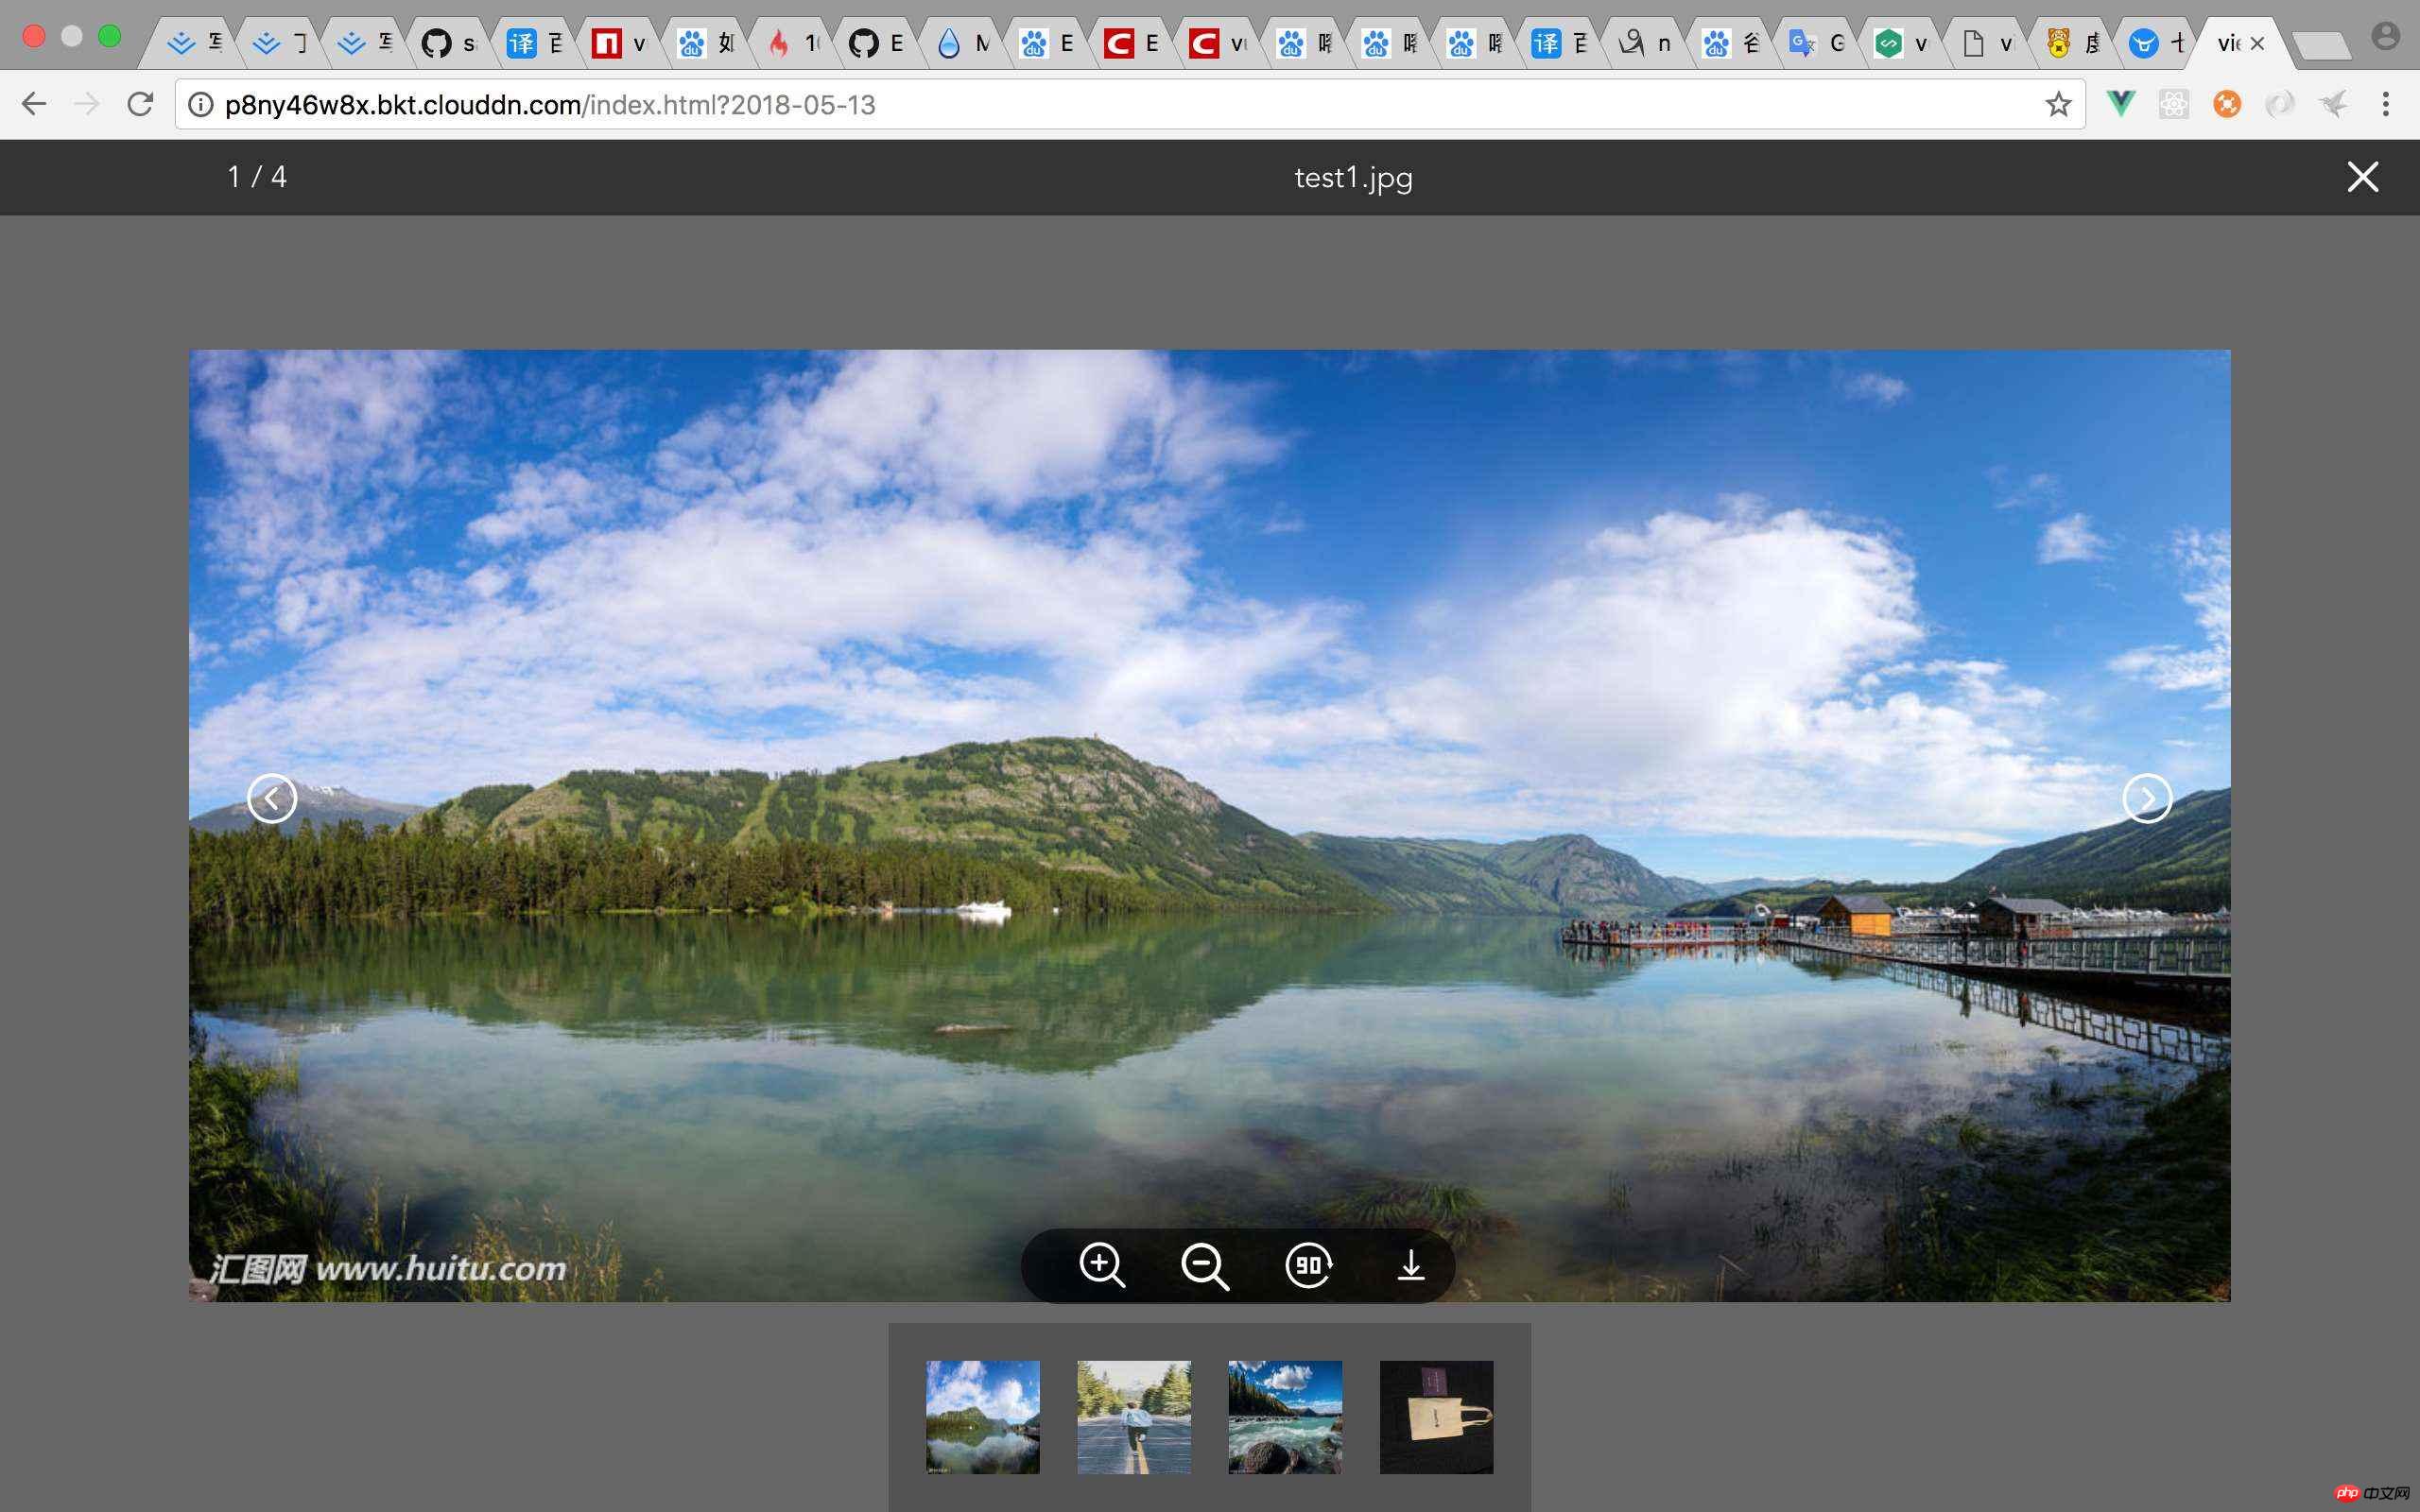
这次给大家带来如何使用Vue2x实现图片预览插件,使用Vue2x实现图片预览插件的注意事项有哪些,下面就是实战案例,一起来看一下。
先来看下Demo
LiveDemo

关于开发Vue插件的几种方式 (具体请移步官网)Vue官网
MyPlugin.install = function (Vue, options) {
 // 1. 添加全局方法或属性
 Vue.myGlobalMethod = function () {
  // 逻辑...
 }
 // 2. 添加全局资源
 Vue.directive('my-directive', {
  bind (el, binding, vnode, oldVnode) {
   // 逻辑...
  }
  ...
 })
 // 3. 注入组件
 Vue.mixin({
  created: function () {
   // 逻辑...
  }
  ...
 })
 // 4. 添加实例方法
 Vue.prototype.$myMethod = function (methodOptions) {
  // 逻辑...
 }
}我采用第一种方式来编写这个插件
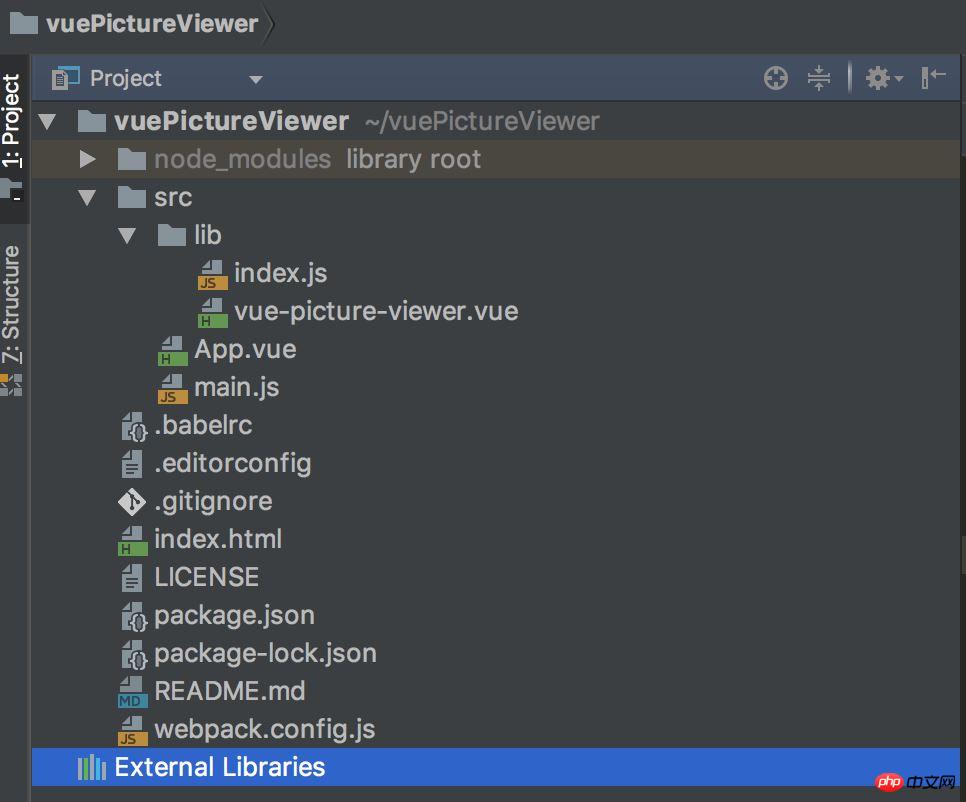
1.第一步创建项目
vue init webpack-simple youProjectName(你的项目名称)具体操作不在赘述

2.开始插件开发,编写index.js
import vuePictureViewer from './vue-picture-viewer'
const pictureviewer = {
 install (Vue, options) {
  Vue.component(vuePictureViewer.name, vuePictureViewer)
 }
}
if (typeof window !== 'undefined' && window.Vue) { // 这段代码很重要
 window.Vue.use(pictureviewer)
}
export default pictureviewer3.编写vue-picture-viewer.vue也挺简单(具体可以去看源码)
4.如何使用(main.js)
import vuePictureViewer from './lib/index.js'
Vue.use(vuePictureViewer)
App.vue
<template>
 <p id="app">
  <vue-picture-viewer :imgData="imgUrl" :switch="true" v-if="imgUrl"></vue-picture-viewer>
 </p>
</template>
<script>
export default {
 name: 'app',
 data () {
  return {
   imgUrl: [{
     url:'http://p8ny46w8x.bkt.clouddn.com/test1.jpg',
     name: 'test1.jpg'
    },
    {
     url: 'http://p8ny46w8x.bkt.clouddn.com/test2.jpg',
     name: 'test2.jpg'
    }, {
     url: 'http://p8ny46w8x.bkt.clouddn.com/test3.jpg',
     name: 'test3.jpg'
    },
    {
     url: 'http://p8ny46w8x.bkt.clouddn.com/test4.jpg',
     name: 'test4.jpg'
    }]
  }
 }
}
</script>
<style>
* {
 margin: 0;
 padding: 0;
}
html, body {
 width: 100%;
 height: 100%;
}
</style>5.打包前的配置webpack.config.js(很重要!!!)
module.exports = {
 entry: './src/lib/index.js',
 output: {
  path: path.resolve(dirname, './dist'),
  publicPath: '/dist/',
  // filename: 'build.js',
  filename: 'vue-picture-viewer.js',
  library: 'pictureViewer',
  libraryTarget: 'umd',
  umdNamedDefine: true
},6.打包成功,配置package.json
"license": "MIT", // 许可证
 "private": false, // 默认是true 私人的 需要改为false, 不然发布不成功!
 "main": "dist/vue-picture-viewer.js", 这个超级重要 决定了你 import xxx from “vue-picture-viewer” 它默认就会去找 dist下的vue-picture-viewer 文件
 "repository": {
  "type": "git",
  "url": "https://github.com/sangcz/vue-picture-viewer" // github项目地址
},7.一切Ok准备发布!
8.首先注册好npm后 添加用户
npm adduser
Username: your name
Password: your password
Email: yourmail
// 查看一下登录的是不是你自己
npm whoami
// 发布
npm publish
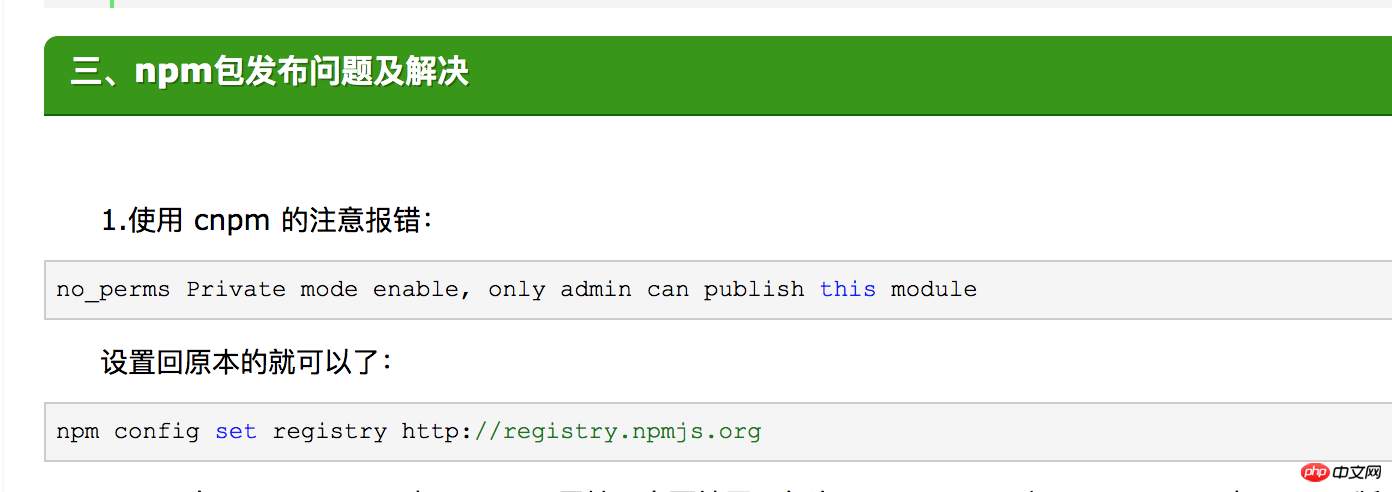
// 这里我遇到一个问题,发布失败了!
什么原因呢?

9.解决了上面的问题,发布成功了!开心
Ce qui précède est le contenu détaillé de. pour plus d'informations, suivez d'autres articles connexes sur le site Web de PHP en chinois!
 Comment modifier le texte dans l'image
 Que faire si l'image intégrée ne s'affiche pas complètement
 Comment faire apparaître les images ppt une par une
 Comment faire une image ronde en ppt
 Quels sont les composants d'un système Linux ?
 Causes et solutions du délai d'expiration de la passerelle 504
 Avantages et inconvénients du framework Flutter
 La différence entre passerelle et routeur