Cet article partagera avec vous 8 astuces CSS pour implémenter les effets de chargement. J'espère qu'il vous sera utile !
Pourquoi écrivez-vous ce genre d'article ? Au cours du développement normal, lorsque nous rencontrons un chargement, il est soit intégré au framework d'interface utilisateur, soit à Baidu, puis le CV est ajouté au projet ? Cependant, lorsque vous le mettrez en œuvre vous-même, vous n’en aurez aucune idée. Au fil du temps, je suis devenu ingénieur CV. Cet article explique les idées de différentes méthodes de chargement. J'espère que tout le monde pourra non seulement les utiliser, mais aussi les écrire. La vraie connaissance vient de la pratique. (Partage de vidéos d'apprentissage : tutoriel vidéo CSS, front-end web)
Cet article présente uniquement le chargement circulaire. D’autres seront présentés dans d’autres articles.

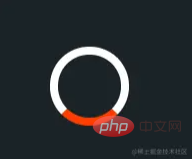
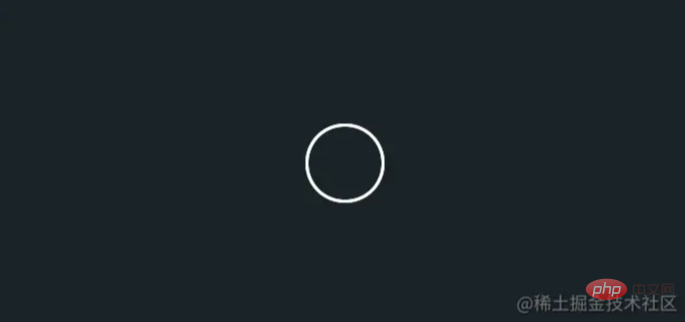
Cela devrait être le chargement CSS le plus simple. Il y a un arc rouge sur le cercle. Si vous regardez attentivement, vous constaterez que cet arc mesure exactement 1/4. . Ensuite, définissez la couleur rouge vers le bas. Lorsque le rayon de bordure est défini sur 50 %, il peut devenir un cercle.
Ajoutez une animation rotative à ce cercle. L'animation de l'angle de rotation en CSS est rotate(). Il suffit de le définir pour qu'il pivote de 0 à 360. (Cette animation sera utilisée plusieurs fois ci-dessous, je n'entrerai donc pas dans les détails ci-dessous)
 @-webkit-keyframes rotation {
    0% {
      transform: rotate(0deg);
    }
    100% {
      transform: rotate(360deg);
    }
} Code complet
.loader-1 {
    width: 48px;
    height: 48px;
    border: 5px solid #FFF;
    border-bottom-color: #FF3D00;
    border-radius: 50%;
    display: inline-block;
    -webkit-animation: rotation 1s linear infinite;
    animation: rotation 1s linear infinite;
} loader-2
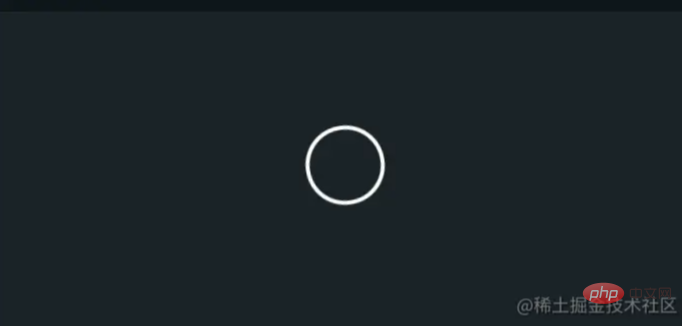
Observation : L'extérieur est un cercle, et il y a un élément rouge qui tourne.
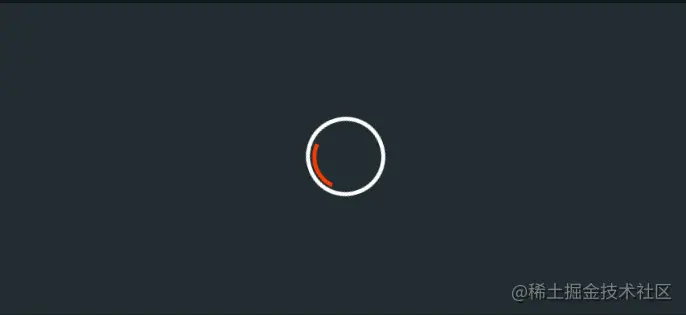
Comment réaliser le rouge à l'intérieur ? Il y a deux idées ici. 1 ; Ajoutez un nouveau petit div, placez-le à l’intérieur et définissez une bordure inférieure rouge comme Loader-1. 2 : Utilisez ::after, l’idée est la même que la méthode 1.
Plus une animation rotative.
Code complet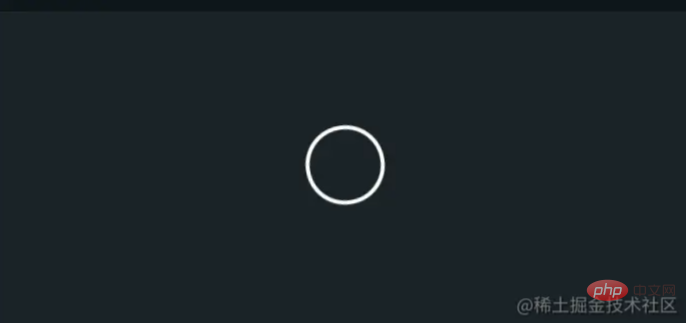
.loader-2 {
    width: 48px;
    height: 48px;
    border: 3px solid #FFF;
    border-radius: 50%;
    display: inline-block;
    position: relative;
    -webkit-animation: rotation 1s linear infinite;
    animation: rotation 1s linear infinite;
}.loader-2:after {
content: "";
position: absolute;
left: 50%;
top: 50%;
transform: translate(-50%, -50%);
width: 40px;
height: 40px;
border-radius: 50%;
border: 3px solid transparent;
border-bottom-color: #FF3D00;
}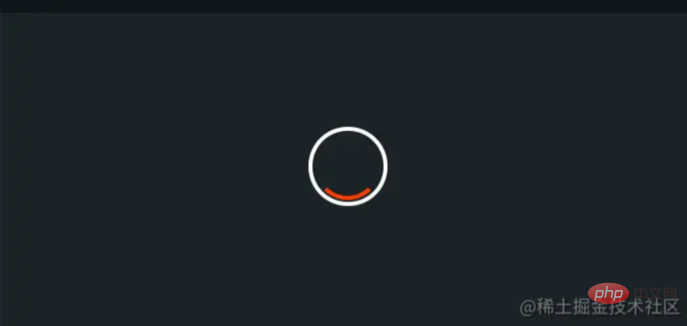
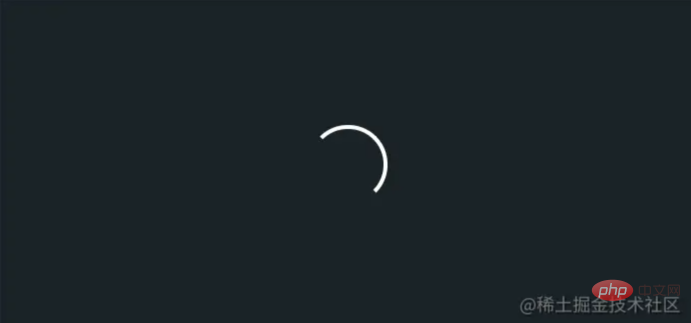
Observation : L'intérieur est un cercle et l'extérieur est un arc rouge.
.loader-3 {
    width: 48px;
    height: 48px;
    border: 3px solid #FFF;
    border-radius: 50%;
    display: inline-block;
    position: relative;
    -webkit-animation: rotation 1s linear infinite;
    animation: rotation 1s linear infinite;
}.loader-3:after {
content: "";
position: absolute;
left: 50%;
top: 50%;
transform: translate(-50%, -50%);
width: 56px;
height: 56px;
border-radius: 50%;
border: 3px solid transparent;
border-bottom-color: #FF3D00;
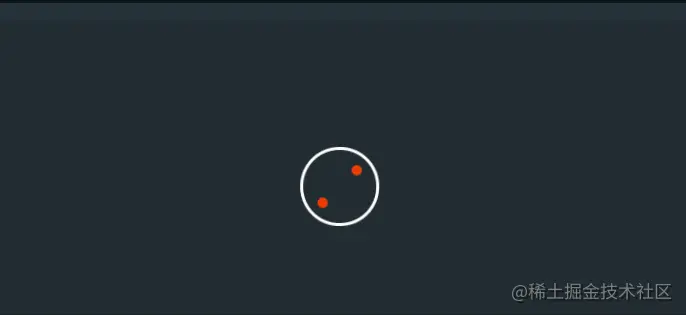
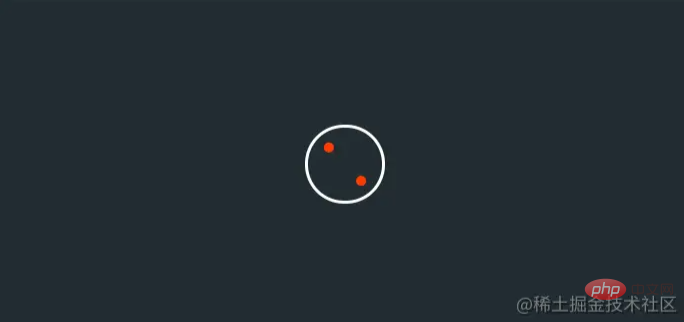
}Observation : Il y a un cercle à l'extérieur et deux cercles à l'intérieur. Ces deux cercles sont exactement symétriques.

Comment réaliser le rouge à l'intérieur ? Il y a deux idées ici. 1 ; Ajoutez deux petits div, définissez la couleur d’arrière-plan sur rouge, puis définissez les coins à 50 %, afin qu’ils ressemblent à deux petits points. 2 : Utilisez ::after et ::before, l'idée est la même que la méthode 1.
Plus une animation rotative.
Code complet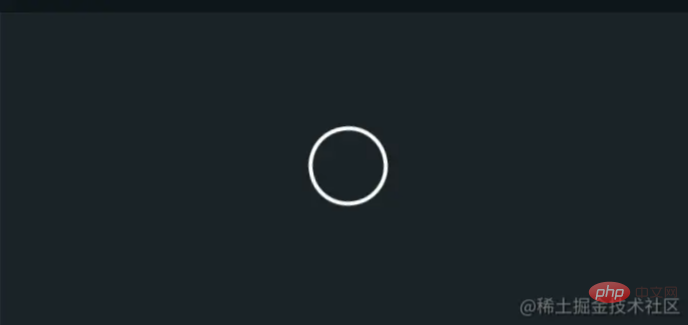
.loader-4 {
    width: 48px;
    height: 48px;
    border: 2px solid #FFF;
    border-radius: 50%;
    display: inline-block;
    position: relative;
    -webkit-animation: rotation 1s linear infinite;
    animation: rotation 1s linear infinite;
}.loader-4:before {
left: auto;
top: auto;
right: 0;
bottom: 0;
content: "";
position: absolute;
background: #FF3D00;
width: 6px;
height: 6px;
transform: translate(-150%, -150%);
border-radius: 50%;
}.loader-4:after {
content: "";
position: absolute;
left: 0;
top: 0;
background: #FF3D00;
width: 6px;
height: 6px;
transform: translate(150%, 150%);
border-radius: 50%;
}
Observation : Il y a trois couches au total, le cercle blanc le plus extérieur, le cercle rouge du milieu et le cercle blanc intérieur. Il y a un espace d'un demi-arc dans chaque cercle, et le sens de rotation du cercle extérieur et du cercle le plus intérieur est le même.
一个宽高相等的容器,加上白色的边,50%的圆角。这样就是外围的圈。
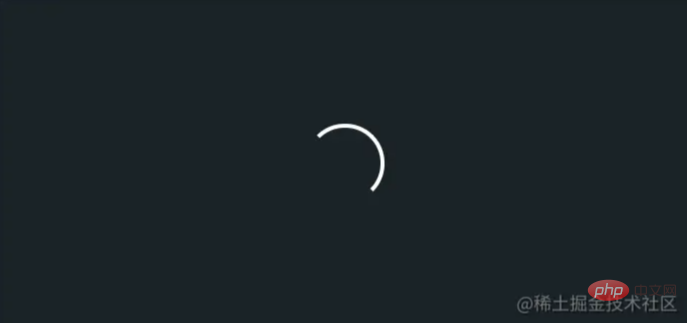
这里的问题是,圈的缺口如何实现,其实很简单,在css中有一个属性值:transparent,利用这个值给边框设置透明,即可实现缺口。

对于内部的红色和白色圆弧,继续使用::after和::before即可。
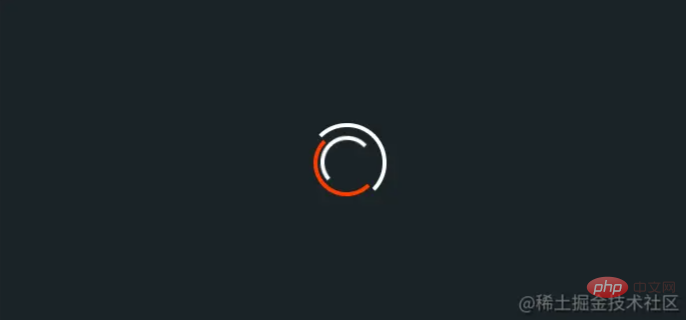
加上动画,这里有一个反方向旋转的动画(rotationBack)。 这里设置旋转是往负角度,旋转即可反方向旋转。
  @keyframes rotationBack {
    0% {
      transform: rotate(0deg);
    }
    100% {
      transform: rotate(-360deg);
    }
}完整代码
.loader-5 {
    width: 48px;
    height: 48px;
    border-radius: 50%;
    display: inline-block;
    position: relative;
    border: 3px solid;
    border-color: #FFF #FFF transparent transparent;
    -webkit-animation: rotation 1s linear infinite;
    animation: rotation 1s linear infinite;
}.loader-5:before {
width: 32px;
height: 32px;
border-color: #FFF #FFF transparent transparent;
-webkit-animation: rotation 1.5s linear infinite;
animation: rotation 1.5s linear infinite;
}.loader-5:after, .loader-5:before {
content: "";
position: absolute;
left: 0;
right: 0;
top: 0;
bottom: 0;
margin: auto;
border: 3px solid;
border-color: transparent transparent #FF3D00 #FF3D00;
width: 40px;
height: 40px;
border-radius: 50%;
-webkit-animation: rotationBack 0.5s linear infinite;
animation: rotationBack 0.5s linear infinite;
transform-origin: center center; *
}
观察:看上去像是一个时钟,一个圆里面有一根指针。
实现逻辑
一个宽高相等的容器,加上白色的边,50%的圆角。这样就是外围的圈。

指针是如何实现的:从这里开始不再讨论新增div的情况。 其实红色的指针就是一个单纯的宽高不一致的容器。

完整代码
.loader-6 {
    width: 48px;
    height: 48px;
    border: 2px solid #FFF;
    border-radius: 50%;
    display: inline-block;
    position: relative;
    -webkit-animation: rotation 1s linear infinite;
    animation: rotation 1s linear infinite;
}.loader-6:after {
content: "";
position: absolute;
left: 50%;
top: 0;
background: #FF3D00;
width: 3px;
height: 24px;
transform: translateX(-50%);
}
观察:首先确定几个圈,一共两个。当第一个圈还没消失,第二个圈已经出现。最后出现了类似水波的效果。同时要注意的是,这两个两个圈是一样大的,这是因为他们最终消失的地方是一致的。
首先确定,这两个圈是否在容器上。上面一直时在容器上添加边框,当然这个例子也可以,但是为了实现的简单,我们把这两个圈放在::after和::before中。

加上动画,这里的圈是逐渐放大的,在CSS中scale用来放大缩小元素。同时为了实现波纹逐渐清晰的效果,我们加上透明度。
  @keyframes animloader7 {
    0% {
      transform: scale(0);
      opacity: 1;
    }
    100% {
      transform: scale(1);
      opacity: 0;
    }
}完整代码
这里因为两个圈是先后出现的,所以需要一个圈加上delay
.loader-7 {
    width: 48px;
    height: 48px;
    display: inline-block;
    position: relative;
}.loader-7::after, .loader--7::before {
content: "";
width: 48px;
height: 48px;
border-radius: 50%;
border: 2px solid #FFF;
position: absolute;
left: 0;
top: 0;
-webkit-animation: animloader7 2s linear infinite;
animation: animloader7 2s linear infinite;
}.loader-7::after {
-webkit-animation-delay: 1s;
animation-delay: 1s;
}
.loader-7::after, .loader-7::before {
content: "";
width: 48px;
height: 48px;
border-radius: 50%;
border: 2px solid #FFF;
position: absolute;
left: 0;
top: 0;
-webkit-animation: animloader7 2s linear infinite;
animation: animloader7 2s linear infinite;
}
观察:一段圆弧加上一个三角形。
实现逻辑
一个宽高相等的容器,加上白色的边,50%的圆角。这样就是外围的圈。

transparent,利用这个值给边框设置透明,即可实现缺口。
在:after上创建箭头。CSS中我们有多种方法实现三角形,其中最简单是使用border,不需要给元素设置宽高,只需要设置border的大小,并且只有一边设置颜色。
border: 10px solid transparent;
border-right-color: #FFF
加上旋转动画。
完整代码
.loader-8 {
    width: 48px;
    height: 48px;
    border: 3px solid #FFF;
    border-bottom-color: transparent;
    border-radius: 50%;
    display: inline-block;
    position: relative;
    -webkit-animation: rotation 1s linear infinite;
    animation: rotation 1s linear infinite;
}.loader-8:after {
content: "";
position: absolute;
left: 20px;
top: 31px;
border: 10px solid transparent;
border-right-color: #FFF;
transform: rotate(-40deg);
}本文转载自:https://juejin.cn/post/7018466377551839269
作者:前端picker
更多编程相关知识,请访问:编程入门!!
Ce qui précède est le contenu détaillé de. pour plus d'informations, suivez d'autres articles connexes sur le site Web de PHP en chinois!
