タイムライン効果の CSS3 実装
最近、コンピューターをオンにしたときに、Geek Academy の新規ユーザーは 1 か月間無料の VIP を利用できることがわかりました。そのため、コースについてはここでは触れませんが、実践的な効果が見られました。パスマップページ:

これはタイムラインに似ており、マウスホバーのすべての部分にドロップダウン効果があり、スクリーンショット情報を展開して紹介します。その効果は非常に優れています。ただし、このエフェクトは動的な追加にはあまり柔軟ではないようです。高さは幅ほど柔軟ではないため、1 つずつ追加する必要があります。それらの多くはディスプレイ効果のために作られています。
もちろん、私はこのアイデアに基づいて、主に全体のレイアウト効果をベースに、いくつかのより単純な同様の効果も作成しました。また、個々のコンテンツの特定の部分を模倣するわけではありません。また、より面白くするために、オープニングアニメーションも自分で追加しました。 ..
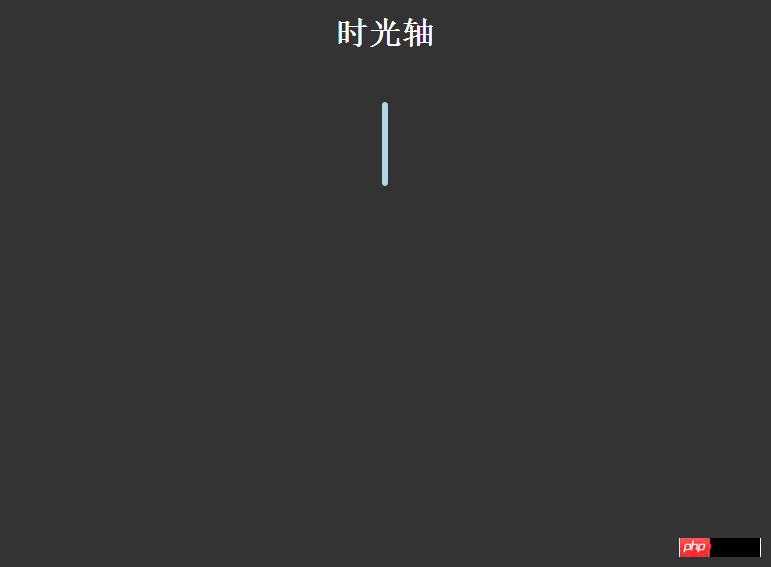
最初に効果を見てみましょう:

効果はおそらく次のとおりです。これ以上の苦労はせずに、直接トピックに進みましょう:
HTML 構造:
<p class="timezone">
            <p class="time">
                <h2 id="">2015-07-02</h2>
                <p>
                    <p>暴走大事件第一季</p>
                    <ul>

                    </ul>
                </p>
            </p>
            <p class="timeLeft" style="top: 100px;">
                <h2 id="">2015-07-02</h2>
                <p>
                    <p>暴走大事件第二季</p>
                    <ul>

                    </ul>
                </p>
</p>これは簡略化されたものです。 HTML 構造。右側に time クラスが表示され、左側に .timeLeft が表示されます。その後、余白を追加して、各ブロックのコンテンツを削除します。
CSS スタイル コードは次のとおりです:
body{
                background: #333;
            }
            h1{
                text-align: center;
                color:#fff;
            }
            .timezone{
                width:6px;
                height: 350px;
                background: lightblue;
                margin: 0 auto;
                margin-top:50px;
                border-radius: 3px;
                position: relative;
                -webkit-animation: heightSlide 2s linear;
            }
            @-webkit-keyframes heightSlide{
                0%{
                    height: 0;
                }
                100%{
                    height: 350px;
                }
            }
            .timezone:after{
                content: '未完待续...';
                width: 100px;
                color:#fff;
                position: absolute;
                margin-left: -35px;
                bottombottom: -30px;
                -webkit-animation: showIn 4s ease;
            }
            .timezone .time,.timezone .timeLeft{
                position: absolute;
                margin-left: -10px;
                margin-top:-10px;
                width:20px;
                height:20px;
                border-radius: 50%;
                border:4px solid rgba(255,255,255,0.5);
                background: lightblue;
                -webkit-transition: all 0.5s;
                -webkit-animation: showIn ease;
            }
            .timezone .time:nth-child(1){
                -webkit-animation-duration:1s;
            }
            .timezone .timeLeft:nth-child(2){
                -webkit-animation-duration:1.5s;
            }
            .timezone .time:nth-child(3){
                -webkit-animation-duration:2s;
            }
            .timezone .timeLeft:nth-child(4){
                -webkit-animation-duration:2.5s;
            }
            @-webkit-keyframes showIn{
                0%,70%{
                    opacity: 0;
                }
                100%{
                    opacity: 1;
                }
            }
            .timezone .time h2,.timezone .timeLeft h2{
                position: absolute;
                margin-left: -120px;
                margin-top: 3px;
                color:#eee;
                font-size: 14px;
                cursor:pointer;
                -webkit-animation: showIn 3s ease;
            }
            .timezone .timeLeft h2{
                margin-left: 60px;
                width: 100px;
            }
            .timezone .time:hover,.timezone .timeLeft:hover{
                border:4px solid lightblue;
                background: lemonchiffon;
                box-shadow: 0 0 2px 2px rgba(255,255,255,0.4);
            }
            .timezone .time p,.timezone .timeLeft p{
                position: absolute;
                top:50%;
                margin-top: -25px;
                left:50px;
                width: 300px;
                height: 50px;
                background: lightblue;
                border:3px solid #eee;
                border-radius: 10px;
                z-index: 2;
                overflow: hidden;
                cursor:pointer;
                -webkit-animation: showIn 3s ease;
                -webkit-transition: all 0.5s;
            }
            .timezone .timeLeft p{
                left:-337px;
            }
            .timezone .time p:hover,.timezone .timeLeft p:hover{
                height: 170px;
            }
            .timezone .time p p,.timezone .timeLeft p p{
                color: #fff;
                font-weight: bold;
                text-align: center;
            }
            .timezone .time:before,.timezone .timeLeft:before{
                content: '';
                position: absolute;
                top:0px;
                left: 32px;
                width: 0px;
                height: 0px;
                border:10px solid transparent;
                border-right:10px solid #eee;
                z-index:-1;
                -webkit-animation: showIn 3s ease;
            }
            .timezone .timeLeft:before{
                left:-33px;
                border:10px solid transparent;
                border-left:10px solid #eee;
            }
            .timezone .time p ul,.timezone .timeLeft p ul{
                list-style: none;
                width:300px;
                padding:5px 0 0;
                border-top:2px solid #eee;
                color:#fff;
                text-align: center;
            }
            .timezone .time p li,.timezone .timeLeft p li{
                display: inline-block;
                height: 25px;
                line-height: 25px;
}この CSS スタイル コードは、あまり実用的ではなく、体系化されていません。アニメーションの効果と全体的なレイアウトを理解することが重要です。幸運を!
以上がこの記事の全内容です。皆さんの学習に役立つことを願っています。また、皆さんも PHP 中国語 Web サイトをサポートしていただければ幸いです。
タイムライン効果の CSS3 実装に関連するその他の記事については、PHP 中国語 Web サイトに注目してください。

ホットAIツール

Undresser.AI Undress
リアルなヌード写真を作成する AI 搭載アプリ

AI Clothes Remover
写真から衣服を削除するオンライン AI ツール。

Undress AI Tool
脱衣画像を無料で

Clothoff.io
AI衣類リムーバー

AI Hentai Generator
AIヘンタイを無料で生成します。

人気の記事

ホットツール

メモ帳++7.3.1
使いやすく無料のコードエディター

SublimeText3 中国語版
中国語版、とても使いやすい

ゼンドスタジオ 13.0.1
強力な PHP 統合開発環境

ドリームウィーバー CS6
ビジュアル Web 開発ツール

SublimeText3 Mac版
神レベルのコード編集ソフト(SublimeText3)

ホットトピック
 7555
7555
 15
15
 1382
1382
 52
52
 83
83
 11
11
 28
28
 96
96
 純粋な CSS3 で波の効果を実現するにはどうすればよいですか? (コード例)
Jun 28, 2022 pm 01:39 PM
純粋な CSS3 で波の効果を実現するにはどうすればよいですか?この記事ではSVGとCSSアニメーションを使って波のエフェクトを作成する方法をご紹介しますので、お役に立てれば幸いです。
 CSSを上手に使って色々な変わった形のボタンを実現(コード付き)
Jul 19, 2022 am 11:28 AM
この記事では、頻繁に登場する様々な奇妙な形のボタンをCSSを使って簡単に実現する方法を紹介しますので、ぜひ参考にしてください。
 スペースを取らずにCSS内の要素を非表示にする方法
Jun 01, 2022 pm 07:15 PM
2 つの方法: 1. display 属性を使用して、要素に「display:none;」スタイルを追加するだけです。 2. Position 属性と top 属性を使用して、要素の絶対位置を設定し、要素を非表示にします。要素に「position:absolute;top:-9999px;」スタイルを追加するだけです。
 PPTでタイムラインを作成する方法
Mar 20, 2024 pm 04:11 PM
多くの友人は、PPT を作成するときに、制作が単調すぎて、その中の全員またはすべての特徴が強調されていないと常に感じています。したがって、PPT の単調さを減らし、コンテンツをより組織的に表示するには、PPT のタイムラインを使用して PPT をより鮮明にすることができます。そして面白いですか?次に、エディターと一緒に見てみましょう。覚えたら、友達の前で自慢できます。 1. まず PPT を開き、新しい空のドキュメントを作成し、[挿入]、[SmartArt グラフィック] の順にクリックします。 2. [処理] をクリックし、いずれかをクリックして、[OK] を押します。 3. 好きなようにできる
 CSS3でレースボーダーを実装する方法
Sep 16, 2022 pm 07:11 PM
CSS では、border-image 属性を使用してレースの境界線を実現できます。 border-image 属性では、画像を使用して境界線を作成できます。つまり、境界線に背景画像を追加できます。背景画像をレース スタイルとして指定するだけで済みます。構文「border-image: url (画像パス) は、内側への画像境界線の幅。開始を繰り返すかどうか;"。
 テキストカルーセルと画像カルーセルも純粋な CSS を使用して実現できることがわかりました。
Jun 10, 2022 pm 01:00 PM
テキストカルーセルと画像カルーセルを作成するにはどうすればよいですか?皆さんが最初に考えるのはjsを使うかどうかですが、実はテキストカルーセルや画像カルーセルも純粋なCSSでも実現できますので実装方法を見ていきましょう。
 CSS3でマウスクリックで画像を拡大する方法
Apr 25, 2022 pm 04:52 PM
実装方法: 1. ":active" セレクターを使用して、画像上のマウス クリックの状態を選択します; 2. 変換属性とscale() 関数を使用して、画像の拡大効果を実現します。構文 "img:active {transform : スケール(x 軸倍率、y 軸倍率);}"。
 PHPを使用してタイムライン機能を開発する方法
Aug 18, 2023 pm 11:39 PM
PHP を使用したタイムライン機能の開発方法の紹介: タイムラインは、ユーザーがイベントの展開と順序を明確に理解できるように、イベントを時系列に並べてタイムラインを表示するための一般的な機能です。 PHP は Web 開発で広く使用されているスクリプト言語で、強力なデータ処理機能とデータベース操作機能を備えており、タイムライン機能の開発に適しています。この記事では、PHP を使用してタイムライン関数を開発する方法とコード例を紹介します。手順: データベースとデータテーブルを作成する まず、データベースと対応するデータを作成する必要があります。


