この記事では、主に Windows Apache2.4 VC9 (ApacheHaus) の詳細なインストールと設定チュートリアルを紹介します。必要な方は、
1 の Apache ダウンロード
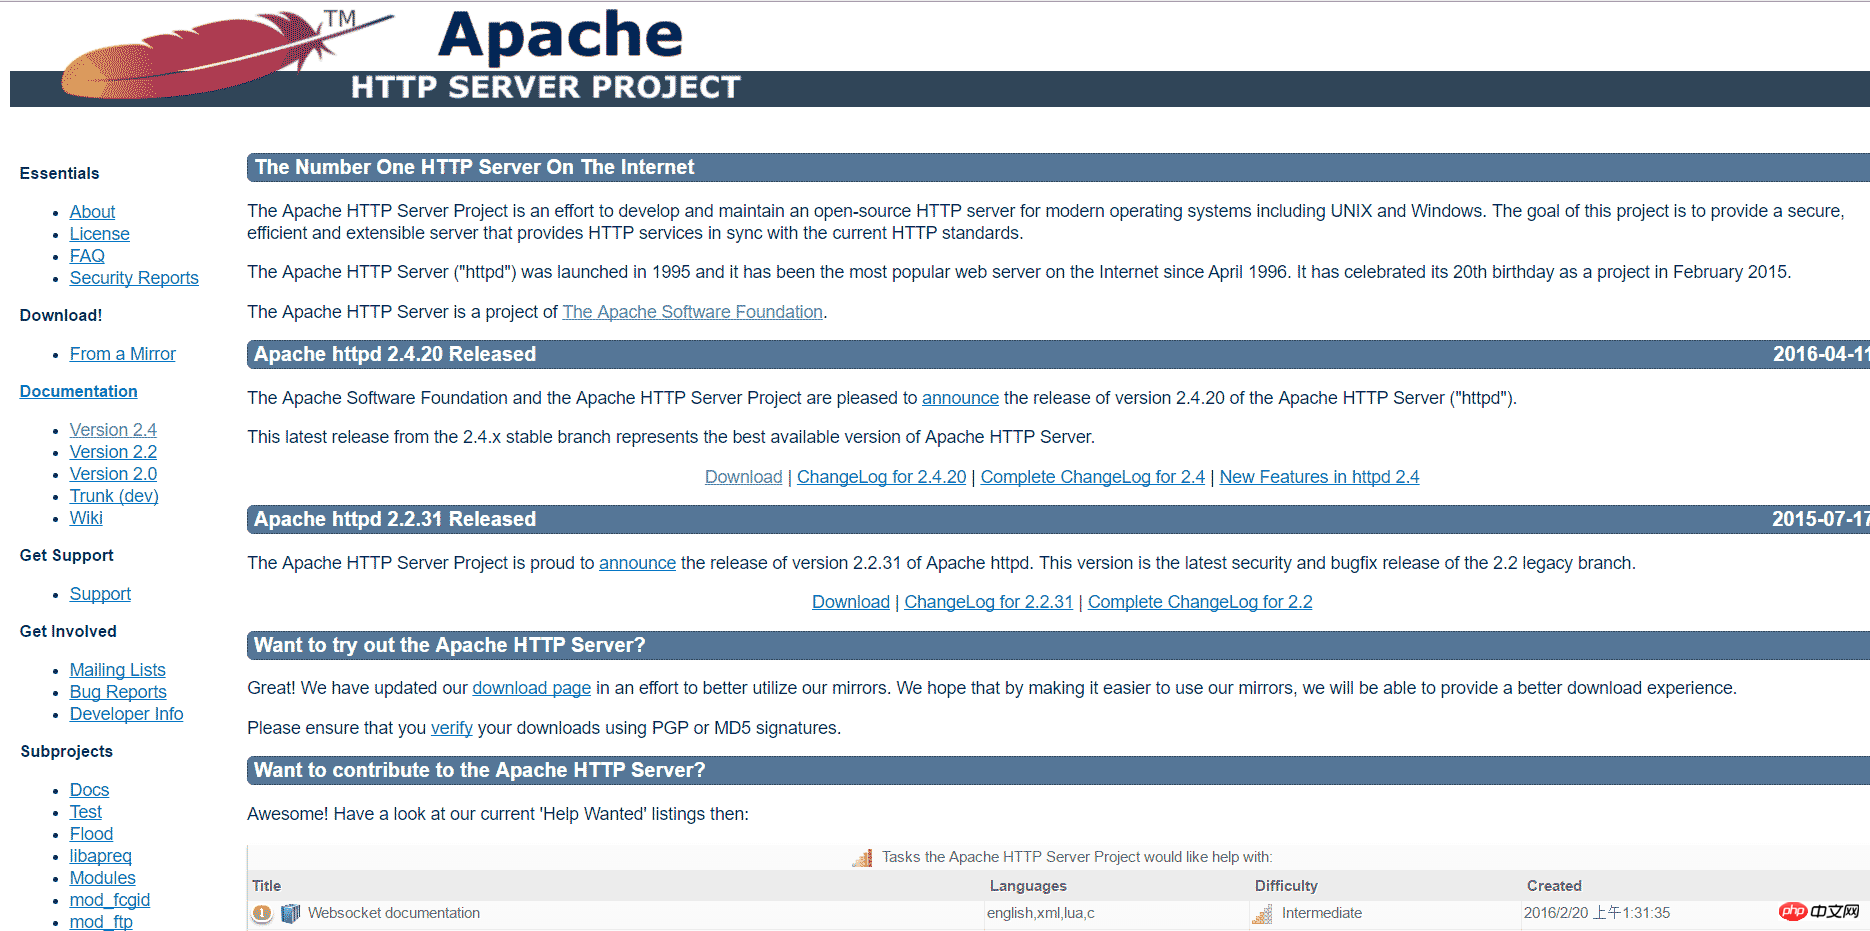
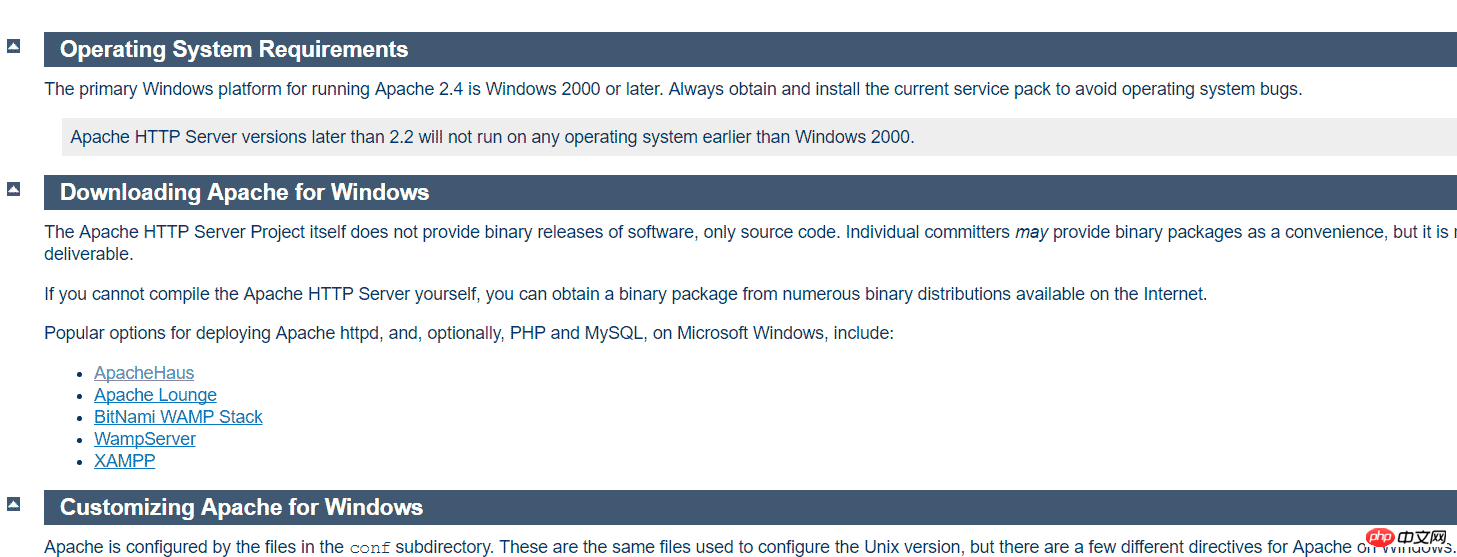
バージョンを選択して、ダウンロードをクリックしてください。 [Windows のファイル] をクリックします

 2. Apache - httpd.conf のいずれかを設定します
解凍後、その中にある Apache22 (最後の 2 桁は異なる場合があります) フォルダーに入り、テキスト エディター (ultraedit を推奨) を使用して httpd.conf 設定ファイルを開きます。 conf フォルダー
ServerRoot オプションを見つけて、Apache ディレクトリを設定します (行 35 あたり)。それを Apache プログラムのフォルダーに変更します。たとえば:
ServerRoot "C:/Users/myPC/Downloads/httpd-2.2.31-x86-r3/Apache22"
Listen オプションを見つけて、ポートを設定します (行 46 くらい)。変更しないで、デフォルトの 80 を使用してください。サーバーを起動する前に、ポート 80 が占有されていないことを確認して、DocumentRoot オプションを見つけてサーバーのルート ディレクトリを変更してください (例: 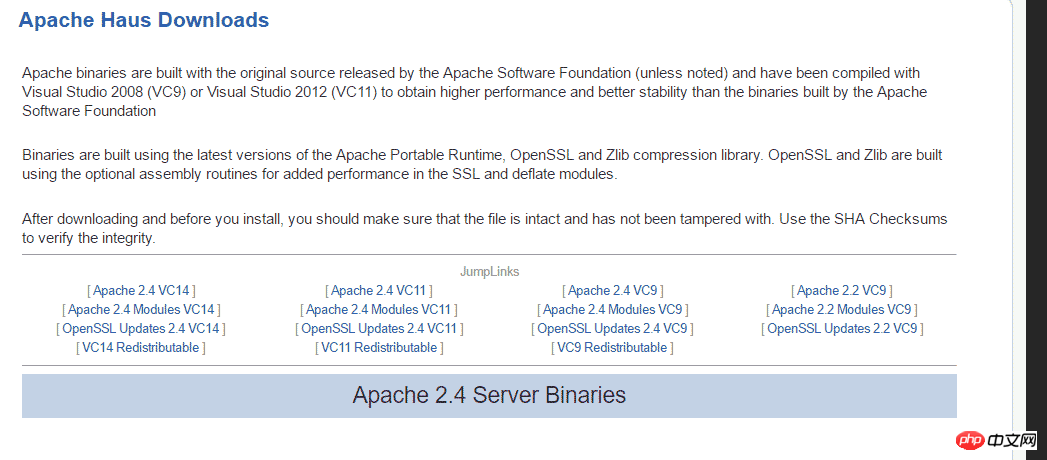
DocumentRoot "F:/"
<Directory "F:/"> # # Possible values for the Options directive are "None", "All", # or any combination of: # Indexes Includes FollowSymLinks SymLinksifOwnerMatch ExecCGI MultiViews # # Note that "MultiViews" must be named *explicitly* --- "Options All" # doesn't give it to you. # # The Options directive is both complicated and important. Please see # http://httpd.apache.org/docs/2.2/mod/core.html#options # for more information. # Options Indexes FollowSymLinks # # AllowOverride controls what directives may be placed in .htaccess files. # It can be "All", "None", or any combination of the keywords: # Options FileInfo AuthConfig Limit # AllowOverride None # # Controls who can get stuff from this server. # Order allow,deny Allow from all </Directory>
ScriptAlias オプションを見つけて、サーバー スクリプト ディレクトリを設定します (約 326)。行、通常は Apache ディレクトリの下の cgi-bin フォルダーに設定します
ScriptAlias /cgi-bin/ "C:/Users/myPC/Downloads/httpd-2.2.31-x86-r3/Apache22/cgi-bin"
後続の Directory オプションを見つけて、スクリプト ディレクトリを設定します。約 342 行、前の ScriptAlias ディレクトリと同じに設定する必要があります
<Directory "C:/Users/myPC/Downloads/httpd-2.2.31-x86-r3/Apache22/cgi-bin">
  AllowOverride None
  Options None
  Order allow,deny
  Allow from all
</Directory>
このようにサービスを開始すると、通常、次のメッセージダイアログボックスが表示されます:
プロンプトWindowsはローカルコンピュータでApache2.2を起動できません。詳細については、システム ログ ファイルを参照してください。これが Microsoft 以外のサービスの場合は、ベンダーに問い合わせて、特定のサーバー エラー コード 1 を参照してください。 この問題の原因を特定します: コンピューターを右クリックし、[管理]->[Windows ログ]->[アプリケーション]をクリックすると、次のように表示されますこれは、SSL 構成が正しくないことが原因です、以下に記載されているように、これが解決策です。 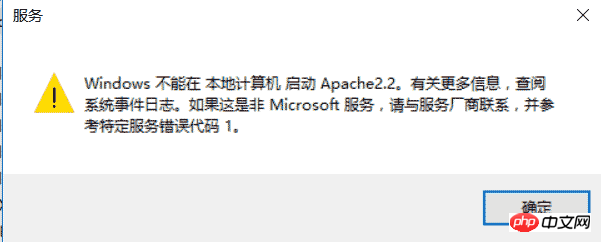
112行目あたりのDocumentRootをサーバーのルートディレクトリに変更します。 126行目あたりのCustomLogをApacheのあるディレクトリ/logs/ssl_request.logに変更します。通常、次のエラーが表示されます:
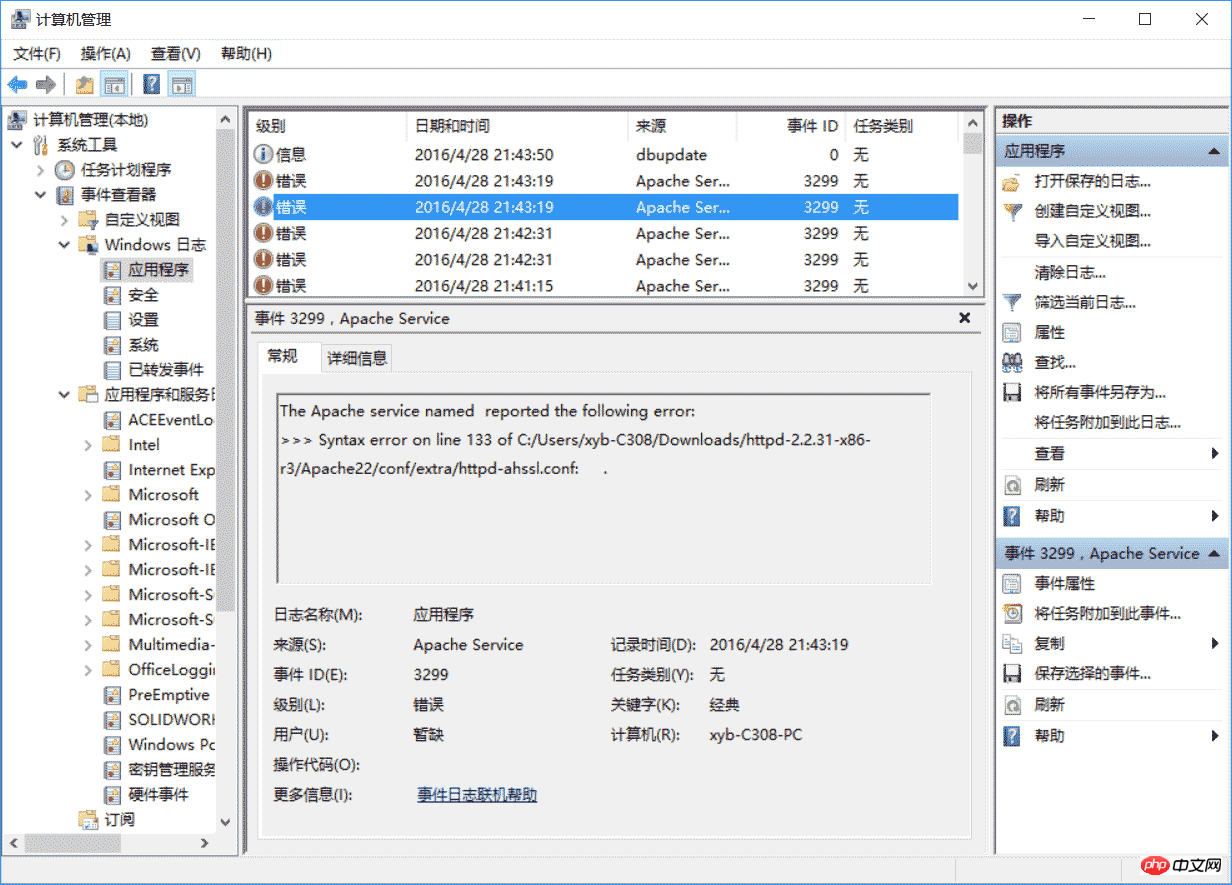
次のサービス固有のエラーのため、Apache2.2 サービスは終了しました: 関数が正しくありません。 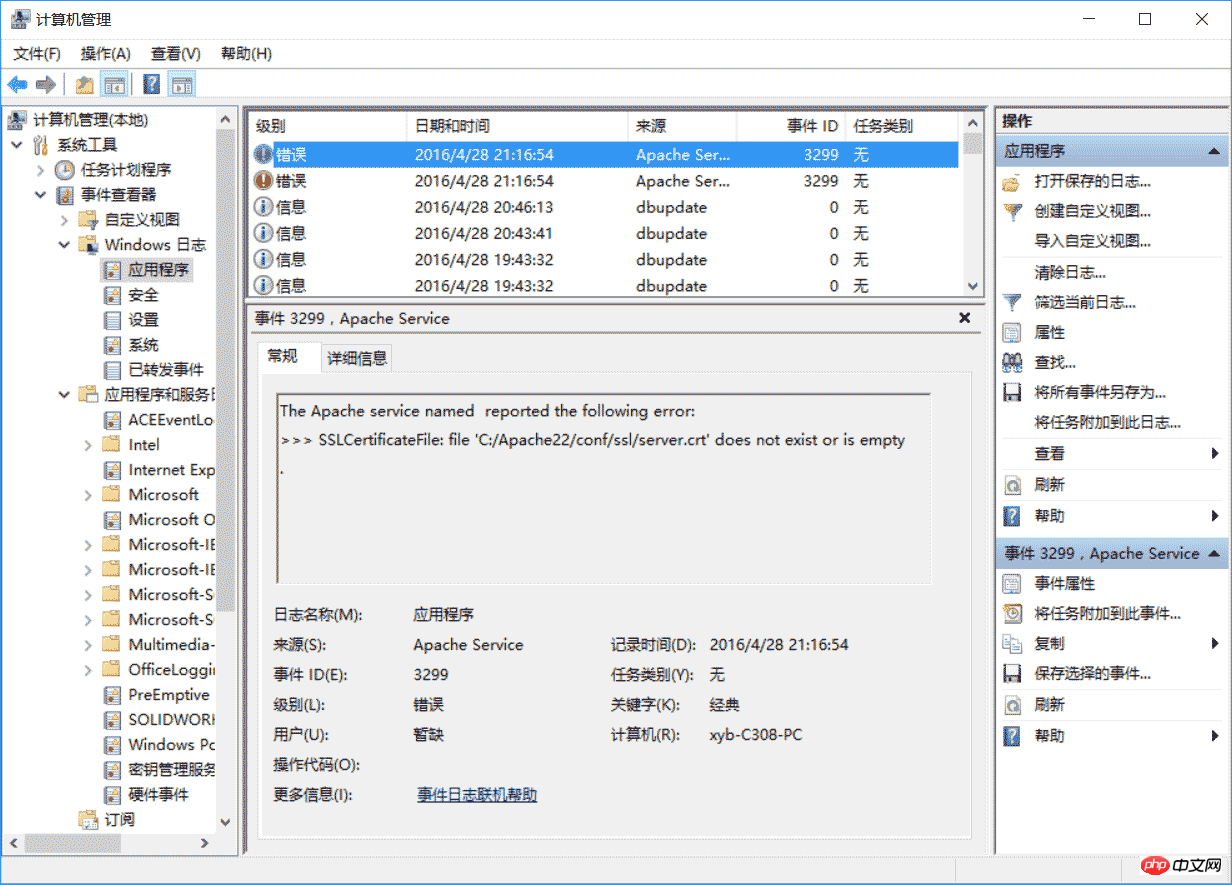
<VirtualHost _default_:443>
 SSLEngine on
 ServerName localhost:443
 SSLCertificateFile C:/Users/myPC/Downloads/httpd-2.2.31-x86-r3/Apache22/conf/ssl/server.crt
 SSLCertificateKeyFile C:/Users/myPC/Downloads/httpd-2.2.31-x86-r3/Apache22/conf/ssl/server.key
 DocumentRoot F:/

# openssl req -new > server.csr
# openssl rsa -in privkey.pem -out server.key
# openssl x509 -in server.csr -out server.crt -req -signkey server.key -days 2048
<FilesMatch "\.(cgi|shtml|phtml|php)$">
  SSLOptions +StdEnvVars
</FilesMatch>
<Directory "/Apache22/cgi-bin">
  SSLOptions +StdEnvVars
</Directory>
BrowserMatch "MSIE [2-5]" \
     nokeepalive ssl-unclean-shutdown \
     downgrade-1.0 force-response-1.0
CustomLog "C:/Users/myPC/Downloads/httpd-2.2.31-x86-r3/Apache22/logs/ssl_request.log" \
     "%t %h %{SSL_PROTOCOL}x %{SSL_CIPHER}x \"%r\" %b"
</virtualhost><VirtualHost *:443>
SSLEngine on
ServerName serverone.tld:443
SSLCertificateFile C:/Users/myPC/Downloads/httpd-2.2.31-x86-r3/Apache22/conf/ssl/serverone.crt
SSLCertificateKeyFile C:/Users/myPC/Downloads/httpd-2.2.31-x86-r3/Apache22/conf/ssl/serverone.key
DocumentRoot F:/
# openssl req -new > serverone.csr
# openssl rsa -in privkey.pem -out serverone.key
# openssl x509 -in serverone.csr -out serverone.crt -req -signkey serverone.key -days 2048
<FilesMatch "\.(cgi|shtml|phtml|php)$">
SSLOptions +StdEnvVars
</FilesMatch>
<Directory "/Apache22/cgi-bin">
SSLOptions +StdEnvVars
</Directory>
BrowserMatch "MSIE [2-5]" \
nokeepalive ssl-unclean-shutdown \
downgrade-1.0 force-response-1.0
CustomLog "C:/Users/myPC/Downloads/httpd-2.2.31-x86-r3/Apache22/logs/ssl_request.log" \
"%t %h %{SSL_PROTOCOL}x %{SSL_CIPHER}x \"%r\" %b" env=HTTPS
</virtualhost><VirtualHost *:443>
SSLEngine on
ServerName servertwo.tld:443
SSLCertificateFile C:/Users/myPC/Downloads/httpd-2.2.31-x86-r3/Apache22/conf/ssl/servertwo.crt
SSLCertificateKeyFile C:/Users/myPC/Downloads/httpd-2.2.31-x86-r3/Apache22/conf/ssl/servertwo.key
DocumentRoot F:/
# openssl req -new > servertwo.csr
# openssl rsa -in privkey.pem -out servertwo.key
# openssl x509 -in servertwo.csr -out servertwo.crt -req -signkey servertwo.key -days 2048
<FilesMatch "\.(cgi|shtml|phtml|php)$">
SSLOptions +StdEnvVars
</FilesMatch>
<Directory "/Apache22/cgi-bin">
SSLOptions +StdEnvVars
</Directory>
BrowserMatch "MSIE [2-5]" \
nokeepalive ssl-unclean-shutdown \
downgrade-1.0 force-response-1.0
CustomLog "C:/Users/myPC/Downloads/httpd-2.2.31-x86-r3/Apache22/ssl_request.log" \
"%t %h %{SSL_PROTOCOL}x %{SSL_CIPHER}x \"%r\" %b"
</virtualhost>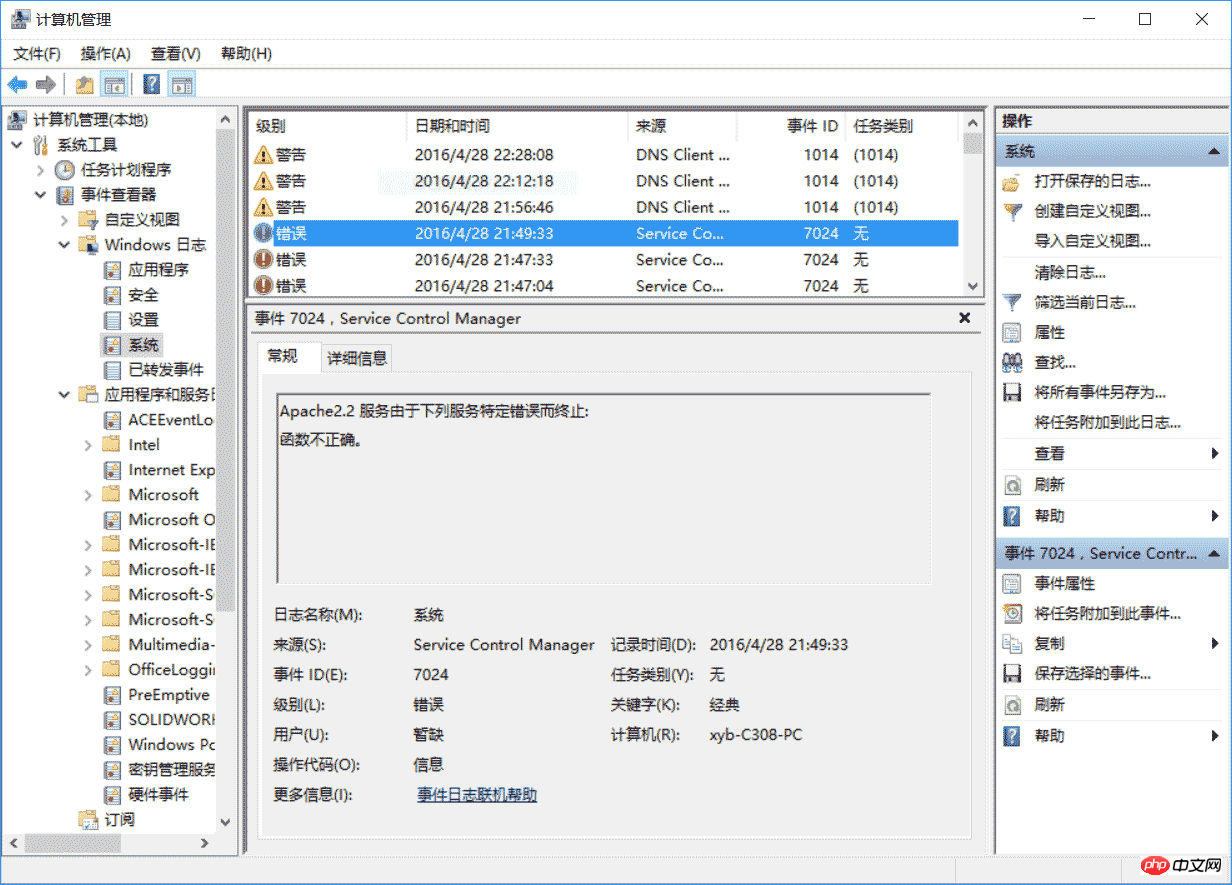 4 と同様に、Apache HTTP サーバーを起動します
Windows コマンドラインを使用します
管理者としてApache プログラムのフォルダーの下にある bin フォルダーに入り、httpd -k install と入力して完了しますApache サービスのインストール。
次に、bin ディレクトリ内の ApacheMonitor.exe をダブルクリックし、以下に示すように、右側の [開始] をクリックしてサーバーを起動します (正常であれば):
テストします: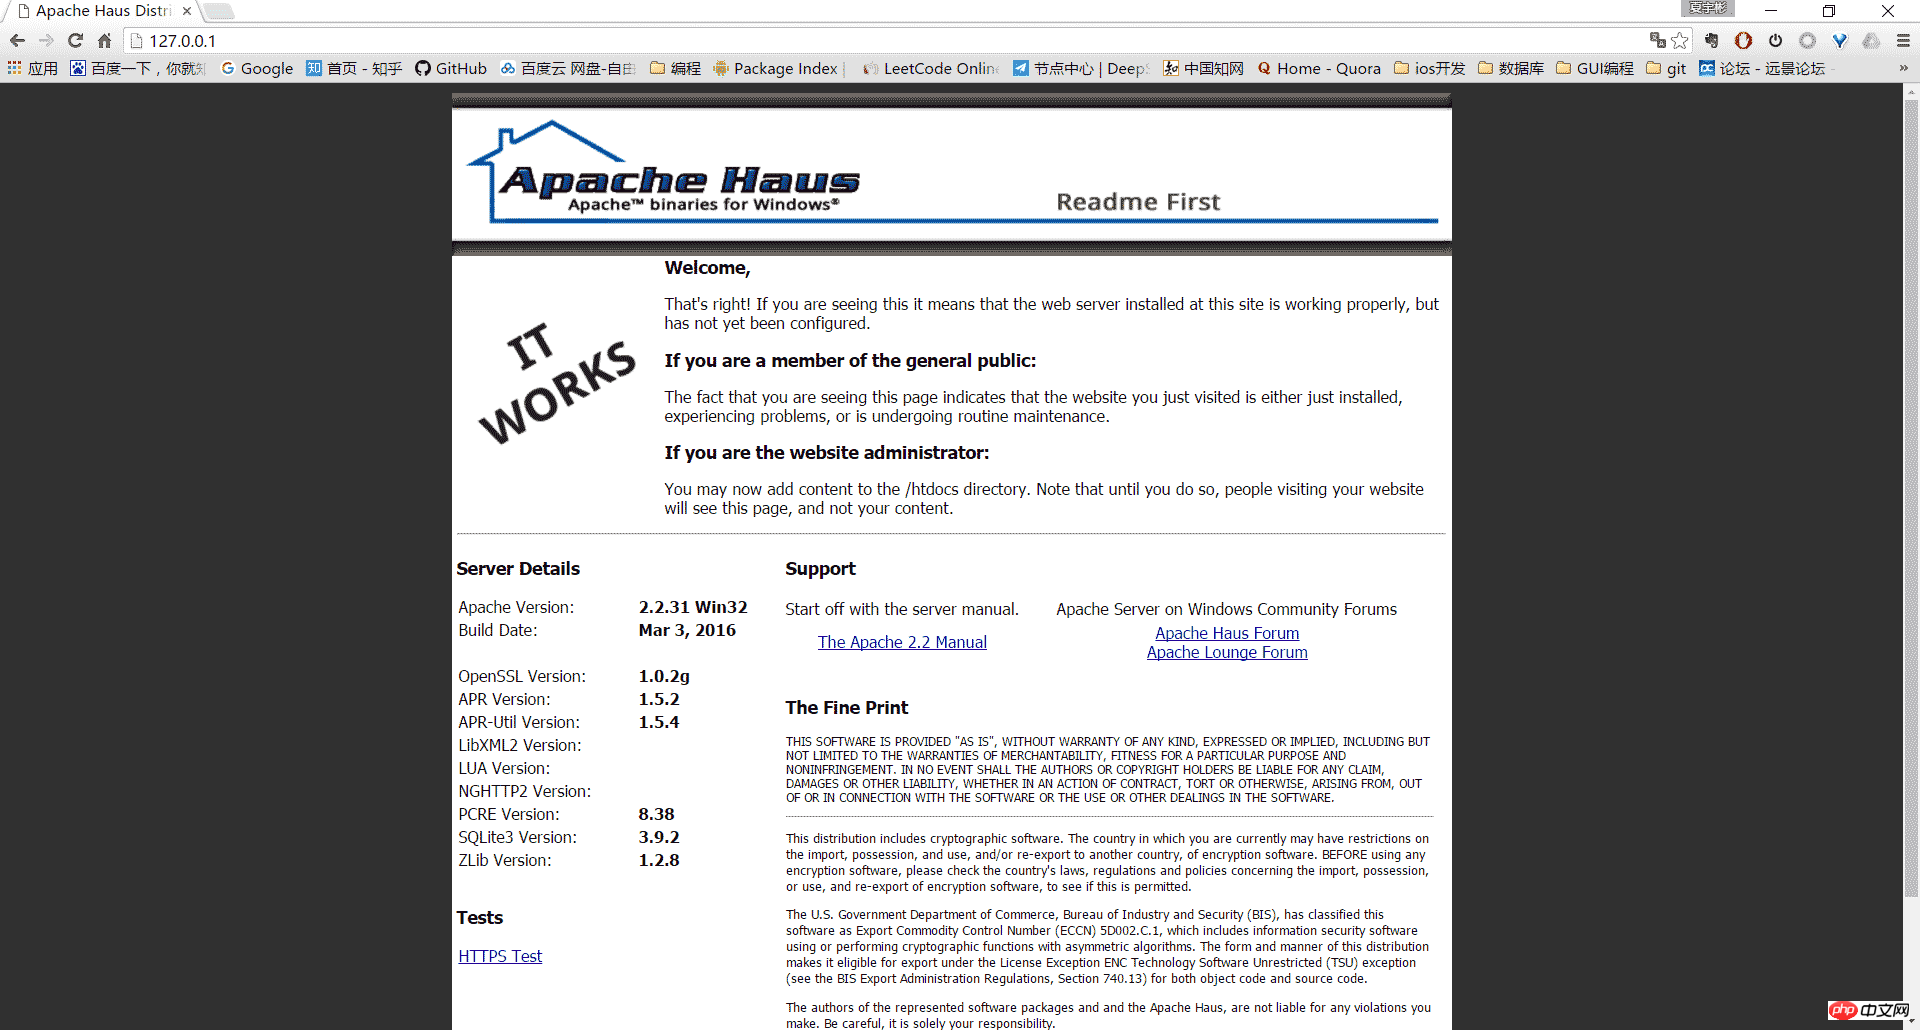
5、その他
Apache HTTP サーバーをアンインストールします:
管理者として bin ディレクトリに入り、httpd -k uninstall を使用してサービスを削除します
httpd -w -n "Apache2" -k start コマンドを使用して開始しますサーバーに接続すると、エラー分析を容易にするために起動中にログが表示されます。
以上がWindowsの詳しい説明 Apache2.4 VC9 (ApacheHaus) インストールチュートリアルの詳細内容です。詳細については、PHP 中国語 Web サイトの他の関連記事を参照してください。