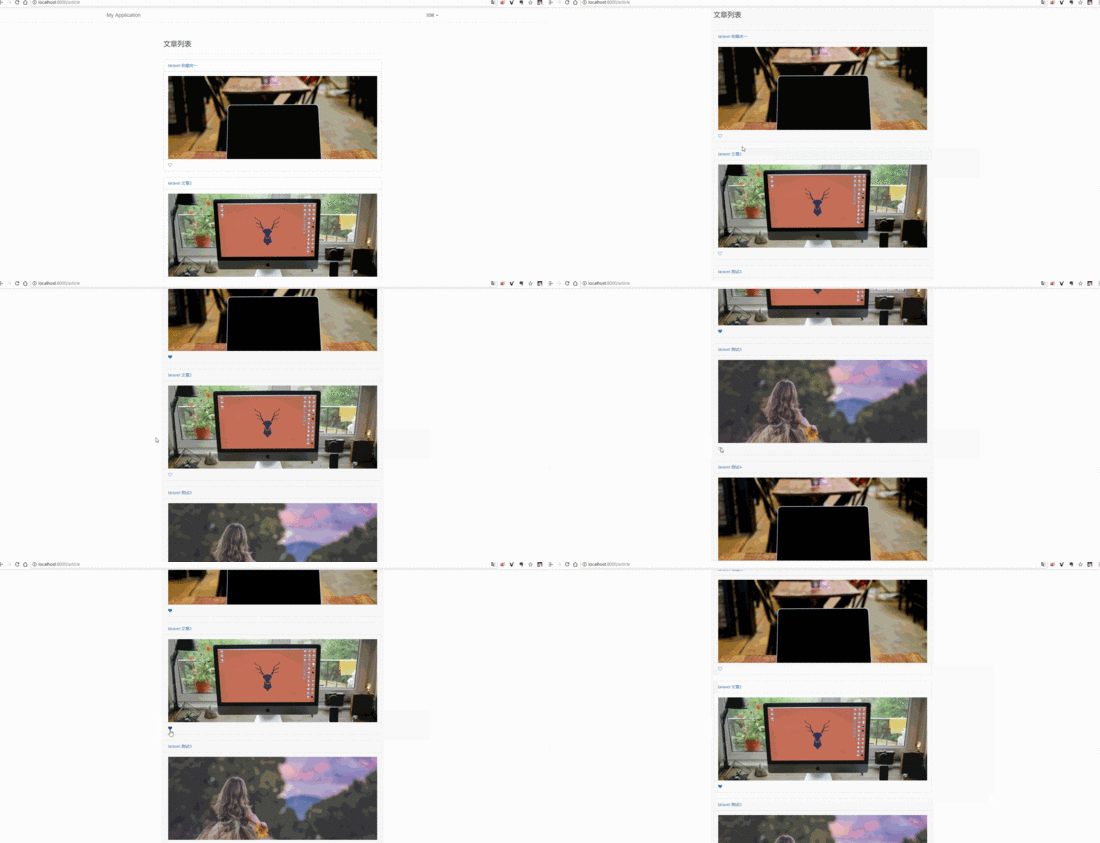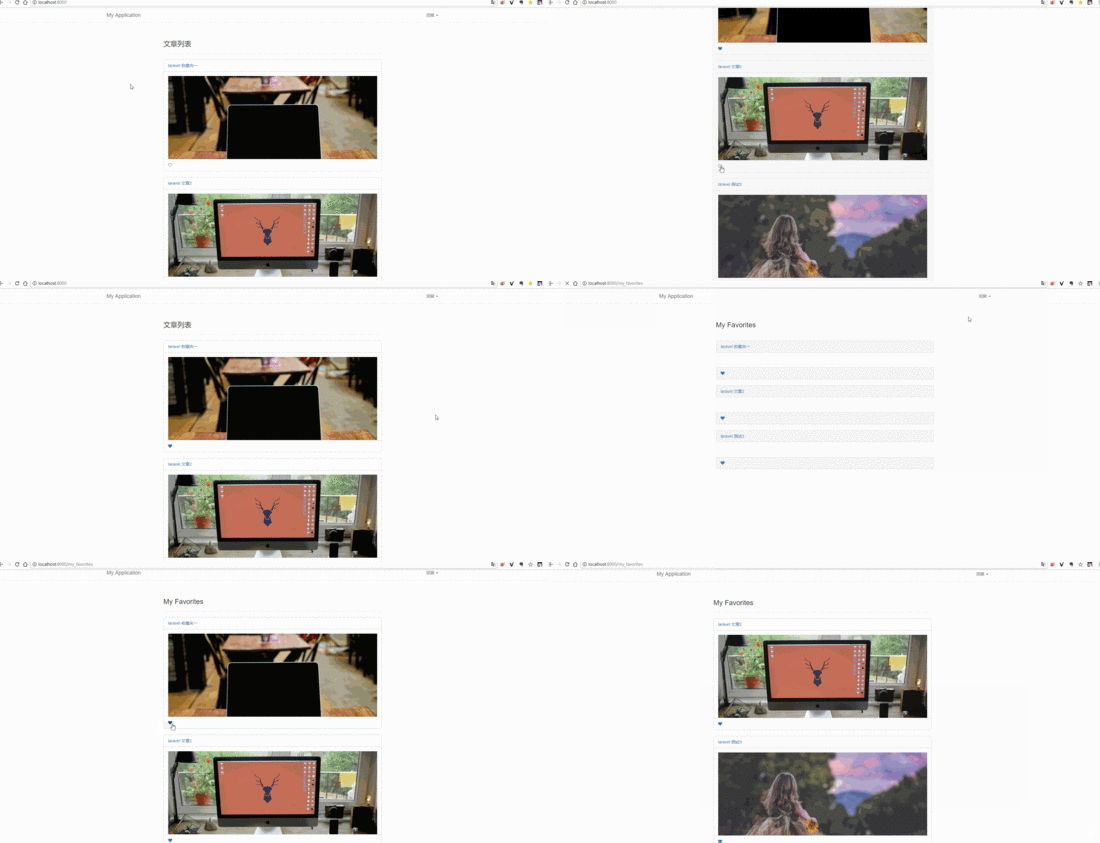
この記事の著者は、お気に入り機能を実装するための laravel5.3 vue をサンプルコードを通じて詳しく紹介しています。必要な方は参考にしていただければ幸いです。
この記事でお気に入り機能を実装するためのlaravel5.3 vueの紹介です。具体的なコードは以下の通りです:
{
 "private": true,
 "scripts": {
 "prod": "gulp --production",
 "dev": "gulp watch"
 },
 "devDependencies": {
 "bootstrap-sass": "^3.3.7",
 "gulp": "^3.9.1",
 "jquery": "^3.1.0",
 "laravel-elixir": "^6.0.0-14",
 "laravel-elixir-vue-2": "^0.2.0",
 "laravel-elixir-webpack-official": "^1.0.2",
 "lodash": "^4.16.2",
 "vue": "^2.0.1",
 "vue-resource": "^1.0.3"
 }
}1.0.2 gulpfile.jsを変更
元のrequire('laravel-elixirを変更します。 -vue'); require('laravel-elixir-vue-2'); に変更します
const elixir = require('laravel-elixir');
require('laravel-elixir-vue-2');
/*
 |--------------------------------------------------------------------------
 | Elixir Asset Management
 |--------------------------------------------------------------------------
 |
 | Elixir provides a clean, fluent API for defining some basic Gulp tasks
 | for your Laravel application. By default, we are compiling the Sass
 | file for our application, as well as publishing vendor resources.
 |
 */
elixir(mix => {
 mix.sass('app.scss')
 .webpack('app.js');
});1.0.3 resource/assets/js/app.js を変更します
元の el: 'body' を el: に変更します。 '#app'
const app = new Vue({
 el: '#app'
});1.1 npm モジュールをインストールします
(これまでにこれを行ったことがない場合)
npm install

1.2 モデルを作成して移行します
ユーザーモデルが必要です (laravel に含まれています) )、投稿モデル、お気に入りモデル、およびそれぞれの移行ファイル。 以前に Post モデルを作成したので、作成する必要があるのは Favorite モデルのみです。
php artisan make:model App\Models\Favorite -m

これにより、お気に入り
モデルと移行ファイルが作成されます。
1.3 投稿移行テーブルとお気に入りのアップメソッドを変更します
投稿テーブルの id フィールドの後に user_id フィールドを追加します
php artisan make:migration add_userId_to_posts_table --table=posts
database/migrations/2018_01_18_145843_add_userId_to_posts_table.php を変更します
public function up()
 {
 Schema::table('posts', function (Blueprint $table) {
  $table->integer('user_id')->unsigned()->after('id');
 });
 }
database/migrations/2018_01_18_142146_create_favorites_table.php
public function up()
 {
 Schema::create('favorites', function (Blueprint $table) {
  $table->increments('id');
  $table->integer('user_id')->unsigned();
  $table->integer('post_id')->unsigned();
  $table->timestamps();
 });
} ■ 表には 2 つの列が含まれています。
user_id は、収集された記事のユーザー ID です。
post_id 収集された投稿のID。
その後、テーブル移行を実行します
php 職人移行
1.4 ユーザー認証
以前に作成済みなので、ここで再度作成する必要はありません。
ユーザー認証モジュールを作成していない場合は、phpArtisan make:auth
2. お気に入り機能を完了
routes/web.phpを変更する
2.1 ルーターを作成する
Auth::routes();
Route::post('favorite/{post}', 'ArticleController@favoritePost');
Route::post('unfavorite/{post}', 'ArticleController@unFavoritePost');
Route::get('my_favorites', 'UsersController@myFavorites')->middleware('auth');2.2 記事と記事の間ユーザー多対多の関係
ユーザーは多くの記事をお気に入りとしてマークでき、記事は多くのユーザーによってお気に入りとしてマークされる可能性があるため、ユーザーと最もお気に入りの記事との関係は多対多の関係になります。 。この関係を定義するには、User モデルを開いて、favorites() app/User.php を追加します
投稿モデルの名前空間は AppModelsPost であることに注意してください。そのため、ヘッダーに use AppModelsPost を必ず導入してください。
public function favorites()
 {
 return $this->belongsToMany(Post::class, 'favorites', 'user_id', 'post_id')->withTimeStamps();
}2 番目のパラメーターデータパースペクティブ テーブルの名前 (お気に入り)。 3番目のパラメータはリレーションシップを定義するモデル(User)の外部キー名(user_id)、4番目のパラメータは追加するモデル(Post)の外部キー名(post_id)です。 withTimeStamps() をbelongsToMany() にリンクしていることに注意してください。これにより、行が挿入または更新されるときに、ピボット テーブルのタイムスタンプ (create_at および updated_at) 列が影響を受けるようになります。
2.3 記事コントローラーの作成
以前に作成したので、ここで作成する必要はありません。
これまでに作成したことがない場合は、phpArtisan make:controller ArticleControllerを実行してください
2.4 記事コントローラーにfavoritePostとunFavoritePostの2つのメソッドを追加します
use IlluminateSupportFacadesAuth;
<?php
namespace App\Http\Controllers;
use Illuminate\Http\Request;
use App\Models\Post;
use Illuminate\Support\Facades\Auth;
class ArticleController extends Controller
{
public function index()
{
$data = Post::paginate(5);
return view('home.article.index', compact('data'));
}
public function show($id)
{
$data = Post::find($id);
return view('home.article.list', compact('data'));
}
public function favoritePost(Post $post)
{
Auth::user()->favorites()->attach($post->id);
return back();
}
public function unFavoritePost(Post $post)
{
Auth::user()->favorites()->detach($post->id);
return back();
}
}2.5 axiosモジュールを統合します
•axiosのインストール
npm install axios --save
•axiosモジュールの導入 resource/assets/js/bootstrap.js 最後に追加
import axios from 'axios';
window.axios = axios;
2.6 お気に入りのコンポーネントを作成
// resources/assets/js/components/Favorite.vue
<template>
 <span>
 <a href="#" rel="external nofollow" rel="external nofollow" v-if="isFavorited" @click.prevent="unFavorite(post)">
  <i class="fa fa-heart"></i>
 </a>
 <a href="#" rel="external nofollow" rel="external nofollow" v-else @click.prevent="favorite(post)">
  <i class="fa fa-heart-o"></i>
 </a>
 </span>
</template>
<script>
 export default {
 props: ['post', 'favorited'],

 data: function() {
  return {
  isFavorited: '',
  }
 },
 mounted() {
  this.isFavorited = this.isFavorite ? true : false;
 },
 computed: {
  isFavorite() {
  return this.favorited;
  },
 },
 methods: {
  favorite(post) {
  axios.post('/favorite/'+post)
   .then(response => this.isFavorited = true)
   .catch(response => console.log(response.data));
  },
  unFavorite(post) {
  axios.post('/unfavorite/'+post)
   .then(response => this.isFavorited = false)
   .catch(response => console.log(response.data));
  }
 }
 }
</script>2.7 コンポーネントの導入ビューに追加します
ビューコンポーネントを使用する前に、まずフォントファイル resource/views/layouts/app.blade.php を導入し、ヘッダーにフォント ファイルを導入します
<link rel="stylesheet" href="https://cdnjs.cloudflare.com/ajax/libs/font-awesome/4.7.0/css/font-awesome.min.css" />
そして app.blade にお気に入りリンクを追加します。 php
// 加在logout-form之后
<form id="logout-form" action="{{ url('/logout') }}" method="POST" style="display: none;">
{{ csrf_field() }}
</form>
<a href="{{ url('my_favorites') }}" rel="external nofollow" >我的收藏夹</a>コンポーネント
// resources/views/home/article/index.blade.php
if (Auth::check())
 <p class="panel-footer">
 <favorite
  :post={{ $list->id }}
  :favorited={{ $list->favorited() ? 'true' : 'false' }}
 ></favorite>
</p>endif
を使用します。次に、favorite()を作成する必要があります。app/Models/Post.phpを開き、favorited()メソッドを追加します
ヘッダー内の名前空間を参照するには、AppModelsFavoriteを使用してください。 IlluminateSupportFacadesAuth を使用します
public function favorited()
 {
 return (bool) Favorite::where('user_id', Auth::id())
    ->where('post_id', $this->id)
    ->first();
}2.8 コンポーネントの使用
Favorite.vue コンポーネントのリソース/assets/js/app.js を導入します
Vue.component('favorite', require('./components/Favorite.vue'));Compile
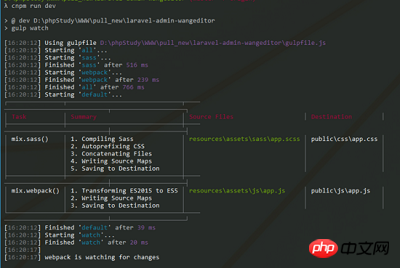
npm run dev


php artisan make:controller UsersController
app/Http/Controllers/UsersController.php
<?php
namespace App\Http\Controllers;
use Illuminate\Http\Request;
use Illuminate\Support\Facades\Auth;
class UsersController extends Controller
{
 public function myFavorites()
 {
 $myFavorites = Auth::user()->favorites;
 return view('users.my_favorites', compact('myFavorites'));
 }
}// resources/views/users/my_favorites.blade.php
extends('layouts.app')
@section('content')
<p class="container">
<p class="row">
<p class="col-md-8 col-md-offset-2">
<p class="page-header">
<h3>My Favorites</h3>
</p>
@forelse ($myFavorites as $myFavorite)
<p class="panel panel-default">
<p class="panel-heading">
<a href="/article/{{ $myFavorite->id }}" rel="external nofollow" >
{{ $myFavorite->title }}
</a>
</p>
<p class="panel-body" style="max-height:300px;overflow:hidden;">
<img src="/uploads/{!! ($myFavorite->cover)[0] !!}" style="max-width:100%;overflow:hidden;" alt="">
</p>
@if (Auth::check())
<p class="panel-footer">
<favorite
:post={{ $myFavorite->id }}
:favorited={{ $myFavorite->favorited() ? 'true' : 'false' }}
></favorite>
</p>
@endif
</p>
@empty
<p>You have no favorite posts.</p>
@endforelse
</p>
</p>
</p>
@endsectionRoute::get('/', 'ArticleController@index');
js Firefox のお気に入り追加機能コード Firefox と IE と互換性あり_javascript のヒント
JavaScript のお気に入り追加機能 (IE、Firefox、Chrome と互換性あり)_JavaScript のヒント
お気に入り追加 code_javascript スキルのネイティブ JS 実装
以上がlaravel5.3 vueはお気に入り機能を実装しますの詳細内容です。詳細については、PHP 中国語 Web サイトの他の関連記事を参照してください。