

1. Nginx とは
② HTTP リバースプロキシサーバーとして使用可能④ メールプロキシサーバーとして使用可能
⑤ フロントエンドの動的分離と静的分離の実現に役立ちます3 Nginx の機能
高い安定性
または: nginx.exe -s quit
4. 再起動コマンド
nginx.exe -s reload
5. プロセスの表示コマンド
ps -ef |grep nginx
6. restart
kill -HUP [Nginx メインプロセス番号 (つまり、view process コマンド) PID が見つかりました)]
7. ファイアウォールのアクセス権を増やす
①sudo vim /etc/sysconfig/iptables
②-A INPUT -p tcp -m state –状態新規-m tcp –dport 80 -j ACCEPT
③保存して終了④ファイアウォールを再起動します sudo サービス iptables restart
IV. Nginx 仮想ドメイン名の設定とテスト検証
設定手順: sudo vim /usr/local/ を編集します。 nginx /conf/nginx.conf
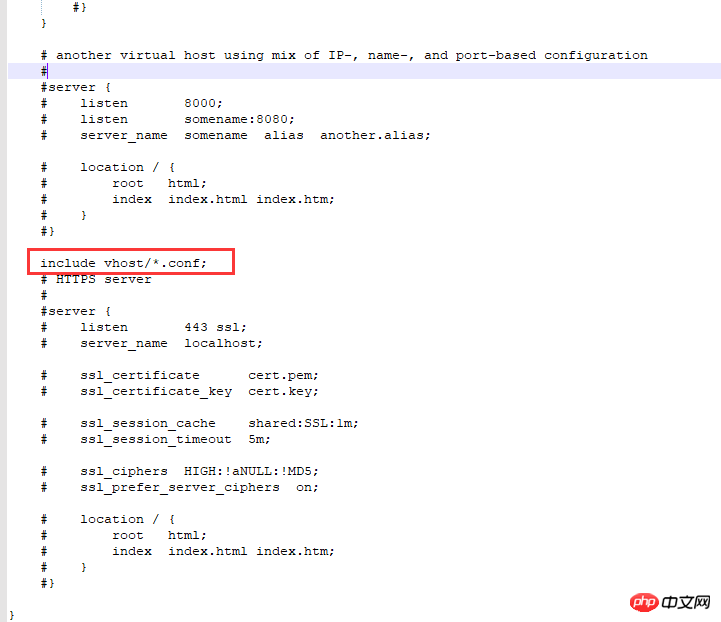
①include vhost/*.conf を追加します
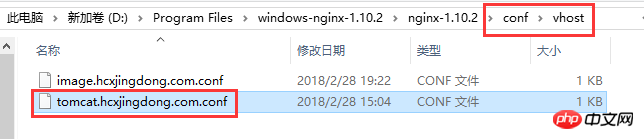
2. /usr/local/nginx/conf/ ディレクトリに新しい vhost フォルダーを作成します。 user/local /nginx/conf/vhost
3. ドメイン名転送設定ファイルを作成します
image.hcxjingdong.com.conf:转向目录的反向代理:
server {
    listen 80;
    autoindex off;
    server_name image.hcxjingdong.com;
    access_log c: /access.log combined; index index.html index.htm index.jsp index.php; #error_page 404 /
    404. html;
    if ($query_string~ * ".*[\;'\].*") {
        return 404;
    }
    location~/(mmall_fe|mmall_admin_fe)/dist / view /* {
        deny all;
    }
    location / {
        root C:\ftpfile\img;
        add_header Access-Control-Allow-Origin *;
        }
    }


tomcat.hcxjingdong.com.conf:转向端口的反向代理:
server {
    listen 80;
    autoindex on;
    server_name tomcat.hcxjingdong.com;
    access_log c: /access.log combined; index index.html index.htm index.jsp index.php; #error_page 404 /
    404. html;
    if ($query_string~ * ".*[\;'\].*") {
        return 404;
    }
    location / {
            proxy_pass http: //127.0.0.1:8080;
            add_header Access-Control-Allow-Origin *;
            }
    }
注: $ {nginx} システムにインストールされているパスを表します (例: /usr/local/nginx
 )。 アクセス検証
アクセス検証にはデフォルトの 80 ポートを使用します: http://localhost:80 または http:// 127.0.0.1:80
6. ポートを指定します
http 転送
server{
    listen 80;
    autoindex off;
    server_name learning.hcxjingdong.com;
    access_log c:/access.log combined;
    index index.html index.htm index.jsp index.php;
    #error_page 404 /404.html;
    if ( $query_string ~* ".*[\;'\].*" ){
        return 404;
    }
    location / {
        proxy_pass http://127.0.0.1:81/learning;
        add_header Access-Control-Allow-Origin *;
    }
}listen 80: ポート 80 をリッスンします。
autoindex off: nginx が画像のリクエストを受信したとき。 hcxjingdong.com (セカンダリ ドメイン名)、それを :http://127.0.0.1:81/learning ディレクトリ
に転送します。 7. ディレクトリ
をポイントします。これは、フロントエンド展開サーバーです。最後は、ディレクトリroot は、ハードディスク システム ディレクトリの product フォルダーの下にある ftpfile の下にある img フォルダーを直接指します。つまり、img にアクセスするときです。 hcxjingdong.com は、フォルダー を直接指します 8. テスト検証 5. Nginx Notes を構成できますが、設定後にホストを構成して有効にする必要があります。完了したら、ブラウザを再起動します Windows での設定:root /product/ ftpfile/img を指すリバース プロキシを経由します。server{ listen 80; autoindex off; server_name img.hcxjingdong.com; access_log c:/access.log combined; index index.html index.htm index.jsp index.php; #root /product/front/; #error_page 404 /404.html; if ( $query_string ~* ".*[\;'\].*" ){ return 404; } location ~ /(hcxjingdong_fe|hcxmall_admin_fe)/dist/view/* { deny all; } location / { root \product\ftpfile\img; add_header Access-Control-Allow-Origin *; } }ログイン後にコピー
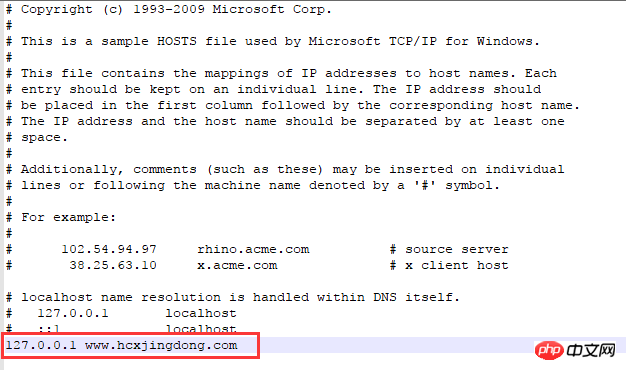
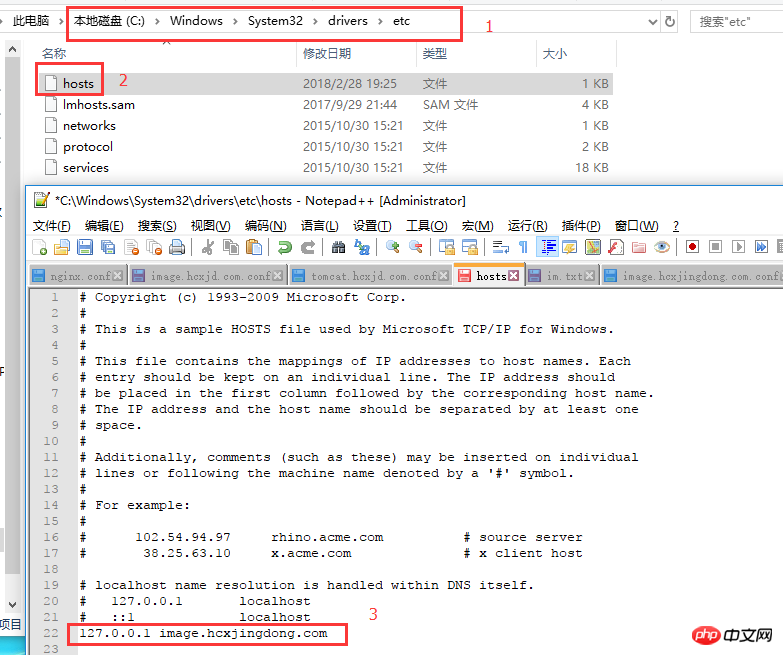
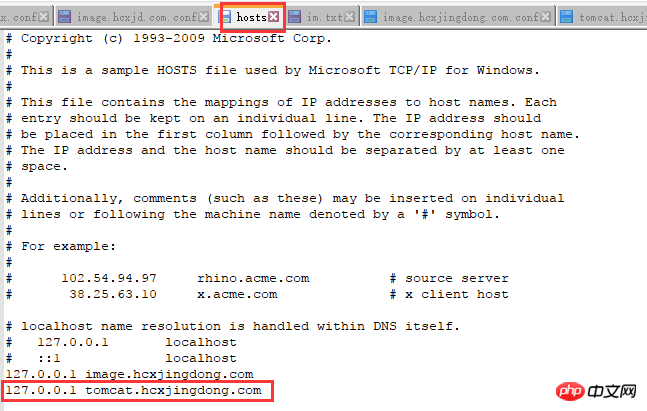
① c:WindowsSystem32driversetc と入力します
② メモ帳で hosts ファイルを開きます③ 対応するドメイン名と IP を追加します
④ 保存して終了します
10.211.55.6 image.hcx.com
10.211.55.6 s.hcx.com
6. Windows の構成 Nginx でホストを構成します
:
c:WindowsSystem32driversetc
含むhttp://localhost へのローカル アクセス:
ディレクトリの転送を設定します
追加: include vhost/*.conf;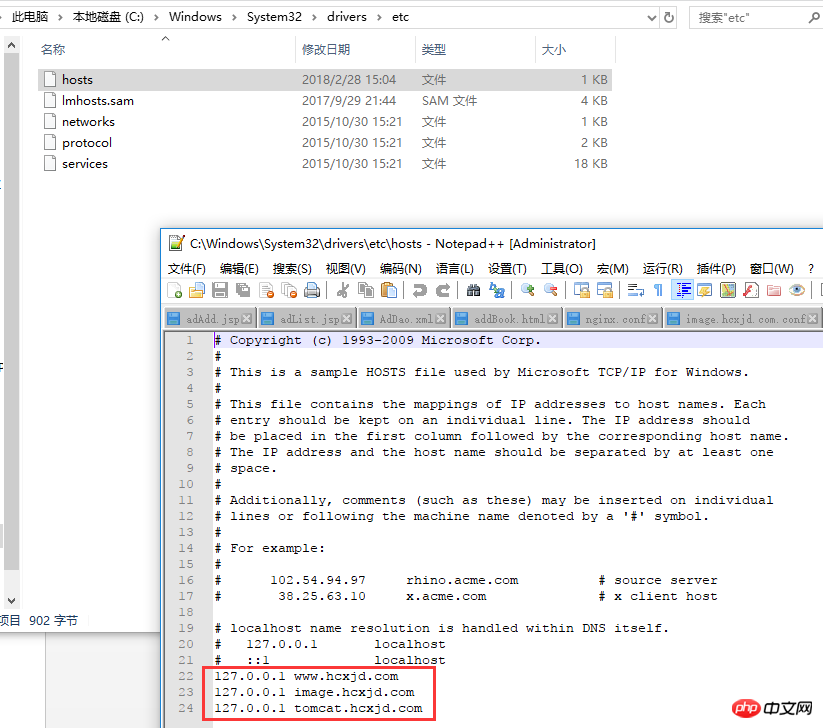
2次のパスに従ってこのフォルダーを作成します:
conf フォルダーの下に vhost を作成します
3. vhost フォルダーにファイルを作成します: image.hcxjingdong.com.conf
server{
    listen 80;
    autoindex off;
    server_name image.hcxjingdong.com;
    access_log c:/access.log combined;
    index index.html index.htm index.jsp index.php;
    #error_page 404 /404.html;
    if ( $query_string ~* ".*[\;'\].*" ){
        return 404;
    }

    location ~ /(hcxmall_fe|hcxmall_admin_fe)/dist/view/* {
        deny all;
    }

    location / {
        root C:\ftpfile\img;
        add_header Access-Control-Allow-Origin *;
    }
}到C:\ftpfile\img目录下存放图片以便访问
4.修改本机的host,让本机的nginx配合到image.hcxjingdong.com域名
去到C:\Windows\System32\drivers\etc目录下修改hosts文件:
5.重启nginx:
进入到nginx目录执行命令:
①nginx.exe -t:验证配置文件是否正确
②nginx.exe -s reload:重启nginx

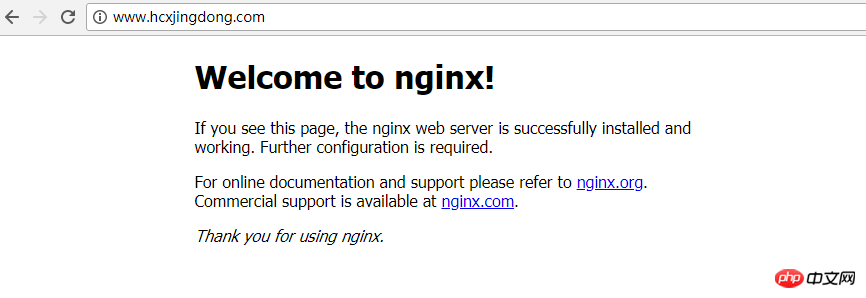
6.访问域名(image.hcxjingdong.com)验证图片是否生效:
测试host是否生效:image.hcxjingdong.com
测试图片是否生效:http://image.hcxjingdong.com/hcx.jpg

配置ip端口的转发
1.在conf下的vhost下创建:tomcat.hcxjingdong.com.conf
使用tomcat域名进行ip端口转发,转发到tomcat服务上
tomcat.hcxjingdong.com.conf:
server{
    listen 80;
    autoindex off;
    server_name tomcat.hcxjingdong.com;
    access_log c:/access.log combined;
    index index.html index.htm index.jsp index.php;
    #error_page 404 /404.html;
    if ( $query_string ~* ".*[\;'\].*" ){
        return 404;
    }
    location / {
        proxy_pass http://127.0.0.1:8080;
        add_header Access-Control-Allow-Origin *;
    }
}2.配置hosts:
3.启动tomcat
4.重启nginx:nginx.exe -s reload
5.访问http://tomcat.hcxjingdong.com
成功显示tomcat启动页,说明http的转发也成功了。
相关推荐:
以上がWindows での Nginx のインストールと構成の例の詳細内容です。詳細については、PHP 中国語 Web サイトの他の関連記事を参照してください。


![[Web フロントエンド] Node.js クイック スタート](https://img.php.cn/upload/course/000/000/067/662b5d34ba7c0227.png)


