この記事では、VS Code を使用して最初の AngularJS 2 アプリケーションを開発する方法に関する関連情報を主に紹介し、サンプル コードを通じて詳細に紹介します。これは、すべての人の学習や仕事に役立ちます。来て下を見てください。
前書き
以前、Angular2 開発環境を構築する方法に関するチュートリアルである VS Code を紹介しました。この記事では、VS Code を使用して AngularJS2 アプリケーションを開発し、それを共有する方法を詳しく紹介します。参考にして勉強してください。これ以上は言いません。詳細な紹介を見てみましょう。
実行環境:
1、Windows 10
2、Node 6.7.0
3、npm 3.10.8

4、TypeScript 2.0。 3
プロジェクトの作成
1. フォルダー angular2-quickstart を作成し、VS Code を起動して、新しく作成したフォルダー angular2-quickstart を開きます。
2. ルート フォルダー (angular2-quickstart) で package.json ファイルを作成します:
1 2 3 4 5 6 7 8 9 10 11 12 13 14 15 16 17 18 19 20 21 22 23 24 25 26 27 28 29 30 31 32 33 34 35 36 37 | {
"name": "angular-quickstart",
"version": "1.0.0",
"scripts": {
"start": "tsc && concurrently \"tsc -w\" \"lite-server\" ",
"lite": "lite-server",
"postinstall": "typings install",
"tsc": "tsc",
"tsc:w": "tsc -w",
"typings": "typings"
},
"license": "ISC",
"dependencies": {
"@angular/common": "~2.0.2",
"@angular/compiler": "~2.0.2",
"@angular/core": "~2.0.2",
"@angular/forms": "~2.0.2",
"@angular/http": "~2.0.2",
"@angular/platform-browser": "~2.0.2",
"@angular/platform-browser-dynamic": "~2.0.2",
"@angular/router": "~3.0.2",
"@angular/upgrade": "~2.0.2",
"angular-in-memory-web-api": "~0.1.5",
"bootstrap": "^3.3.7",
"core-js": "^2.4.1",
"reflect-metadata": "^0.1.8",
"rxjs": "5.0.0-beta.12",
"systemjs": "0.19.39",
"zone.js": "^0.6.25"
},
"devDependencies": {
"concurrently": "^3.1.0",
"lite-server": "^2.2.2",
"typescript": "^2.0.3",
"typings": "^1.4.0"
}
}
|
ログイン後にコピー
3. ルート フォルダー (angular2-quickstart) で tsconfig.json ファイルを作成します:
1 2 3 4 5 6 7 8 9 10 11 12 | {
"compilerOptions": {
"target": "es5",
"module": "commonjs",
"moduleResolution": "node",
"sourceMap": true,
"emitDecoratorMetadata": true,
"experimentalDecorators": true,
"removeComments": false,
"noImplicitAny": false
}
}
|
ログイン後にコピー
ルート フォルダー フォルダー (angular2-quickstart) の下に、typings.json ファイルを作成します:
1 2 3 4 5 6 7 | {
"globalDependencies": {
"core-js": "registry:dt/core-js#0.0.0+20160725163759",
"jasmine": "registry:dt/jasmine#2.2.0+20160621224255",
"node": "registry:dt/node#6.0.0+20160909174046"
}
}
|
ログイン後にコピー
5. ルート フォルダー (angular2-quickstart) の下に、systemjs.config.js (JavaScript スクリプト) ファイルを作成します:
1 2 3 4 5 6 7 8 9 10 11 12 13 14 15 16 17 18 19 20 21 22 23 24 25 26 27 28 29 30 31 32 33 34 35 36 37 38 39 40 41 42 43 |
(function(global) {
System.config({
paths: {
'npm:': 'node_modules/'
},
map: {
app: 'app',
'@angular/core': 'npm:@angular/core/bundles/core.umd.js',
'@angular/common': 'npm:@angular/common/bundles/common.umd.js',
'@angular/compiler': 'npm:@angular/compiler/bundles/compiler.umd.js',
'@angular/platform-browser': 'npm:@angular/platform-browser/bundles/platform-browser.umd.js',
'@angular/platform-browser-dynamic': 'npm:@angular/platform-browser-dynamic/bundles/platform-browser-dynamic.umd.js',
'@angular/http': 'npm:@angular/http/bundles/http.umd.js',
'@angular/router': 'npm:@angular/router/bundles/router.umd.js',
'@angular/forms': 'npm:@angular/forms/bundles/forms.umd.js',
'rxjs': 'npm:rxjs',
'angular-in-memory-web-api': 'npm:angular-in-memory-web-api',
},
packages: {
app: {
main: './main.js',
defaultExtension: 'js'
},
rxjs: {
defaultExtension: 'js'
},
'angular-in-memory-web-api': {
main: './index.js',
defaultExtension: 'js'
}
}
});
})(this);
|
ログイン後にコピー
ファイル構造:
1 2 3 4 5 6 7 8 9 10 | |_ angular2-quickstart
|_ app
| |_ app.component.ts
| |_ main.ts
|_ node_modules ...
|_ typings ...
|_ index.html
|_ package.json
|_ tsconfig.json
|_ typings.json
|
ログイン後にコピー
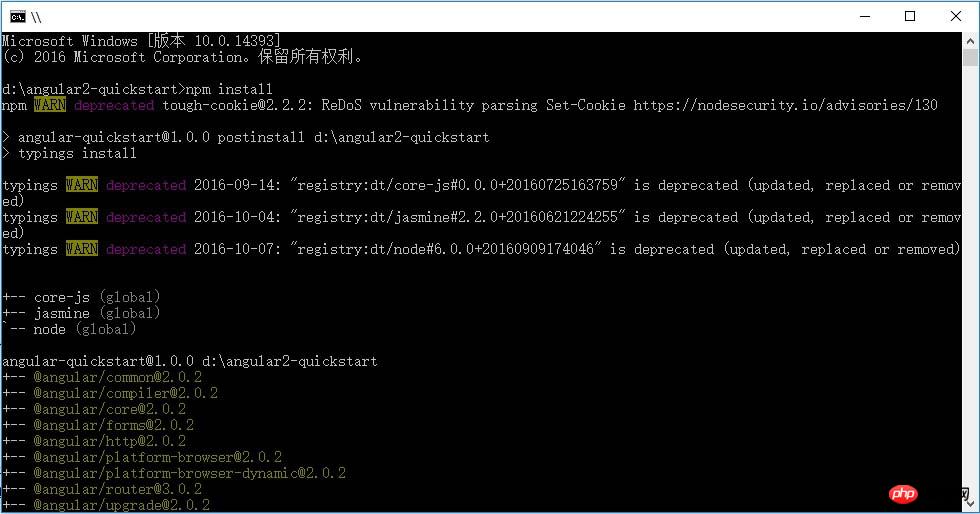
依存関係パッケージをインストールします (最も重要なステップ)
npm コマンドを使用して、package.json にリストされている依存関係パッケージをインストールします。コマンド ライン cmd ウィンドウで、「cd angular2-quickstart」と入力し、angular2-quickstar フォルダーに入り、次のコマンドを入力します。
VS Code で、次のコマンドを実行します。 root フォルダー (angular2-quickstart) の下に、アプリのサブフォルダーを作成します。 2. サブアプリ フォルダーに TypeScript ファイル app.module.ts を作成します:
1 2 3 4 5 6 7 8 9 | import { NgModule } from '@angular/core';
import { BrowserModule } from '@angular/platform-browser';
import { AppComponent } from './app.component';
@NgModule({
imports: [ BrowserModule ],
declarations: [ AppComponent ],
bootstrap: [ AppComponent ]
})
export class AppModule { }
|
ログイン後にコピー
3. サブアプリ フォルダーに TypeScript ファイル app.component.ts を作成します:
1 2 3 4 5 6 | import { Component } from '@angular/core';
@Component({
selector: 'my-app',
template: '<h1>我的第一个 AngularJS 2 应用程序</h1>'
})
export class AppComponent { }
|
ログイン後にコピー
4.サブアプリ ファイル フォルダーに、TypeScript ファイル main.ts を作成します:
1 2 3 4 | import { platformBrowserDynamic } from '@angular/platform-browser-dynamic';
import { AppModule } from './app.module';
const platform = platformBrowserDynamic();
platform.bootstrapModule(AppModule);
|
ログイン後にコピー
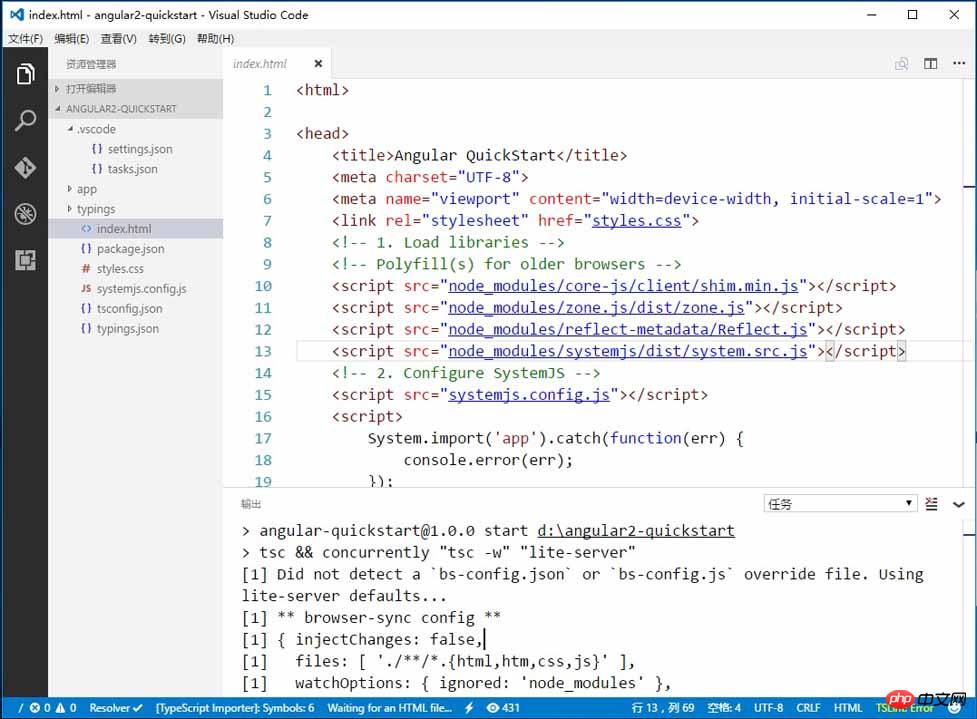
5. ルート フォルダー (angular2-quickstart) の下に、HTML ファイルindex.html を作成します:
1 2 3 4 5 6 7 8 9 10 11 12 13 14 15 16 17 18 19 20 21 22 23 24 25 | <html>
<head>
<title>Angular QuickStart</title>
<meta charset="UTF-8">
<meta name="viewport" content="width=device-width, initial-scale=1">
<link rel="stylesheet" href="styles.css">
<!-- 1. Load libraries -->
<!-- Polyfill(s) for older browsers -->
<script src="node_modules/core-js/client/shim.min.js"></script>
<script src="node_modules/zone.js/dist/zone.js"></script>
<script src="node_modules/reflect-metadata/Reflect.js"></script>
<script src="node_modules/systemjs/dist/system.src.js"></script>
<!-- 2. Configure SystemJS -->
<script src="systemjs.config.js"></script>
<script>
System.import('app').catch(function(err) {
console.error(err);
});
</script>
</head>
<!-- 3. Display the application -->
<body>
<my-app>Loading...</my-app>
</body>
</html>
|
ログイン後にコピー
6. )、CSS ファイルstyles.css を作成します:
1 2 3 4 5 6 7 8 9 10 11 12 13 14 15 | h1 {
color: #369;
font-family: Arial, Helvetica, sans-serif;
font-size: 250%;
}
h2,
h3 {
color: #444;
font-family: Arial, Helvetica, sans-serif;
font-weight: lighter;
}
body {
margin: 2em;
}
|
ログイン後にコピー
構成アプリケーション
1. VS Code で、ルート フォルダー (angular2-quickstart) の下に .vscode サブフォルダーを作成します。 2. .vscode サブフォルダーで settings.json ファイルを作成します:
1 2 3 4 5 6 7 8 9 10 | {
"typescript.tsdk": "node_modules/typescript/lib",
"files.exclude": {
"node_modules": true,
"**/*.js": { "when": "$(basename).ts" },
"**/*.js.map": true
}
}
|
ログイン後にコピー
3. .vscode サブフォルダーで、tasks.json ファイルを作成します:
1 2 3 4 5 6 7 8 9 | {
"version": "0.1.0",
"command": "cmd",
"isShellCommand": true,
"showOutput": "always",
"args": ["/C npm start"]
}
|
ログイン後にコピー
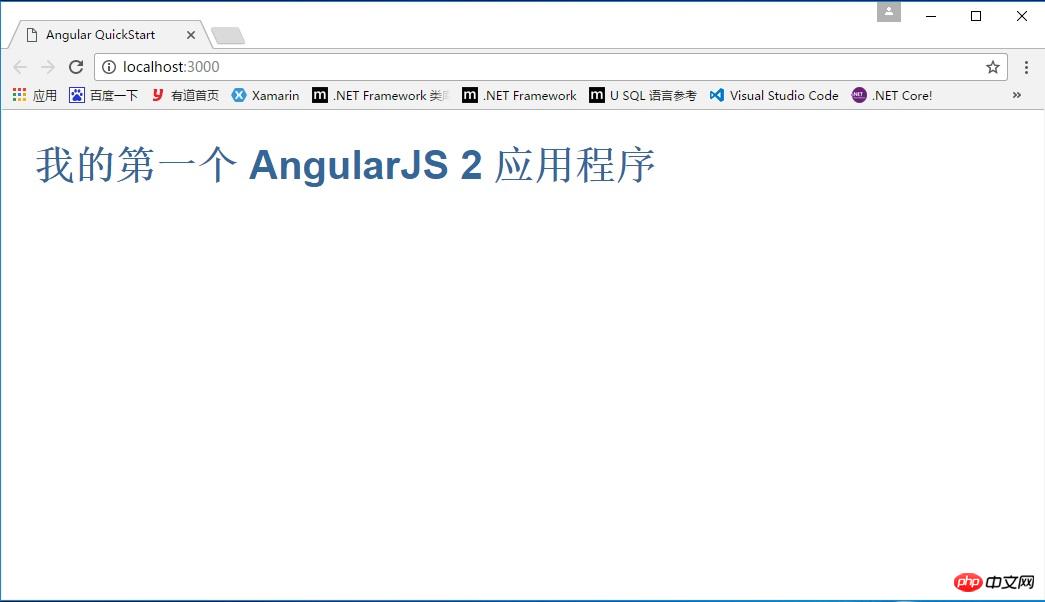
設定が完了したら、アプリケーションを実行します。 , Ctrl + Shift + B コンパイルを押すと、プログラムは Typescript を Javascript にコンパイルし、同時にライトサーバーを起動し、作成したindex.html を読み込みます。 表示: 初めての Angular 2 アプリケーション
上記は、私が皆さんのためにまとめたものです。将来皆さんのお役に立てれば幸いです。
関連記事:
React プロジェクトで Redux を使用する方法 (詳細なチュートリアル)
JavaScript で数値の自動増加を実装する方法
Swiper を使用してページネーションを実装する方法
Swiper の使用方法ページ画像カルーセル
以上がVS Code エディターを使用して AngularJS 2 アプリケーションを開発する方法の詳細内容です。詳細については、PHP 中国語 Web サイトの他の関連記事を参照してください。

 関連記事:
関連記事: 


![[Web フロントエンド] Node.js クイック スタート](https://img.php.cn/upload/course/000/000/067/662b5d34ba7c0227.png)


