#ps完成した写真を保存するにはどうすればよいですか?
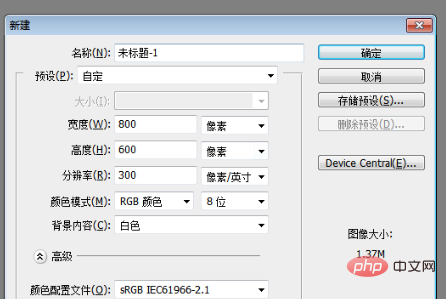
1. たとえば、新しいキャンバスを作成します (例として、キャンバスは 800*600 ピクセルです)。

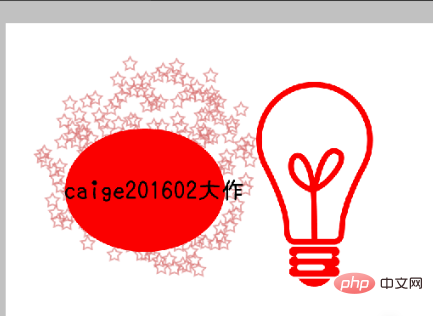
#2. 次に、キャンバス上に必要な画像を作成します。

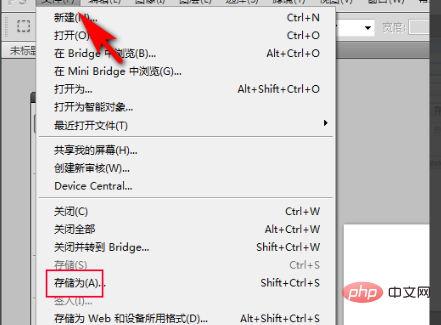
#3. 完了したら、PS 上のファイルの [名前を付けて保存] オプションをクリックします。

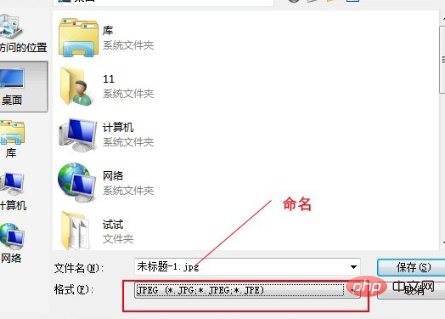
#4. 次に、保存する場所を選択し、ファイル名を入力し、形式で jpg 形式を選択し、[保存] をクリックします。

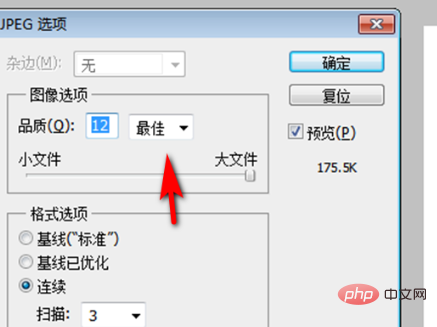
#5. JPG 形式の設定が表示されるので、画像オプションで最高の品質を選択し、[OK] をクリックすると画像が保存されます。

以上がPSで撮った写真を保存する方法の詳細内容です。詳細については、PHP 中国語 Web サイトの他の関連記事を参照してください。


