laravelがFFmpegをインストールしてビデオファイルを処理する方法の詳細な説明
Ubuntu 18.04 FFmpeg をインストールします
1. ソース コードをダウンロードし、コンパイルしてインストールします
1.1 ソース コードをダウンロードします
github アドレス: github.com/PHP-FFMpeg/PHP-FFMpeg
#1.2 依存ライブラリをインストールします##主に 3 つありますインストール: yasm、sdl1 .2、および sdl2.0
安装 yasmsudo apt-get install yasm
安装sdl1.2sudo apt-get install libsdl1.2-dev
安装 sdl2.0sudo apt-get install libstdl2-devsudo apt-get install libstdl2-dev
sdl2.0 のインストールでエラーが発生した場合は、コンパイルとインストール方法を選択できます:
公式から最新バージョンをダウンロードします。 Web サイト: www.libsdl.org/download-2.0.phpUnzip 次に、ディレクトリに入り、次のコマンドを順番に実行します。
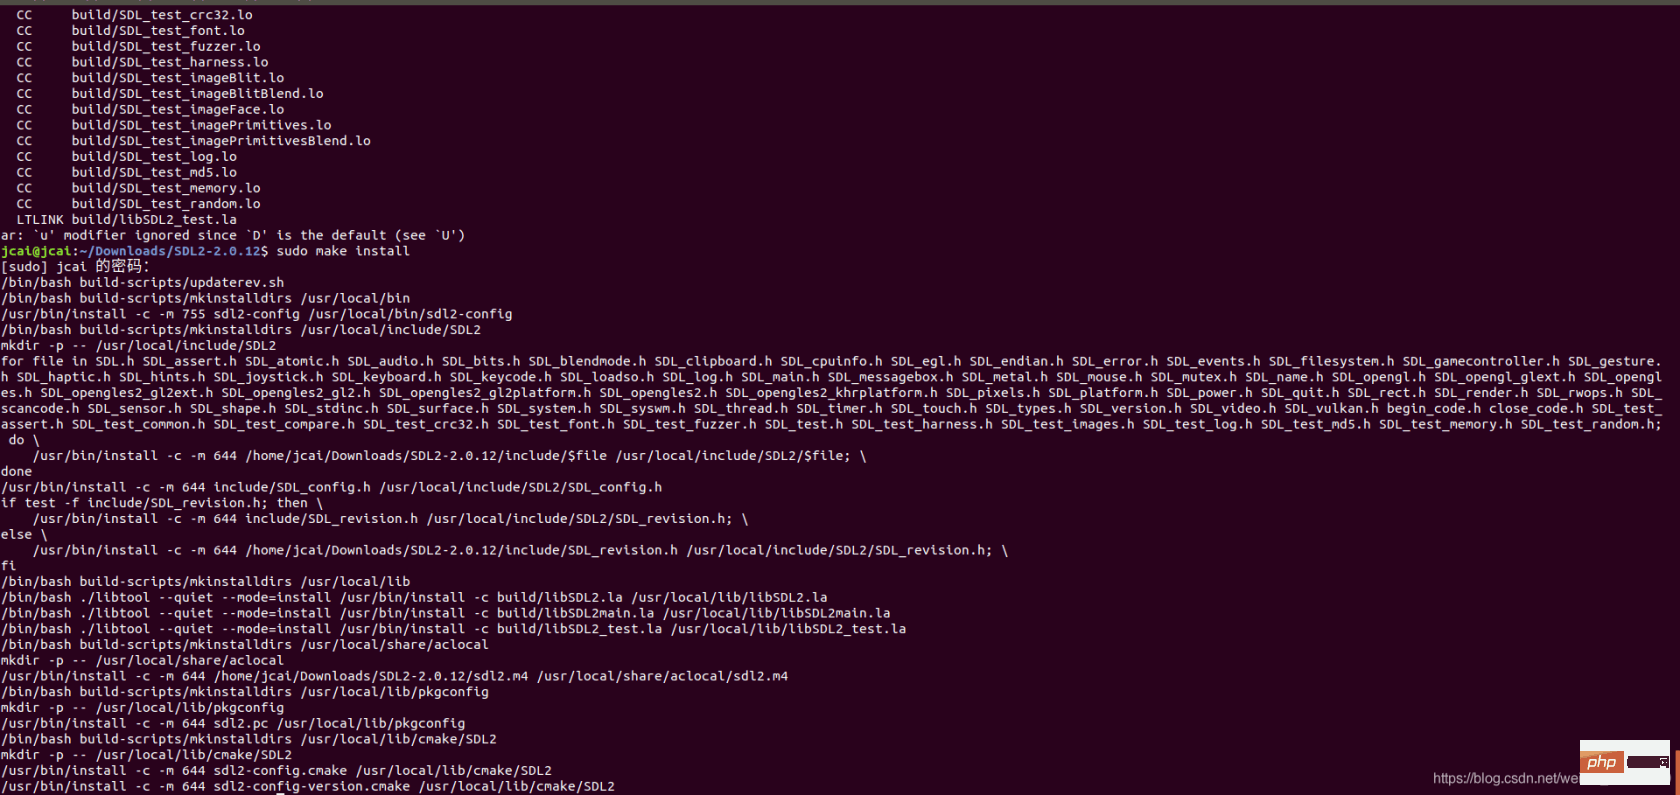
./configure
make
sudo make install
##1.3 ffmpeg をコンパイルしてインストールします
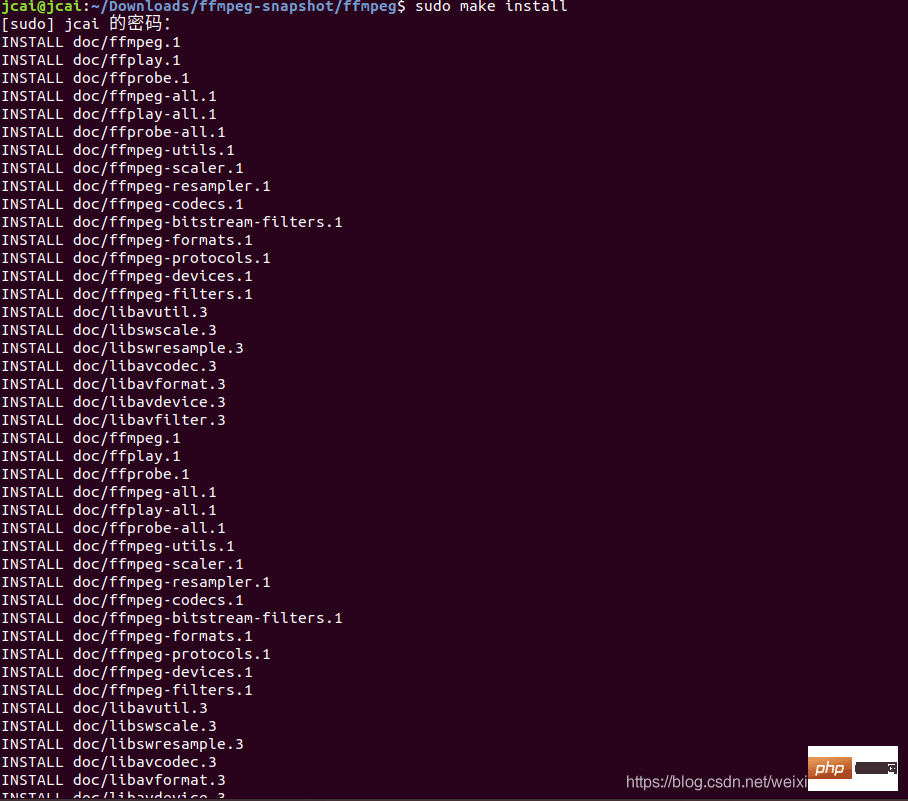
Enter ffmpeg フォルダーに移動し、次のコマンドを順番に実行します。 
./configuremakesudo make install
ここに図の説明を挿入
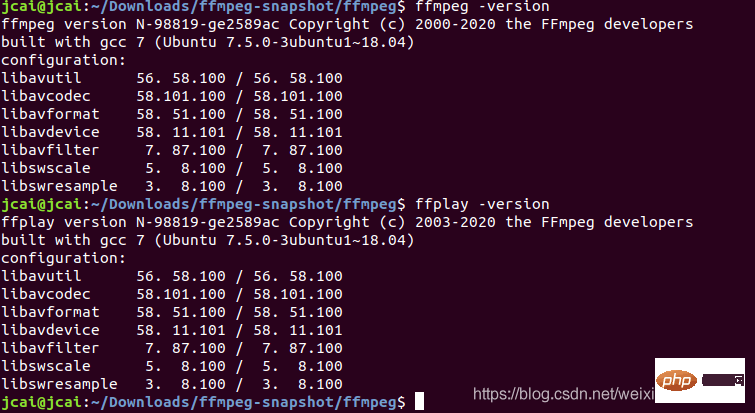
 1.4 インストールが成功したかどうかをテストします
ffmpeg -version
ffplay -version
PHP-FFMpeg Extension
composer require php-ffmpeg/php-ffmpeg
基本的な使い方1.1. プロジェクトの紹介導入は完了です、設定ファイルの情報を 2 つ作成する必要があります通常使用するのは、上記の ffmpeg と ffprobe です。
1.2. グローバル設定
コードを
AppServiceProvider.php
に追加します。
    public function boot()
    {
        $this->registerSingleObject();
    }
     private function registerSingleObject()
    {//       $ffmpeg = FFMpeg::create(array(//           'ffmpeg.binaries'  => '/usr/local/ffmpeg/ffmpeg',//           'ffprobe.binaries' => '/usr/local/ffmpeg/ffprobe',//           'timeout'          => 3600, // The timeout for the underlying process//           'ffmpeg.threads'   => 12,   // The number of threads that FFMpeg should use//       ));
        $this->app->singleton('ffmpeg', function ($app) {
            return FFMpeg::create([
                'ffmpeg.binaries'  => '/usr/local/ffmpeg/ffmpeg',
                'ffprobe.binaries' => '/usr/local/ffmpeg/ffprobe',
            ]);
        });
        $this->app->singleton('ffprobe', function ($app) {
            return FFProbe::create([
                'ffprobe.binaries' => '/usr/local/ffmpeg/ffprobe',
            ]);
        });
}シングルトン モードを使用して、 FFMpeg および
オブジェクトを取得します。 exec('that ffmpeg') は、クラス を作成するためにプログラムの場所情報を取得することです。 基本パッケージ
例:
ビデオの最初の 2 秒がカバーですビデオの基本情報を取得します<?php namespace AppHelpers;use FFMpegCoordinateTimeCode;use IlluminateSupportStr;class FFMpegUtil{ // 获取视频信息 public static function getVideoInfo($streamPath) { $ffprobe = app('ffprobe'); $stream = $ffprobe->streams($streamPath)->videos()->first(); return $stream ? $stream->all() : []; } // 截取 public static function getCover($streamPath, $fromSecond) { $ffmpeg = app('ffmpeg'); $video = $ffmpeg->open($streamPath); $frame = $video->frame(TimeCode::fromSeconds($fromSecond)); //提取第几秒的图像 $fileName = 'video/' . Str::random(12) . '.jpg'; if (!is_dir(storage_path("video"))) { mkdir(storage_path("video"), 0777); } $frame->save(storage_path($fileName)); return $fileName; }}ログイン後にコピー- ビジネス用途
Request オブジェクトによって渡されるビデオは例です。例の public function saveVideotoQiniu($file)
{
Auth::loginUsingId(1);
if ($user = getUser()) {
// 1.判断是否存在此视频
$path = $file->getRealPath();
$hash = md5_file($path);
$video = Video::firstOrNew(['json->hash' => $hash]);
if ($video->id) {
$video->touch();
return $video;
}
// 2.保存到 云
$cdn_path = $this->saveFile($file);
$db_path = getPath($cdn_path);
// 3.获取截图
$fileName = FFMpegUtil::getCover($path, 1);
$image = $this->saveImage(new UploadedFile(storage_path($fileName), 'file.jpg'));
//4.设置视频信息
$data = [];
$data = FFMpegUtil::getVideoInfo($path);
$duration = array_get($data, 'duration');
$duration = $duration > 0 ? ceil($duration) : $duration;
$video->path = $db_path;
$video->user_id = $user->id;
$video->setJsonData('width', array_get($data, 'width'));
$video->setJsonData('height', array_get($data, 'height'));
$video->duration = $duration;
$video->setJsonData('cover', $image->path);
$video->save();
}
}ログイン後にコピー
saveImagepublic function saveVideotoQiniu($file)
{
Auth::loginUsingId(1);
if ($user = getUser()) {
// 1.判断是否存在此视频
$path = $file->getRealPath();
$hash = md5_file($path);
$video = Video::firstOrNew(['json->hash' => $hash]);
if ($video->id) {
$video->touch();
return $video;
}
// 2.保存到 云
$cdn_path = $this->saveFile($file);
$db_path = getPath($cdn_path);
// 3.获取截图
$fileName = FFMpegUtil::getCover($path, 1);
$image = $this->saveImage(new UploadedFile(storage_path($fileName), 'file.jpg'));
//4.设置视频信息
$data = [];
$data = FFMpegUtil::getVideoInfo($path);
$duration = array_get($data, 'duration');
$duration = $duration > 0 ? ceil($duration) : $duration;
$video->path = $db_path;
$video->user_id = $user->id;
$video->setJsonData('width', array_get($data, 'width'));
$video->setJsonData('height', array_get($data, 'height'));
$video->duration = $duration;
$video->setJsonData('cover', $image->path);
$video->save();
}
}は、画像をクラウドにアップロードし、アップロードされた画像の URL を返す関数
laravel の技術記事の詳細については、 laravel チュートリアル 列をご覧ください。
以上がlaravelがFFmpegをインストールしてビデオファイルを処理する方法の詳細な説明の詳細内容です。詳細については、PHP 中国語 Web サイトの他の関連記事を参照してください。

ホットAIツール

Undresser.AI Undress
リアルなヌード写真を作成する AI 搭載アプリ

AI Clothes Remover
写真から衣服を削除するオンライン AI ツール。

Undress AI Tool
脱衣画像を無料で

Clothoff.io
AI衣類リムーバー

AI Hentai Generator
AIヘンタイを無料で生成します。

人気の記事

ホットツール

メモ帳++7.3.1
使いやすく無料のコードエディター

SublimeText3 中国語版
中国語版、とても使いやすい

ゼンドスタジオ 13.0.1
強力な PHP 統合開発環境

ドリームウィーバー CS6
ビジュアル Web 開発ツール

SublimeText3 Mac版
神レベルのコード編集ソフト(SublimeText3)

ホットトピック
 PHP でオブジェクト リレーショナル マッピング (ORM) を使用してデータベース操作を簡素化するにはどうすればよいですか?
May 07, 2024 am 08:39 AM
PHP でのデータベース操作は、オブジェクトをリレーショナル データベースにマップする ORM を使用して簡素化されます。 Laravel の EloquentORM を使用すると、オブジェクト指向構文を使用してデータベースと対話できます。モデル クラスを定義したり、Eloquent メソッドを使用したり、実際にブログ システムを構築したりすることで ORM を使用できます。
 PHP単体テストツールの長所と短所の分析
May 06, 2024 pm 10:51 PM
PHP 単体テスト ツール分析: PHPUnit: 大規模プロジェクトに適しており、包括的な機能を提供し、インストールが簡単ですが、冗長で遅い場合があります。 PHPUnitWrapper: 小規模プロジェクトに適しており、使いやすく、Lumen/Laravel に最適化されていますが、機能が限られており、コード カバレッジ分析は提供されず、コミュニティ サポートも限られています。
 Laravel と CodeIgniter の最新バージョンの比較
Jun 05, 2024 pm 05:29 PM
Laravel 9 と CodeIgniter 4 の最新バージョンでは、更新された機能と改善が提供されます。 Laravel9はMVCアーキテクチャを採用しており、データベース移行、認証、テンプレートエンジンなどの機能を提供します。 CodeIgniter4 は、HMVC アーキテクチャを使用してルーティング、ORM、およびキャッシュを提供します。パフォーマンスの面では、Laravel9 のサービスプロバイダーベースの設計パターンと CodeIgniter4 の軽量フレームワークにより、優れたパフォーマンスが得られます。実際のアプリケーションでは、Laravel9 は柔軟性と強力な機能を必要とする複雑なプロジェクトに適しており、CodeIgniter4 は迅速な開発や小規模なアプリケーションに適しています。
 Laravel - アーティザンコマンド
Aug 27, 2024 am 10:51 AM
Laravel - アーティザン コマンド - Laravel 5.7 には、新しいコマンドを処理およびテストするための新しい方法が付属しています。これには職人コマンドをテストする新しい機能が含まれており、そのデモについては以下で説明します。
 Laravel と CodeIgniter のデータ処理機能はどのように比較されますか?
Jun 01, 2024 pm 01:34 PM
Laravel と CodeIgniter のデータ処理機能を比較します。 ORM: Laravel はクラスとオブジェクトのリレーショナル マッピングを提供する EloquentORM を使用しますが、CodeIgniter は ActiveRecord を使用してデータベース モデルを PHP クラスのサブクラスとして表します。クエリビルダー: Laravel には柔軟なチェーンクエリ API がありますが、CodeIgniter のクエリビルダーはよりシンプルで配列ベースです。データ検証: Laravel はカスタム検証ルールをサポートする Validator クラスを提供しますが、CodeIgniter には組み込みの検証関数が少なく、カスタム ルールの手動コーディングが必要です。実践例:ユーザー登録例はLarを示しています
 Laravel と CodeIgniter: 大規模プロジェクトにはどちらのフレームワークが適していますか?
Jun 04, 2024 am 09:09 AM
大規模プロジェクト用のフレームワークを選択する場合、Laravel と CodeIgniter にはそれぞれ独自の利点があります。 Laravel はエンタープライズレベルのアプリケーション向けに設計されており、モジュール設計、依存関係の注入、強力な機能セットを提供します。 CodeIgniter は、速度と使いやすさを重視した、小規模から中規模のプロジェクトに適した軽量フレームワークです。複雑な要件と多数のユーザーを伴う大規模なプロジェクトには、Laravel のパワーとスケーラビリティがより適しています。単純なプロジェクトやリソースが限られている状況では、CodeIgniter の軽量で迅速な開発機能がより理想的です。
 Laravel と CodeIgniter ではどちらが初心者に優しいでしょうか?
Jun 05, 2024 pm 07:50 PM
初心者にとって、CodeIgniter は学習曲線が緩やかで機能は少ないですが、基本的なニーズはカバーしています。 Laravel は幅広い機能セットを提供しますが、学習曲線はわずかに急になります。パフォーマンスの点では、Laravel と CodeIgniter はどちらも良好なパフォーマンスを示します。 Laravel にはより広範なドキュメントとアクティブなコミュニティ サポートがあり、CodeIgniter はよりシンプルで軽量で、強力なセキュリティ機能を備えています。ブログアプリケーションを構築する実際のケースでは、Laravel の EloquentORM を使用するとデータ操作が簡素化されますが、CodeIgniter ではより手動の構成が必要になります。
 PHPコードの単体テストと統合テスト
May 07, 2024 am 08:00 AM
PHP 単体テストおよび統合テスト ガイド 単体テスト: コードまたは関数の単一単位に焦点を当て、PHPUnit を使用して検証用のテスト ケース クラスを作成します。統合テスト: 複数のコードユニットがどのように連携するかに注意し、PHPUnit の setUp() メソッドと TearDown() メソッドを使用してテスト環境をセットアップおよびクリーンアップします。実際のケース: PHPUnit を使用して、データベースの作成、サーバーの起動、テストコードの作成など、Laravel アプリケーションの単体テストと統合テストを実行します。


