公式コードの依存関係に従うだけでは不十分なので、ここで Maven pom ファイルを補足する必要があります。
<dependency>
            <groupId>org.mybatis.spring.boot</groupId>
            <artifactId>mybatis-spring-boot-starter</artifactId>
            <version>2.2.0</version>
        </dependency>

        <dependency>
            <groupId>mysql</groupId>
            <artifactId>mysql-connector-java</artifactId>
            <scope>runtime</scope>
</dependency>ここでもテスト データベースとして mysql を使用します。FM (fluent mybatis の略) は多くの種類のデータベースをサポートできます。当面は他のデータベースは考慮しません。 。
application.properties ファイルに mysql データベース設定を追加します。druid 接続プールの使用については、後の章で説明します。 application.yml を使用することもできます。これはオプションです。
spring.datasource.username=root
spring.datasource.password=123456
spring.datasource.url=jdbc:mysql://192.168.0.108:3306/test?useSSL=false&useUnicode=true&characterEncoding=utf-8
spring.datasource.driver-class-name=com.mysql.jdbc.Driver
主に単純なデータ挿入テストを行うために、テスト パッケージにテスト コードを追加します。
コードは次のとおりです:
package com.hy.fmp.test;

import com.hy.fmp.Application;
import com.hy.fmp.fluent.entity.TestFluentMybatisEntity;
import com.hy.fmp.fluent.mapper.TestFluentMybatisMapper;
import org.junit.jupiter.api.Test;
import org.springframework.beans.factory.annotation.Autowired;
import org.springframework.boot.test.context.SpringBootTest;

import java.util.Date;

@SpringBootTest(classes = Application.class)
public class InsertTest {
  @Autowired TestFluentMybatisMapper testFluentMybatisMapper;

  @Test
  public void testInsertDefaultValue() {
    // 插入数据
    testFluentMybatisMapper.insert(
        new TestFluentMybatisEntity()
            .setAge(18)
            .setName("法外狂徒张三")
            .setCreateTime(new Date())
            .setDelFlag(0));
  }
}手順:
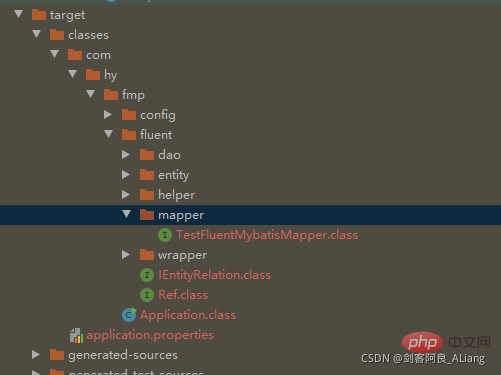
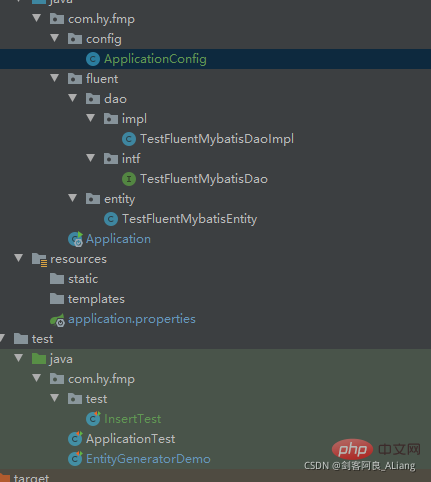
1. TestFluentMybatisMapper がターゲット パッケージのマッパー クラスであることに注意してください。
2. テーブル エンティティ TestFluentMybatisEntity はチェーン コードで記述できます。
@Accessors(
    chain = true
)スキャンされたマッパーは、ターゲット パッケージ内のマッパー ディレクトリでもあります
@SpringBootApplication
@MapperScan({"com.hy.fmp.fluent.mapper"})
public class Application {

  public static void main(String[] args) {
    SpringApplication.run(Application.class, args);
  }
}


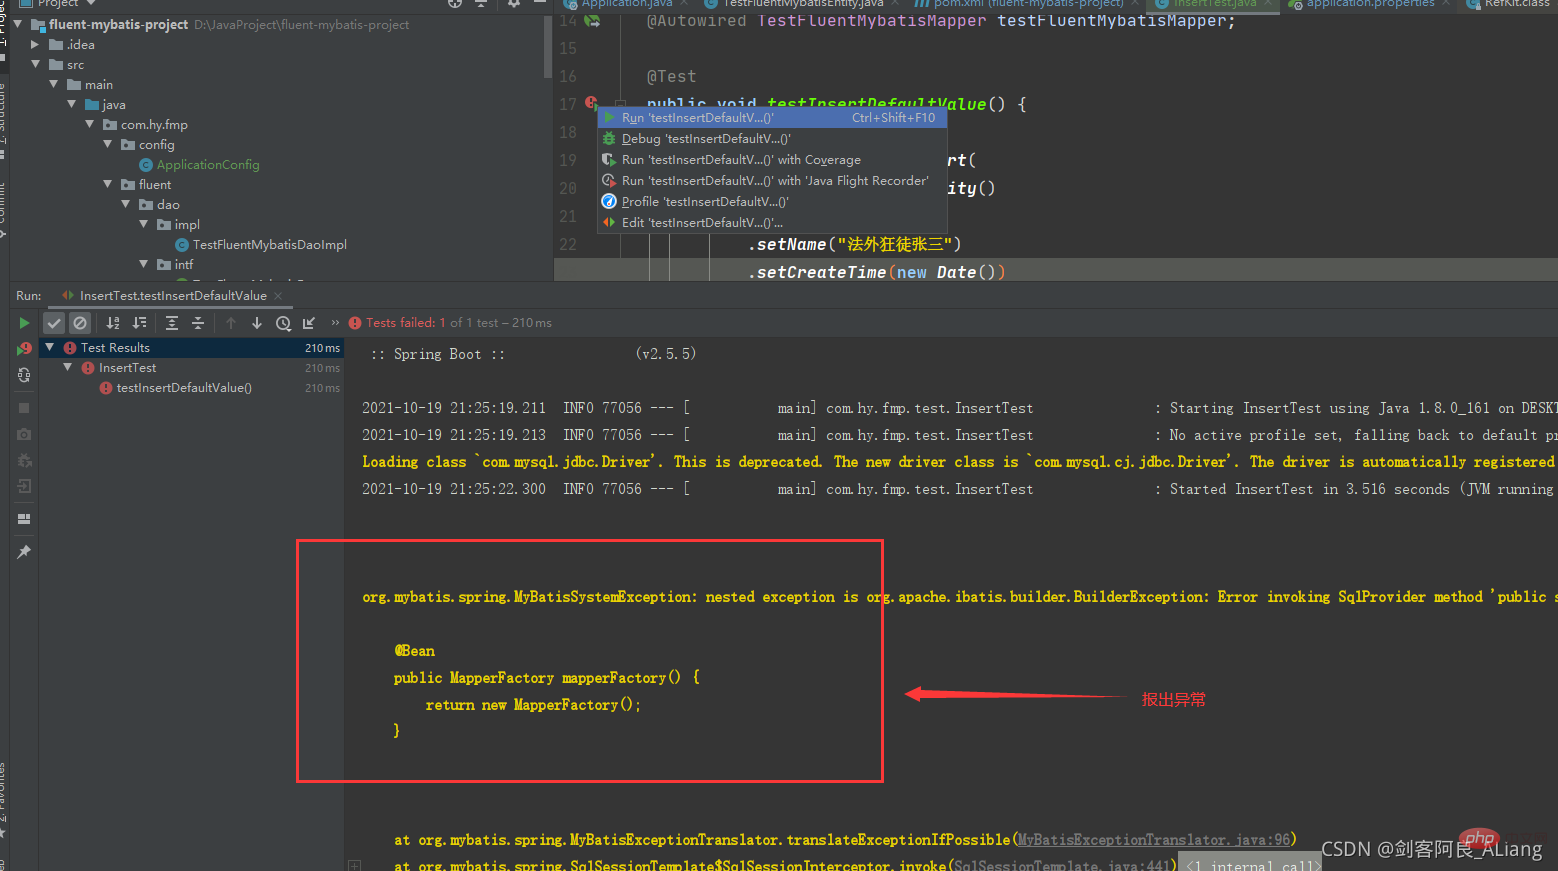
package com.hy.fmp.config;

import cn.org.atool.fluent.mybatis.spring.MapperFactory;
import org.springframework.context.annotation.Bean;
import org.springframework.context.annotation.Configuration;

@Configuration
public class ApplicationConfig {

  //  @Bean("dataSource")
  //  public DruidDataSource newDataSource() {
  //    return DataSourceCreator.create("datasource");
  //  }
  //
  //  @Bean
  //  public SqlSessionFactoryBean sqlSessionFactoryBean() throws Exception {
  //    SqlSessionFactoryBean bean = new SqlSessionFactoryBean();
  //    bean.setDataSource(newDataSource());
  //    ResourcePatternResolver resolver = new PathMatchingResourcePatternResolver();
  //    // 以下部分根据自己的实际情况配置
  //    // 如果有mybatis原生文件, 请在这里加载
  //    bean.setMapperLocations(resolver.getResources("classpath*:mapper/*.xml"));
  //    /* bean.setMapperLocations(
  //    /*      new ClassPathResource("mapper/xml1.xml"),
  //    /*      new ClassPathResource("mapper/xml2.xml")
  //    /* );
  //    */
  //    org.apache.ibatis.session.Configuration configuration =
  //        new org.apache.ibatis.session.Configuration();
  //    configuration.setLazyLoadingEnabled(true);
  //    configuration.setMapUnderscoreToCamelCase(true);
  //    bean.setConfiguration(configuration);
  //    return bean;
  //  }

  // 定义fluent mybatis的MapperFactory
  @Bean
  public MapperFactory mapperFactory() {
    return new MapperFactory();
  }
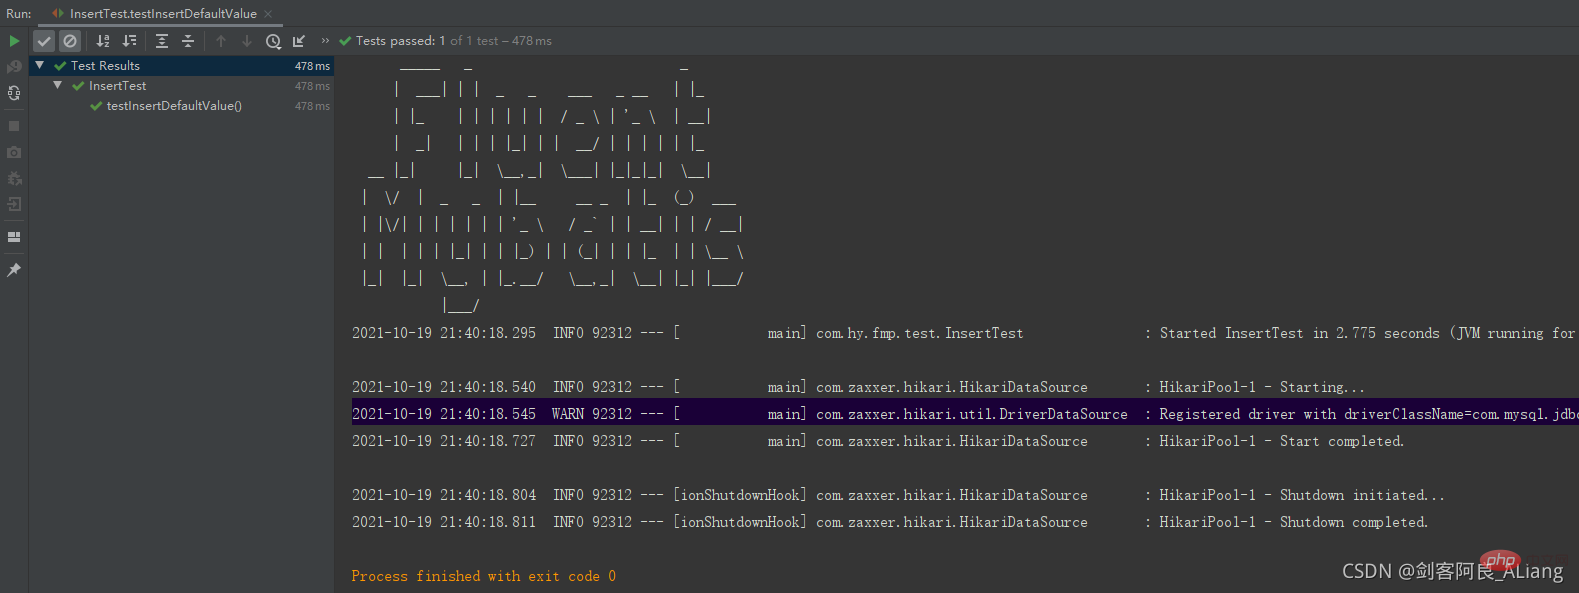
} #実行は成功しました。テーブル内のデータを確認してください。大丈夫完璧。
以上がJava Fluent Mybatis を使用してデータベースの操作を検証する方法の詳細内容です。詳細については、PHP 中国語 Web サイトの他の関連記事を参照してください。