SpringBoot で Tomcat を設定および切り替える方法
1. 基本的な紹介
SpringBoot でサポートされる Web サーバー: Tomcat、Jetty、または Undertow


server:2. Tomcat を次のように設定します。クラスクラス Tomcat を通じて設定します (注: 設定ファイルはより詳細に設定できます。)application.yml からログアウトして Tomcat を設定し、テストを完了します#ポートの設定
port: 9999
#tomcatの設定
tomcat:
thread:
#最大値を示しますワーカー スレッドの数 (バンクには 10 個のカウンターがあり、各カウンターは 200 リクエストを処理します。10*200=最大接続数)、デフォルトは 200
max: 10
#デフォルトの最小ワーカー スレッドは 10
min - Spare: 5
#Tomcat によって開始されたスレッドが最大値に達し、キューに入れられたリクエストの数が受け入れられます。デフォルトは 100
accept-count: 200
#最大接続数、接続数concurrency
max-connections: 2000
#接続確立のタイムアウト、デフォルトはミリ秒単位で 20 秒です
connection-timeout: 10000
/**
 * 通过类来配置Tomcat
 */
@Component
public class CustomizationBean implements WebServerFactoryCustomizer<ConfigurableServletWebServerFactory> {
    @Override
    public void customize(ConfigurableServletWebServerFactory server) {
        server.setPort(10000); //我们设置了server的端口为10000
    }
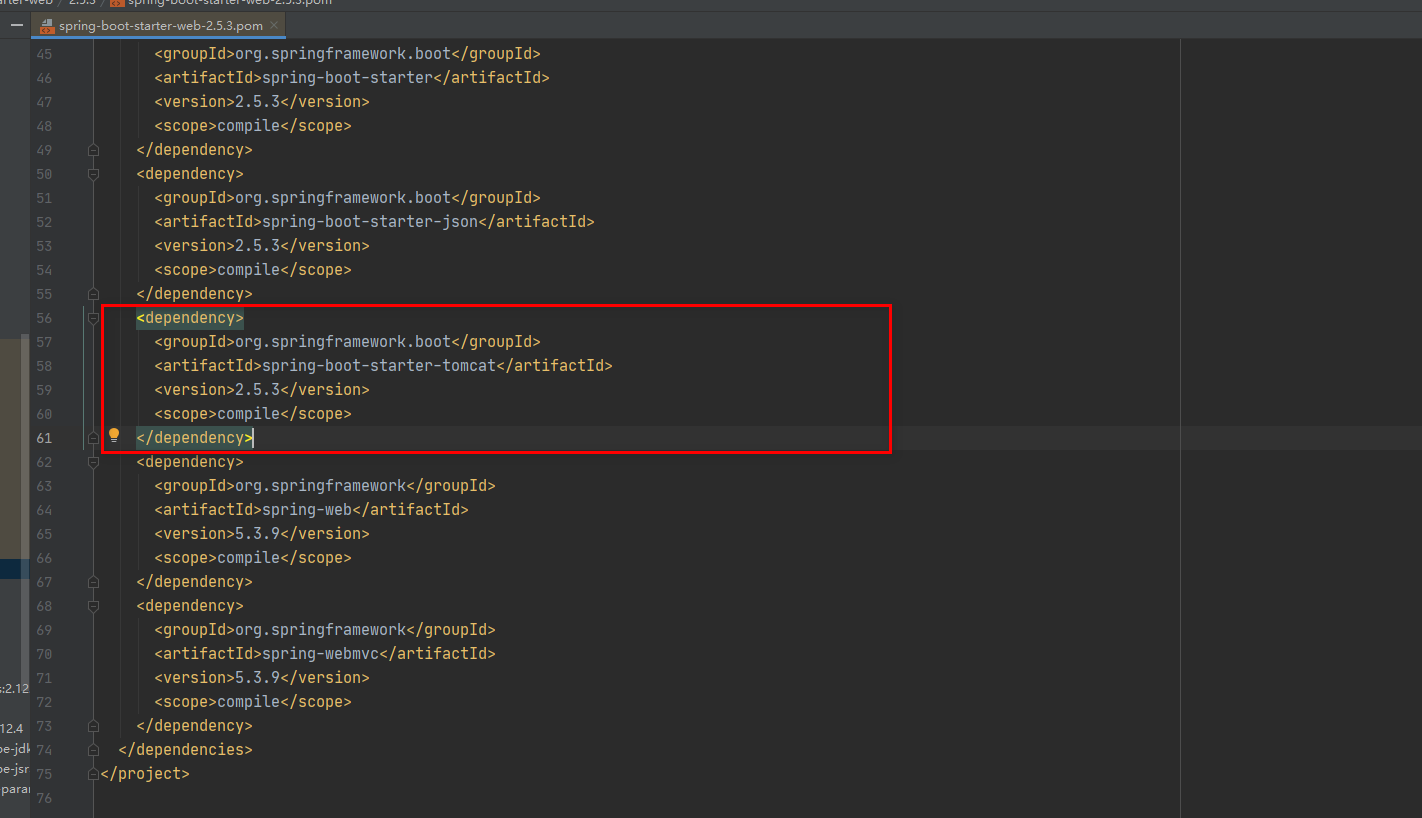
}<dependency>
<groupId>org.springframework.boot</groupId>
<artifactId>spring-boot-starter-web</artifactId>
<exclusions>
<exclusion>
<groupId>org.springframework.boot</groupId>
<artifactId>spring-boot-starter-tomcat</artifactId>
</exclusion>
</exclusions>
</dependency><!-- 引入 undertow --> <dependency> <groupId>org.springframework.boot</groupId> <artifactId>spring-boot-starter-undertow</artifactId> </dependency>
以上がSpringBoot で Tomcat を設定および切り替える方法の詳細内容です。詳細については、PHP 中国語 Web サイトの他の関連記事を参照してください。

ホットAIツール

Undresser.AI Undress
リアルなヌード写真を作成する AI 搭載アプリ

AI Clothes Remover
写真から衣服を削除するオンライン AI ツール。

Undress AI Tool
脱衣画像を無料で

Clothoff.io
AI衣類リムーバー

Video Face Swap
完全無料の AI 顔交換ツールを使用して、あらゆるビデオの顔を簡単に交換できます。

人気の記事

ホットツール

メモ帳++7.3.1
使いやすく無料のコードエディター

SublimeText3 中国語版
中国語版、とても使いやすい

ゼンドスタジオ 13.0.1
強力な PHP 統合開発環境

ドリームウィーバー CS6
ビジュアル Web 開発ツール

SublimeText3 Mac版
神レベルのコード編集ソフト(SublimeText3)

ホットトピック
 7689
7689
 15
15
 1639
1639
 14
14
 1393
1393
 52
52
 1287
1287
 25
25
 1229
1229
 29
29
 Tomcat に jar プロジェクトをデプロイする方法
Apr 21, 2024 am 07:27 AM
JAR プロジェクトを Tomcat にデプロイするには、次の手順に従います。 Tomcat をダウンロードして解凍します。 server.xml ファイルを構成し、ポートとプロジェクトのデプロイメント・パスを設定します。 JAR ファイルを指定されたデプロイメント パスにコピーします。 Tomcatを起動します。指定された URL を使用して、デプロイされたプロジェクトにアクセスします。
 Tomcat サーバーへの外部ネットワーク アクセスを許可する方法
Apr 21, 2024 am 07:22 AM
Tomcat サーバーが外部ネットワークにアクセスできるようにするには、以下を行う必要があります。 外部接続を許可するように Tomcat 構成ファイルを変更します。 Tomcat サーバー ポートへのアクセスを許可するファイアウォール ルールを追加します。 Tomcat サーバーのパブリック IP を指すドメイン名を指す DNS レコードを作成します。オプション: リバース プロキシを使用して、セキュリティとパフォーマンスを向上させます。オプション: セキュリティを強化するために HTTPS を設定します。
 Tomcatのインストールディレクトリはどこにありますか?
Apr 21, 2024 am 07:48 AM
Tomcat インストール ディレクトリ: デフォルト パス: Windows: C:\Program Files\Apache Software Foundation\Tomcat 9.0macOS:/Library/Tomcat/Tomcat 9.0Linux:/opt/tomcat/tomcat9 カスタム パス: インストール中に指定できます。インストール ディレクトリを見つけます。whereis またはlocateコマンドを使用します。
 Tomcat で複数のプロジェクトをデプロイする方法
Apr 21, 2024 am 09:33 AM
Tomcat を介して複数のプロジェクトをデプロイするには、プロジェクトごとに webapp ディレクトリを作成してから、次の操作を行う必要があります。 自動デプロイ: webapp ディレクトリを Tomcat の webapps ディレクトリに配置します。手動デプロイメント: Tomcat のマネージャー アプリケーションにプロジェクトを手動でデプロイします。プロジェクトがデプロイされると、そのデプロイメント名 (例: http://localhost:8080/project1) でアクセスできるようになります。
 Tomcatでの同時接続数を確認する方法
Apr 21, 2024 am 08:12 AM
Tomcat の同時接続数を確認する方法: Tomcat Manager ページ (http://localhost:8080/manager/html) にアクセスし、ユーザー名とパスワードを入力します。左側のナビゲーション バーで [ステータス] -> [セッション] をクリックすると、ページの上部に同時接続数が表示されます。
 Tomcat Web サイトのルート ディレクトリはどこですか?
Apr 21, 2024 am 09:27 AM
Tomcat Web サイトのルート ディレクトリは Tomcat の webapps サブディレクトリにあり、Web アプリケーション ファイル、静的リソース、および WEB-INF ディレクトリを保存するために使用されます。これは、Tomcat 構成ファイルで docBase 属性を検索することで見つかります。
 Tomcatのポート番号を確認する方法
Apr 21, 2024 am 08:00 AM
Tomcat のポート番号は、server.xml ファイルの <Connector> 要素の port 属性を確認することで確認できます。 Tomcat 管理インターフェイス (http://localhost:8080/manager/html) にアクセスし、[ステータス] タブを表示します。コマンドラインから「catalina.sh version」を実行し、「Port:」行を確認します。
 Tomcatでドメイン名を設定する方法
Apr 21, 2024 am 09:52 AM
ドメイン名を使用するように Tomcat を構成するには、次の手順に従います。 server.xml バックアップを作成します。 server.xml を開いて Host 要素を追加し、example.com をドメイン名に置き換えます。ドメイン名の SSL 証明書を作成します (必要な場合)。 server.xml に SSL コネクタを追加し、ポート、キーストア ファイル、およびパスワードを変更します。 server.xml を保存します。 Tomcatを再起動します。


