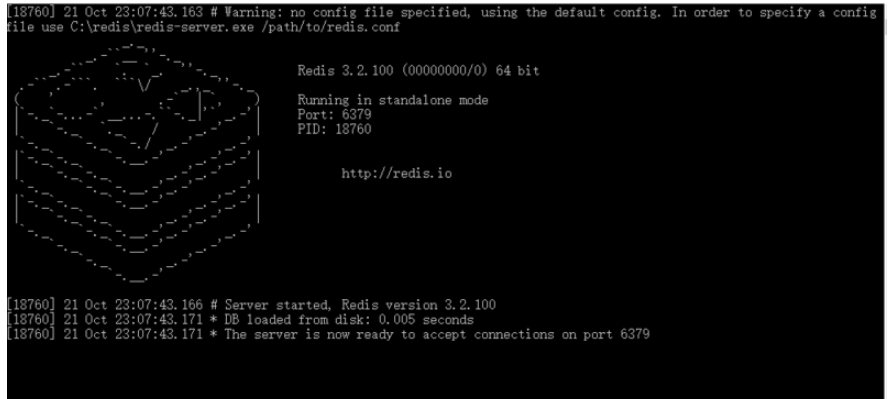
最初に Redis サーバーを開きます:
次に Springboot に構成ファイルを追加します:
1 2 3 4 5 6 7 8 9 10 11 12 13 14 15 16 17 18 | # Redis数据库索引(默认为0)
spring.redis.database=0
# Redis服务器地址
spring.redis.host=localhost
# Redis服务器连接端口
spring.redis.port=6379
# Redis服务器连接密码(默认为空)
spring.redis.password=
# 连接池最大连接数(使用负值表示没有限制)
spring.redis.pool.max-active=8
# 连接池最大阻塞等待时间(使用负值表示没有限制)
spring.redis.pool.max-wait=-1
# 连接池中的最大空闲连接
spring.redis.pool.max-idle=8
# 连接池中的最小空闲连接
spring.redis.pool.min-idle=0
# 连接超时时间(毫秒)
spring.redis.timeout=0
|
ログイン後にコピー
最後に springboot pom.xml ファイルに依存関係を追加します:
1 2 3 4 | <dependency>
<groupid>org.springframework.boot</groupid>
<artifactid>spring-boot-starter-data-redis</artifactid>
</dependency>
|
ログイン後にコピー
次に、springboot プロジェクトにテスト クラスを作成します:
1 2 3 4 5 6 7 8 9 10 11 12 13 14 15 16 17 18 19 | @RunWith(SpringRunner.class)
@SpringBootTest
public class ShoppingApplicationTests {
@Autowired
private StringRedisTemplate stringRedisTemplate;
@Test
public void test() throws Exception {
List<string> list =new ArrayList();
list.add("a");
list.add("b");
list.add("v");
stringRedisTemplate.opsForValue().set("abc", "测试");
stringRedisTemplate.opsForList().leftPushAll("qq",list);
stringRedisTemplate.opsForList().range("qwe",0,-1).forEach(value ->{
System.out.println(value);
}
);
}</string>
|
ログイン後にコピー
その後、redis で新しく作成されたものが表示されます

これが Springboot が redis に接続する最も簡単な方法です
以上がRedisをSpringBootに接続する方法の詳細内容です。詳細については、PHP 中国語 Web サイトの他の関連記事を参照してください。


![[Web フロントエンド] Node.js クイック スタート](https://img.php.cn/upload/course/000/000/067/662b5d34ba7c0227.png)


