
目标是想让Toolbar不被DrawerLayout的NavigationView遮盖,一直显示。
以下代码运行于Android Studio 2.1.2, 手机5.1.1
<!--activity_main.xml-->

<?xml version="1.0" encoding="utf-8"?>
<android.support.v4.widget.DrawerLayout xmlns:android="http://schemas.android.com/apk/res/android"
    xmlns:app="http://schemas.android.com/apk/res-auto"
    xmlns:tools="http://schemas.android.com/tools"
    android:id="@+id/drawer_layout"
    android:layout_width="match_parent"
    android:layout_height="match_parent"
    android:fitsSystemWindows="true"
    tools:openDrawer="start">

    <include
        layout="@layout/content_main"
        android:layout_width="match_parent"
        android:layout_height="match_parent" />

    <android.support.design.widget.NavigationView
        android:id="@+id/nav_view"
        android:layout_width="wrap_content"
        android:layout_height="match_parent"
        android:layout_gravity="start"
        android:fitsSystemWindows="true"
        app:headerLayout="@layout/nav_header_main"
        app:menu="@menu/activity_main_drawer" />

</android.support.v4.widget.DrawerLayout>


<!--content_main.xml-->
<?xml version="1.0" encoding="utf-8"?>
<android.support.design.widget.CoordinatorLayout xmlns:android="http://schemas.android.com/apk/res/android"
    xmlns:app="http://schemas.android.com/apk/res-auto"
    xmlns:tools="http://schemas.android.com/tools"
    android:layout_width="match_parent"
    android:layout_height="match_parent"
    android:fitsSystemWindows="true"
    tools:showIn="@layout/activity_main"
    tools:context="com.hooking.note.MainActivity">

    <android.support.design.widget.AppBarLayout
        android:layout_width="match_parent"
        android:layout_height="wrap_content"
        android:theme="@style/AppTheme.AppBarOverlay">

        <android.support.v7.widget.Toolbar
            android:id="@+id/toolbar"
            android:layout_width="match_parent"
            android:layout_height="?attr/actionBarSize"
            android:background="?attr/colorPrimary"
            app:popupTheme="@style/AppTheme.PopupOverlay" />

    </android.support.design.widget.AppBarLayout>

    <RelativeLayout
        android:id="@+id/fg_main_list"
        android:layout_width="match_parent"
        android:layout_height="match_parent"
        app:layout_behavior="@string/appbar_scrolling_view_behavior"/>

    <android.support.design.widget.FloatingActionButton
        android:id="@+id/fab"
        android:layout_width="wrap_content"
        android:layout_height="wrap_content"
        android:layout_gravity="bottom|end"
        android:layout_margin="@dimen/fab_margin"
        android:background="?attr/colorPrimary"
        android:src="@drawable/ic_add_white_24dp"
        app:layout_behavior="@string/floating_action_button_behavior" />

</android.support.design.widget.CoordinatorLayout>
主题是android studio项目模板默认的
    <style name="AppTheme.NoActionBar">
        <item name="windowActionBar">false</item>
        <item name="windowNoTitle">true</item>
        <item name="android:windowDrawsSystemBarBackgrounds">true</item>
        <item name="android:statusBarColor">@android:color/transparent</item>
    </style>

    <activity
        android:name=".MainActivity"
        android:theme="@style/AppTheme.NoActionBar" />
运行结果如下:
<!-- activity_main_2.xml -->
<?xml version="1.0" encoding="utf-8"?>
<android.support.design.widget.CoordinatorLayout xmlns:android="http://schemas.android.com/apk/res/android"
    xmlns:app="http://schemas.android.com/apk/res-auto"
    xmlns:tools="http://schemas.android.com/tools"
    android:layout_width="match_parent"
    android:layout_height="match_parent"
    android:fitsSystemWindows="true"
    tools:context="com.hooking.note.MainActivity">

    <android.support.design.widget.AppBarLayout
        android:layout_width="match_parent"
        android:layout_height="wrap_content"
        android:theme="@style/AppTheme.AppBarOverlay">

        <android.support.v7.widget.Toolbar
            android:id="@+id/toolbar"
            android:layout_width="match_parent"
            android:layout_height="?attr/actionBarSize"
            android:background="?attr/colorPrimary"
            app:layout_scrollFlags="scroll|enterAlways"
            app:popupTheme="@style/AppTheme.PopupOverlay" />

    </android.support.design.widget.AppBarLayout>

    <include layout="@layout/content_main_2" />

    <android.support.design.widget.FloatingActionButton
        android:id="@+id/fab"
        android:layout_width="wrap_content"
        android:layout_height="wrap_content"
        android:layout_gravity="bottom|end"
        android:layout_margin="@dimen/fab_margin"
        android:background="?attr/colorPrimary"
        android:src="@drawable/ic_add_white_24dp"
        app:layout_behavior="@string/floating_action_button_behavior" />

</android.support.design.widget.CoordinatorLayout>


<!-- content_main_2.xml -->
<?xml version="1.0" encoding="utf-8"?>
<android.support.v4.widget.DrawerLayout xmlns:android="http://schemas.android.com/apk/res/android"
    xmlns:app="http://schemas.android.com/apk/res-auto"
    xmlns:tools="http://schemas.android.com/tools"
    android:id="@+id/drawer_layout"
    android:layout_width="match_parent"
    android:layout_height="match_parent"
    android:fitsSystemWindows="false"//注1
    app:layout_behavior="@string/appbar_scrolling_view_behavior"
    tools:openDrawer="start">

    <RelativeLayout
        android:id="@+id/fg_main_list"
        android:layout_width="match_parent"
        android:layout_height="match_parent"/>

    <android.support.design.widget.NavigationView
        android:id="@+id/nav_view"
        android:layout_width="wrap_content"
        android:layout_height="match_parent"
        android:layout_gravity="start"
        android:fitsSystemWindows="false"//注2
        app:headerLayout="@layout/nav_header_main"
        app:menu="@menu/activity_main_drawer" />

</android.support.v4.widget.DrawerLayout>
主题不变,运行结果如下: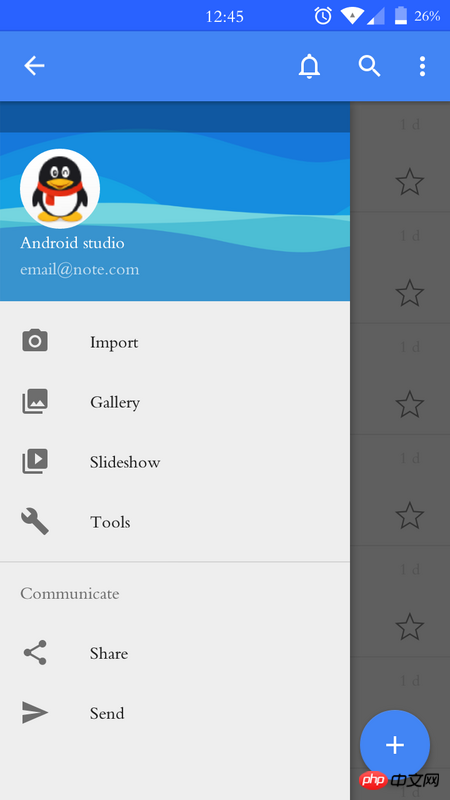
发现NavigationView的顶部有一与状态栏高度相等的遮罩层,请问怎样去掉这部分遮罩层的阴影。
试过,修改DrawerLayout和NavigationView的布局属性;以及从以下代码涉及到颜色的函数着手修改,都没有效果

修改activity_main_2.xml、content_main_2.xml中DrawerLayout 【注1】 和NavigationView【注2】的 android:fitsSystemWindows="false"由false改为true,就出现了以下结果:可以看到内容区也多了状态栏同等高度的遮罩层阴影


![[Web フロントエンド] Node.js クイック スタート](https://img.php.cn/upload/course/000/000/067/662b5d34ba7c0227.png)


LinearLayout は CoordinatorLayout 内にネストされています
Toolbar と DrawerLayout をその中に入れます
シャドウは
fitsystemWindowsから来ています。NavgationViewコントロールの場合、fitsSystemWindows属性は携帯電話ごとに異なる処理を行うということが公式に理解されています。 。あなたの方法について、私の解決策は、content_main2のルートレイアウトにlayout_margin="?attr/ActionBarsize"を追加して、必要な結果を得ることができるようにすることです (すべてのレイアウトは Android Studio で生成されます)。リーリー
fitsystemWindows プロパティについて
android:windowDrawsSystemBarBackgrounds が true で、android:statusBarColor が完全に透明な場合、
アクティビティの UI の高さにはステータス バーが含まれ、ステータス バーの下に埋め込まれます。
fitsystemWindows 属性は、ViewGroup 内で親 View から子 View に渡すことができます。
に依存します。アクティビティの親レイアウトが CoordinatorLayout の場合、fitsystemWindows=true が設定されている場合、
はステータス バーの下にカラー ブロック (高さはステータス バーの高さと同じ) を描画します。色は CoordinatorLayout プロパティの systembarcolor、
systembarcolor のデフォルトの色は colorPrimaryDark の色です。
CoordinatorLayout は、fitsystemWindows=true を設定します。ステータス バーを描画するかどうかは、CoordinatorLayout のサブビューに依存します。サブビューも FitsystemWindows=true を設定すると、最初にサブビューに渡されます。 - ステータス バーの描画を処理するビュー。
fitsystemWindows に関連する記事を Google で検索できます
すみません、投稿者さん、この問題は解決されましたか?私も同じ問題に遭遇しました