1. Problem background
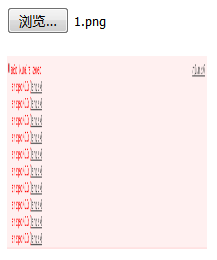
Use the file upload component file to upload the file and display the file (picture)
2. Implementation source code
<!DOCTYPE html>
<html>
	<head>
		<meta charset="UTF-8">
		<title>文件上传并展示文件路径</title>
		<script type="text/javascript" src="../js/jquery-1.12.3.js" ></script>
		<script>
			$(document).ready(function(){
				$("#fileUpload").off().on("change",function(){
					var fileUpload = $(this).val();
					var proUrl = window.location.protocol;
					var pageUrl = window.location.host;
					var path = proUrl + "//" +pageUrl + "/AngularJS/pages/";
					$("#uploadImg").attr("src",path+fileUpload);
					console.info(path+fileUpload);
				});
			});
		</script>
	</head>
	<body>
		<p>
			<input type="file" id="fileUpload" name="upload" /><br><br>
			<img  id="uploadImg"   style="max-width:90%" alt="File upload and display of uploaded files" >
		</p>
	</body>
</html>
3. Implementation result

The above is the file upload and display of the content of the uploaded file. For more related content, please pay attention to the PHP Chinese website (www.php.cn)!


