This article mainly introduces the example of Django+Vue.js building a front-end and back-end separation project. It has certain reference value. If you are interested, you can learn about it.
While writing this article, I learned it by the way. Let’s talk about how to use Markdown.
The author is a scumbag. I learned everything by myself, so there is no system or systematic learning. The main purpose here is to separate the front and back ends of the project.
It is assumed here that you already have the required django and vue.js on your computer. If not, scroll down to see the installation process of vue.js. Django has been written about before, so I won’t go into details.
1. Normally build the front-end and back-end separation project process
1. Create a django project
Command:
django-admin startproject ulb_manager
Structure:
├── manage.py
└── ulb_manager
  ├── __init__.py
  ├── settings.py
  ├── urls.py
  └── wsgi.py
2. Enter the project root directory and create an app as the project backend
Command:
cd ulb_manager
python manage.py startapp backend
The structure is more basic than the above one, with one more backend
3. Use vue-cli to create a vue.js project as the project front end
Command:
vue-init webpack frontend
Interface:
Project name: (Default Enter key)
Project description: (Default Enter key)
Auther: (Enter your name, feel free)
...: (The default is yes and the enter key. I don’t understand it for the time being. I just started to contact it and I didn’t find this on the Internet. Things, just select the default or Yes for all)
The structure has an extra frontend
Structure summary:
There are two new folders in the project root directory, one They are called backend and the other is called frontend, respectively: backend an app of Django and frontend Vue.js project
4. Use webpack to package the Vue.js project
Command:
cd frontend
npm install
npm run build
5. Use Django’s universal view TemplateView
Use the universal view to create the simplest urls.py (i.e. ulb_manager/urls.py) in the project root directory Template controller.
Code:
urlpatterns = [
  url(r'^admin/', admin.site.urls),
  url(r'^$',TemplateView.as_view(template_name="index.html")),
  #url(r'^api/',include('backend.urls', namespace='api'))
  #最后一行代码我注释掉,因为运行报错:Error:No module named 'backend.urls',暂时解决不掉,但是我运行的时候,注释掉这行代码,是能正常运行的。
]
6. Configure the template search path of the Django project
Open settings.py (i.e. ulb_manager/settings.py ) Find the TEMPLATES configuration item and modify it as follows:
TEMPLATES = [
  {
    'BACKEND': 'django.template.backends.django.DjangoTemplates',
    #'DIRS': [],
    'DIRS':['frontend/dist'],
    'APP_DIRS': True,
    'OPTIONS': {
      'context_processors': [
        'django.template.context_processors.debug',
        'django.template.context_processors.request',
        'django.contrib.auth.context_processors.auth',
        'django.contrib.messages.context_processors.messages',
      ],
    },
  },
]PS: When I learned django before, I needed to add app under the INSTALLED_APPS configuration item under settings.py, so I added 'backend' myself.
7. Configure static file search path
Open settings.py (ulb_manager/settings.py), find the STATICFILES_DIRS configuration item, configure it as follows:
# Add for vue.js
STATICFILES_DIRS = [
  os.path.join(BASE_DIR, "frontend/dist/static"),
]
If not, add it yourself.
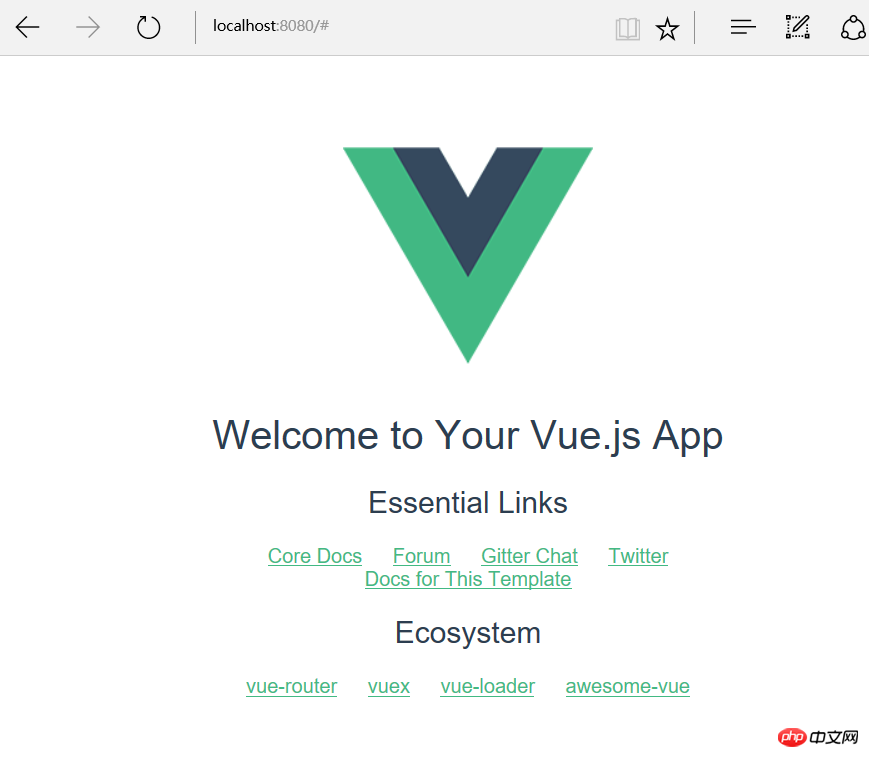
At this point, running the django project can run normally. The normal running interface is as follows:

Running interface
##Second, install vue.js
If there is no vue.js on your computer, the following is the process of installing vue.js:1.node.js
vue.js The recommended installation environment is node.js, so I installed node.js first.2.npm
Integrated into Node.js, no installation required.3.cnpm
Enter the command on the command line:npm install -g cnpm --registry=http://registry.npm.taobao.org
npm install -g vue-cli
The above is the detailed content of Detailed explanation of examples of building front-end and back-end separation projects using Vue.js and Django. For more information, please follow other related articles on the PHP Chinese website!


