
1. Preface
Some time ago, the company had an APP project that needed to support different platforms, so Ionic2 + cordova + angular2 was used. During the process of building the environment I encountered a lot of problems, and I just had time to sort them out recently.
2. Development environment construction
Refer to the steps of this website to build: https://github.com/DonaldTdz/Ionic2QuickStart
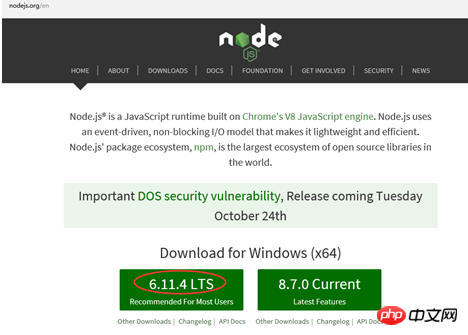
Note: nodejs must install the latest version 6.0 +LTS, do not install the latest version 8.X (https://nodejs.org/en/)
The Cordova version needs to install version 6.X. Currently, the cordova-android version can only support up to 6.X.X
cmd: cnpm install –g ionic cordova@6.x
cmd : ionic –v Cordova –v Check the displayed version number and the installation is successful


##3. Run an ionic seed Project
Download address:https://github.com/DonaldTdz/ionic-seed
Open the terminal with vs code and enter the command: cnpm install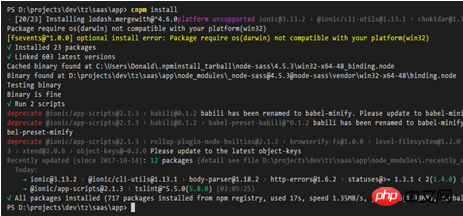
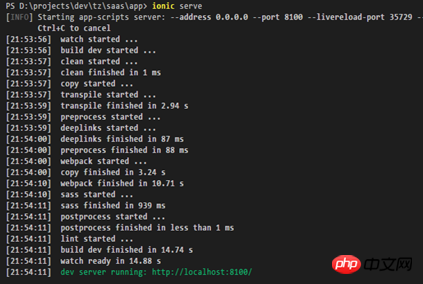
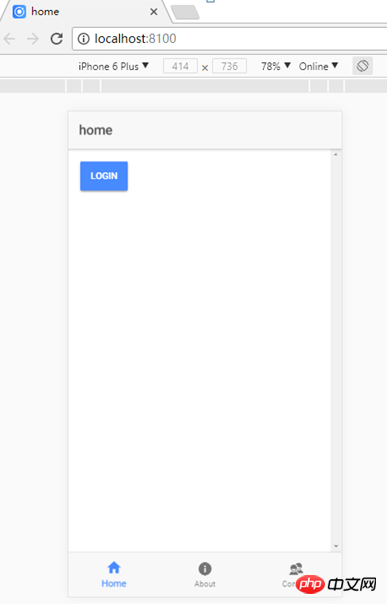
4. Cordova packaging Android platform environment construction
Reference Official description: (Chinese)http://cordova.axuer.com/docs/zh-cn/latest/guide/platforms/android/index.html
(English)http://cordova.apache.org/docs/en/latest/guide/platforms/android/index.html
Note: The Chinese website information is not the latest, visit The speed is relatively fast, and the English version is updated to the latest, but the access speed is slow1. Install Java SDK
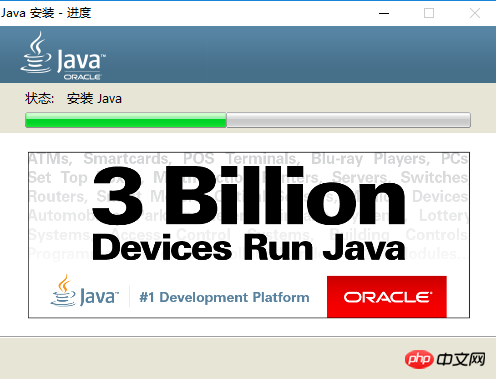
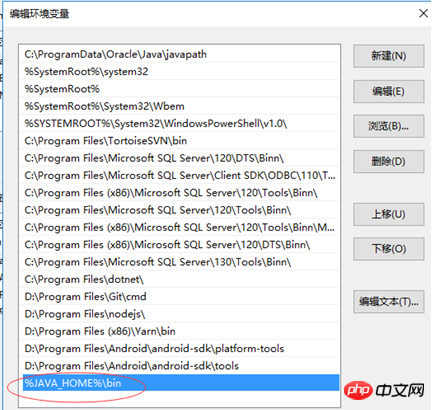
Java Development Kit (JDK) Install Java Development Kit (JDK) 7 or latest. When installing on Windows, you need to set theJAVA_HOME environment variable according to the JDK path (see setting environment variables)



2. Install Android SDK Tools
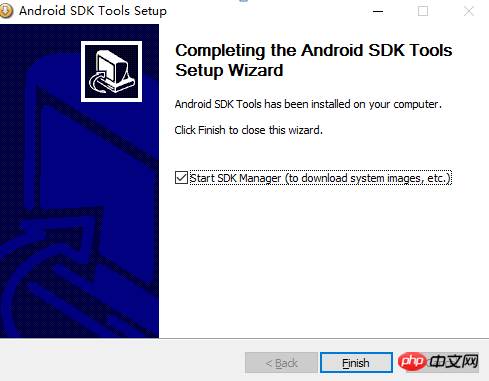
(Note: If you need to add the cordova plug-in, it is recommended to install Android Studio)Android SDKInstall Android Stand-alone SDK or Android Studio. If you plan to develop a new Cordova Android plug-in or use the native tools of the Android platform to run and debug, then use Android Studio. Otherwise, the Android Stand-alone SDK Tools are sufficient for building and deploying Android applications. Detailed installation instructions can be viewed by clicking the installation link above.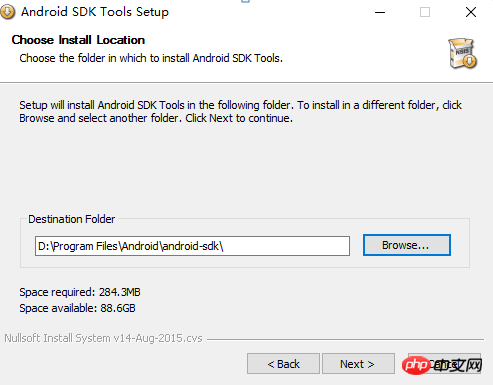
3. Add Android SDK package
Add SDK PackageAfter installing the Android SDK, you need to install any SDK packages for the target API level you wish. It is recommended that you install the highest level SDK package supported by cordova-android (see above). Open the Android SDK Manager (e.g., run `android on the terminal) and make sure the following is installed:Refer to the Android documentation to install the SDK package for details.
First open the terminal of the project you just downloaded and run: cordova platform ls to view the android SDK version that cordova android depends on
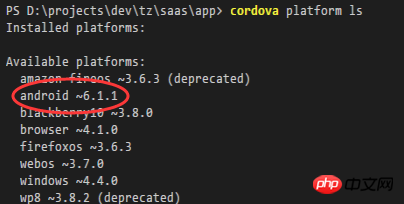
The corresponding android API level in the following list is 16 -25 (http://cordova.apache.org/docs/en/latest/guide/platforms/android/index.html)

Then download the corresponding dependency package
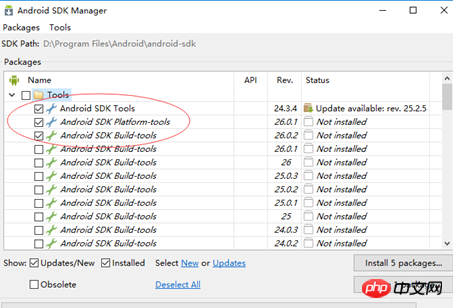
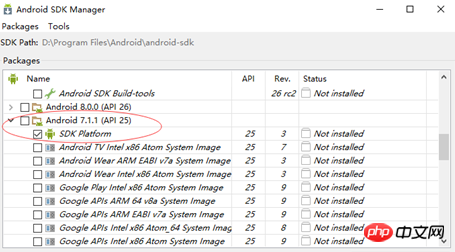
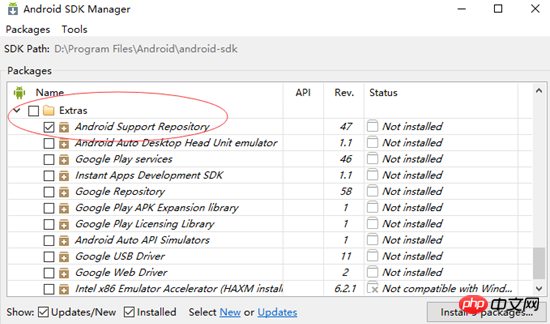

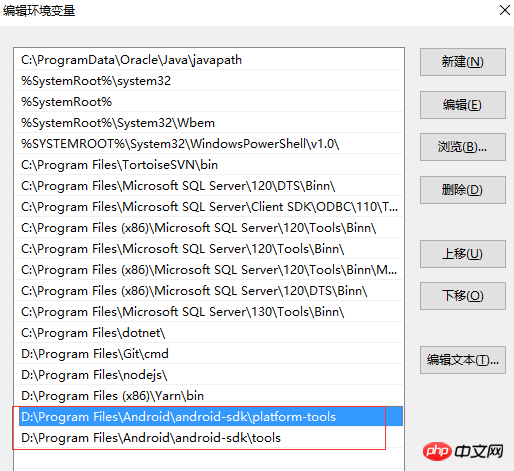 ##cmd: android –h View as follows Indicates successful installation

5. Package Android APP
1. Add Android platformIonic cordova platform add android

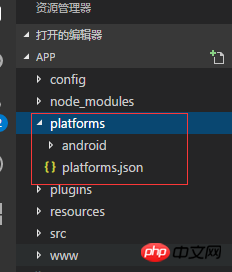 ##2. Modify the dependency gradle to local
The reason is that the packaging operation of foreign websites is very slow or causes failure. You know
Download address:https://services.gradle.org/distributions/
(Note: If the download is slow, use a download tool such as Thunder)
To select the download version, first search distributions/gradleWe need the following Version: gradle-2.14.1-all.zip, to avoid downloading the wrong version 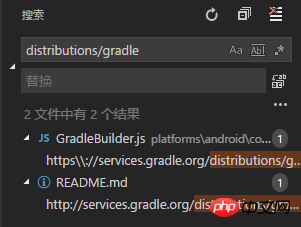
After downloading, no need to unzip it, just copy it directly to the following path of your project: 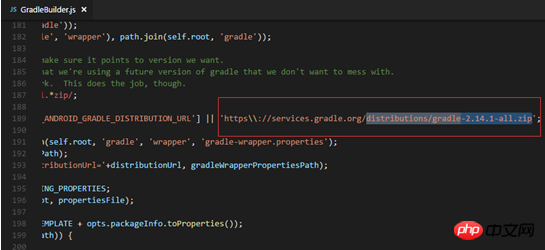
Open the file you just searched: \platforms\android \cordova\lib\builders\GradleBuilder.js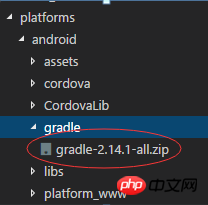
 3. Packaging application
ionic cordova build android
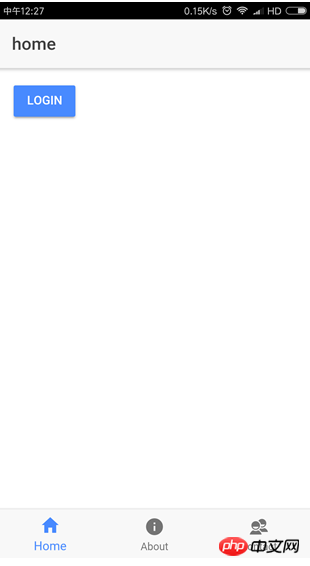
After the packaging is completed, an apk mobile installation package file will be output

 ##6. Application signature and startup optimization
1 , Generate a signing key
Sign an applicationFirst you should read the requirements for Android application signing.
To sign an application, you need the following parameters:
Parameters| Description | ||
|---|---|---|
Used to store a set of keys Binary file path |
Keystore Password | |
keystore storage key |
Alias | |
is used to specify the private key for signing |
Password | |
Password for private key |
Type of Keystore | |
Default: Automatic detection based on file extension | pkcs12 or jks
These parameters can be specified via the Cordova CLI Note: You should use two dashes
cmd to directory: D :\projects\dev\tz\saas\app\platforms\android (android platform root directory) cmd:keytool -genkey -alias tzky.keystore -keyalg RSA -validity 40000 -keystore tzky.keystore Complete the input according to the input prompts, refresh the android platform root directory after successful generation
2. Sign the application and package it cordova build android --release -- --keystore="..\tzky.keystore" --storePassword=yk1234 --alias=tzky.keystore (Note: Automatically generate packaging configuration file release-signing .properties need to pay attention to the placement path of tzky.keystore to match) Manually add the release-signing.properties file and modify it:
Run directly after the addition is completed :cordova build android –release
3. Optimize startup speed ionic cordova build android --prod –release (Note: Code optimization is required. If there are errors, modify them according to the error prompts) Start optimization reference:http://blog.csdn.net /u010564430/article/details/61201769 Add the following content in the config.xml file: <preference name="AutoHideSplashScreen" value="false" /> <preference name="FadeSplashScreenDuration" value="1000" /> <preference name="SplashScreen" value="screen" /> <preference name="ShowSplashScreen" value="true" /> <preference name="ShowSplashScreenSpinner" value="false" /> <preference name="SplashShowOnlyFirstTime" value="false" /> <preference name="FadeSplashScreen" value="true" /> Copy after login |
The above is the detailed content of How to build angular2 packaged Android APP environment. For more information, please follow other related articles on the PHP Chinese website!
 Three major frameworks for android development
 What system is android
 How to unlock android permission restrictions
 What are the methods for restarting applications in Android?
 Android voice playback function implementation method
 How to undo git commit error
 Which one is easier, thinkphp or laravel?
 es6 new features


