HTML <캔버스>

<캔버스> 는 개발자에게 놀라운 그래픽을 만들 수 있는 유연성을 제공하는 모든 브라우저와 장치에서 사용할 수 있습니다.
HTML <캔버스> HTML 파일에서 사용되며 스크립트 태그에서 내부적으로 또는 javascript 파일에서 외부적으로 조작될 수 있습니다. 이것이 없으면 캔버스 개체가 표시되지 않습니다.
먼저 index.html 파일을 생성하고 생성할 개체에 대한
<!doctype html>
   <html lang="en">
     <head>
       <meta charset="UTF-8" />
       <meta name="viewport" content="width=device-width, initial-scale=1.0" />
       <title>HTML Canvas Example</title>
     </head>
     <body>
       <canvas>


<p>Then we add a script tag so we can define the behavior of the object.<br>
</p>

<pre class="brush:php;toolbar:false"><!doctype html>
   <html lang="en">
     <head>
       <meta charset="UTF-8" />
       <meta name="viewport" content="width=device-width, initial-scale=1.0" />
       <title>HTML Canvas Example</title>
     </head>
     <body>
       <canvas>


<p>Wowu !!! We get the output.</p>

<p><img src="/static/imghw/default1.png" data-src="https://img.php.cn/upload/article/000/000/000/173467309470040.jpg" class="lazy" alt="HTML Canvas Made Simple: A Guide for Beginners."></p>

<p>Looking at the structure of the code. We define canvas wrapper having an id attribute, this is can only be done by id and not class because of uniqueness which is used to reference the canvas with the id name.<br>
To access this we need to retrieve the node created in the Document Object Model(DOM) by using the getElementById("myCanvas") and have access to it using the getContext("2d") method.</p>

<p>This method make us to have access to different drawing methods like</p>
Other methods are:

Different shapes and lines can be drawn using some specific methods depending on the object.
Examples are line, wavy line, zigzag e.t.c

For creating a line, the following method needs to be set up:


These following methods are used in creating a rectangle or square:

These following methods are used in creating a circle:
To create a polygon, you need to determine the sides of the shape, it could be a triangle(3 sides), pentagon (5 sides), hexagon(6 sides) or decagon (10 sides).

These following methods are used in creating a circle:
To get the angle, you have to calculate with this formula by dividing the circle into two;
angle = 2π/ n
여기서 π는 3.14입니다. n은 변의 수입니다. 또한 모양의 위치를 위에서 아래로 가져오려면 π/2를 빼야 합니다.


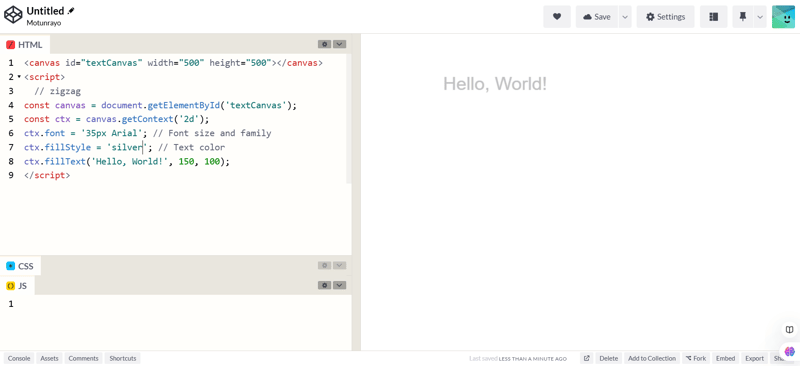
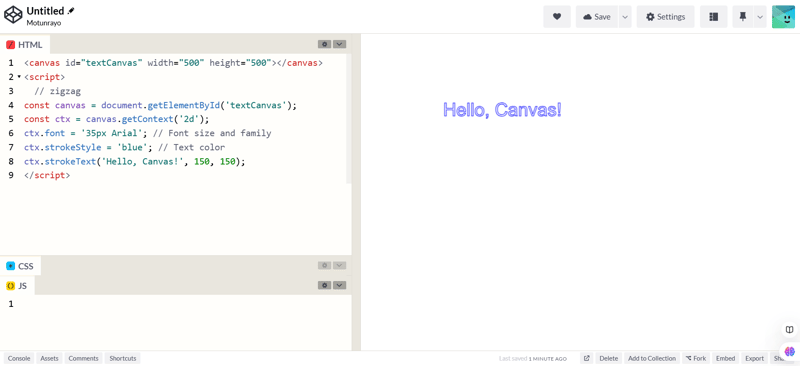
텍스트를 생성하려면 다음 방법을 사용합니다.

HTML <캔버스> 사용 동적으로 그래픽을 그리는 데 도움이 될 수 있습니다. 이를 통해 나중에 복잡한 그래픽을 만드는 기초가 되는 캔버스의 사용법과 중요성을 포함하여 그리는 방법을 배웠습니다.
웹 개발에 대한 더 많은 기사를 보려면 Linkedin과 X에서 나를 팔로우하세요
링크드인X
위 내용은 HTML 캔버스를 간단하게: 초보자를 위한 가이드.의 상세 내용입니다. 자세한 내용은 PHP 중국어 웹사이트의 기타 관련 기사를 참조하세요!