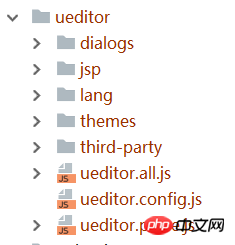
1: 다운로드에 대해서는 이야기하지 않고 바로 사용법 주제로 넘어가겠습니다. 인터넷에서 다운로드한 패키지를 jsp로 다운로드했습니다. 
2: 그런 다음 패키지를 Maven 프로젝트로 가져옵니다. 
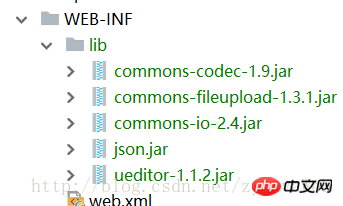
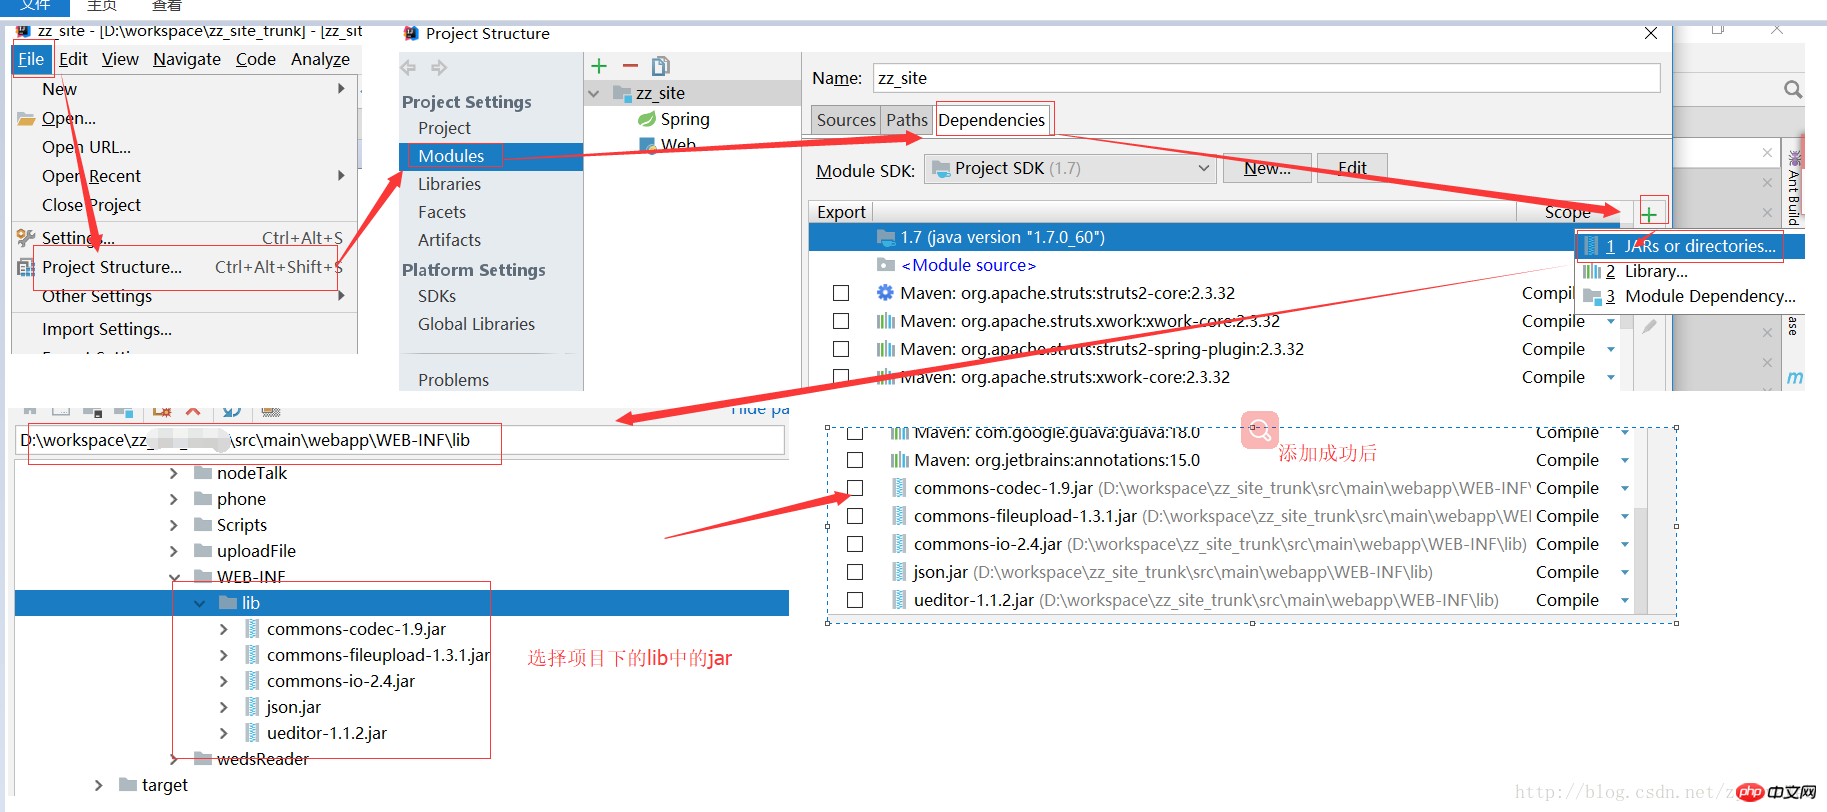
3: Ueditor는 jar 패키지에서 지원되어야 하므로 jar 패키지를 WEB-INF /lib 아래의 ueditorjsplib에 넣은 다음 프로젝트에서 이러한 jar 패키지를 참조합니다.


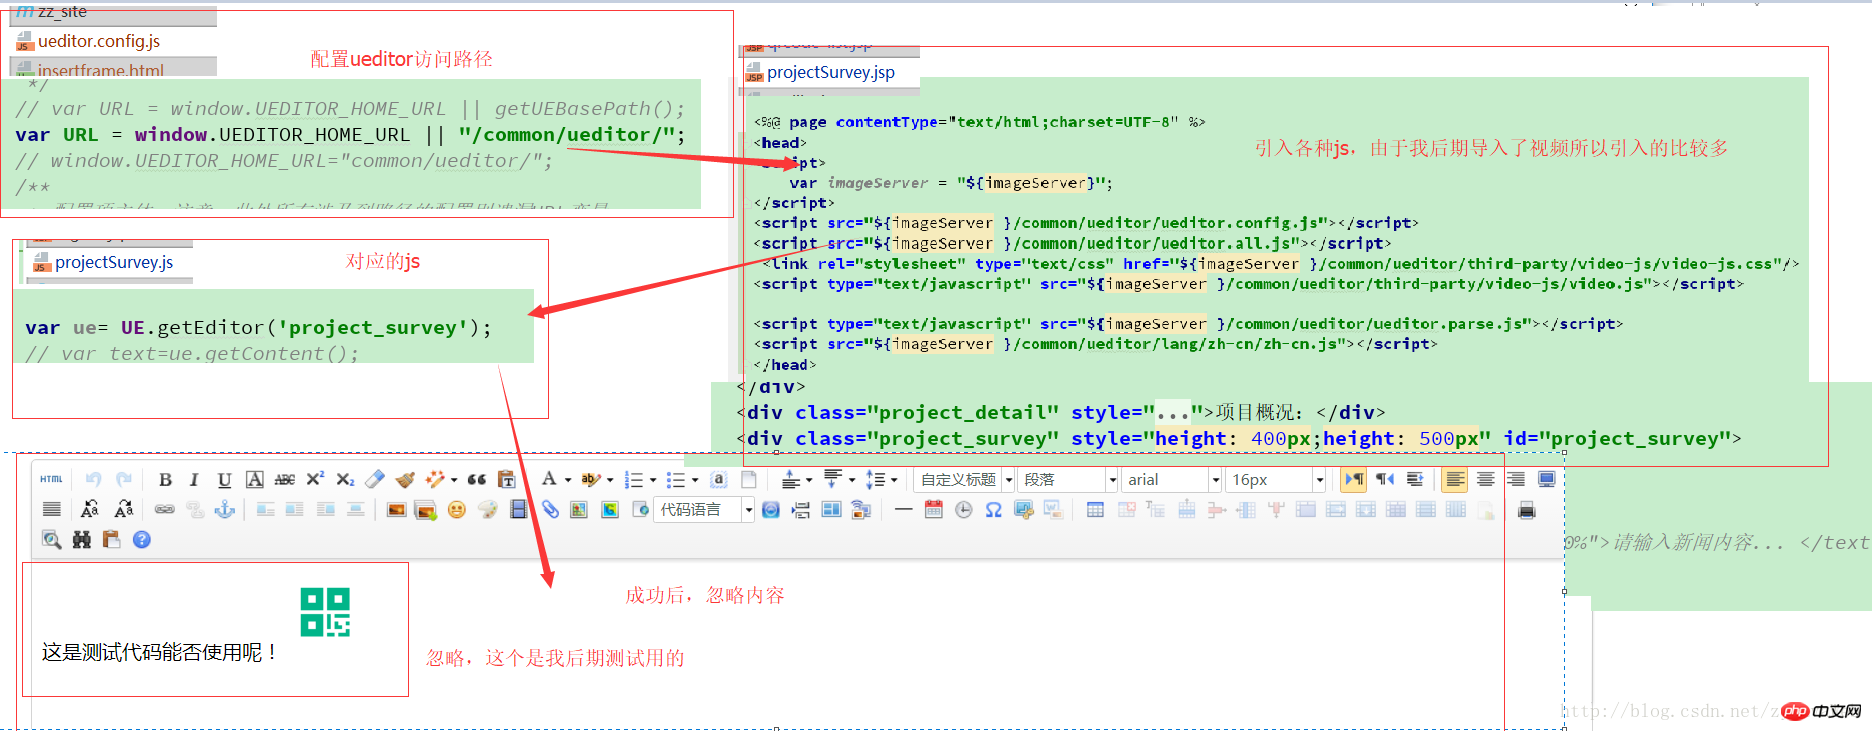
4: jar 패키지가 준비되면 ueditor 소개를 시작합니다. 
5: 다음은 콘텐츠 입력 및 이미지 업로드를 위한 메소드 요청 경로입니다. 이미지 업로드 경로와 에코에 대해 이야기하세요.
해당 jsp에서 ueditord 경로를 다시 작성하세요.
UE.Editor.prototype._bkGetActionUrl = UE.Editor.prototype.getActionUrl;
    UE.Editor.prototype.getActionUrl = function(action) {
        if (action == 'uploadimage' || action == 'uploadscrawl' || action == 'uploadimage' || action=='uploadvideo') {
            return "${imageServer }/front/person/uploadProjectDetailImg.htm";
        } else if (action == 'uploadvideo') {
            return 'http://a.b.com/video.php';
        } else {
            return this._bkGetActionUrl.call(this, action);
        }
    }
    UE.Editor.prototype._bkGetContentLength = UE.Editor.prototype.getContentLength;
    UE.Editor.prototype.getContentLength = function(){
        return this.getContent().length;
}업로드가 성공한 후 ueditor의 사진 에코에 필요한 필드는 state:success, url: 경로이므로 이후 액션 실행이 완료되면 그림이 정상적으로 에코되도록 json 형식을 반환해야 합니다. 다른 함정은 Baidu를 통해 천천히 이해하고 배울 수 있습니다. 감사합니다!
위 내용은 Baidu Rich Text를 다운로드부터 실행까지 성공적으로 사용하는 방법의 상세 내용입니다. 자세한 내용은 PHP 중국어 웹사이트의 기타 관련 기사를 참조하세요!