이 글에서는 주로 노드 텍스트를 이미지로 변환하는 샘플 코드를 소개합니다. 편집자께서 꽤 괜찮다고 생각하셔서 지금 공유하고 참고용으로 올려드리겠습니다. 편집자를 따라 살펴보겠습니다. 모두에게 도움이 되기를 바랍니다.
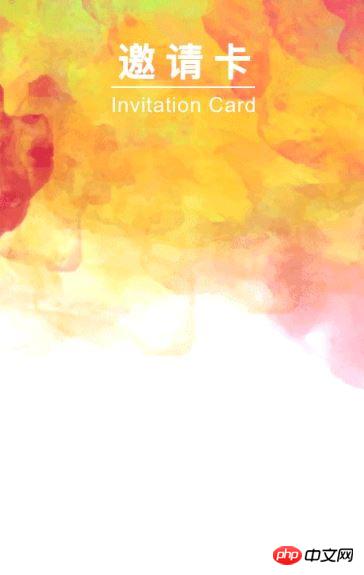
오늘 사장님께서 서버에 초대카드 생성을 요청하셨는데요.. 뭐... 쉽게 말하면

이렇게 바꿔주는 것입니다.

루비 작업하는 친구가 사진 변환하려고 html을 만들어 줬는데 전송이 너무 느리다고 해서 함정에 빠졌어요
그래서 자기 전에 잠깐 헤매다가 간단하게 구현해봤습니다
솔루션 아이디어
텍스트를 svg로 변환 -> svg를 png로 -> 그림 병합
관련 휠
이미지 Node.js 경량 크로스 플랫폼 이미지 인코딩 및 디코딩 라이브러리, 추가 설치 종속성이 필요하지 않음
text-to -svg 텍스트를 svg
svg2png svg에서 png 그림으로
샘플 코드
'use strict';

const fs = require('fs');
const images = require('images');
const TextToSVG = require('text-to-svg');
const svg2png = require("svg2png");
const Promise = require('bluebird');

Promise.promisifyAll(fs);

const textToSVG = TextToSVG.loadSync('fonts/文泉驿微米黑.ttf');

const sourceImg = images('./i/webwxgetmsgimg.jpg');
const sWidth = sourceImg.width();
const sHeight = sourceImg.height();

const svg1 = textToSVG.getSVG('魏长青-人人讲App', {
 x: 0,
 y: 0,
 fontSize: 24,
 anchor: 'top',
});

const svg2 = textToSVG.getSVG('邀请您参加', {
 x: 0,
 y: 0,
 fontSize: 16,
 anchor: 'top',
});

const svg3 = textToSVG.getSVG('人人讲课程', {
 x: 0,
 y: 0,
 fontSize: 32,
 anchor: 'top',
});

Promise.coroutine(function* generateInvitationCard() {
 const targetImg1Path = './i/1.png';
 const targetImg2Path = './i/2.png';
 const targetImg3Path = './i/3.png';
 const targetImg4Path = './i/qrcode.jpg';
 const [buffer1, buffer2, buffer3] = yield Promise.all([
  svg2png(svg1),
  svg2png(svg2),
 svg2png(svg3),
 ]);

 yield Promise.all([
  fs.writeFileAsync(targetImg1Path, buffer1),
  fs.writeFileAsync(targetImg2Path, buffer2),
  fs.writeFileAsync(targetImg3Path, buffer3),
 ]);

 const target1Img = images(targetImg1Path);
 const t1Width = target1Img.width();
 const t1Height = target1Img.height();
 const offsetX1 = (sWidth - t1Width) / 2;
 const offsetY1 = 200;

 const target2Img = images(targetImg2Path);
 const t2Width = target2Img.width();
 const t2Height = target2Img.height();
 const offsetX2 = (sWidth - t2Width) / 2;
 const offsetY2 = 240;

 const target3Img = images(targetImg3Path);
 const t3Width = target3Img.width();
 const t3Height = target3Img.height();
 const offsetX3 = (sWidth - t3Width) / 2;
 const offsetY3 = 270;

 const target4Img = images(targetImg4Path);
 const t4Width = target4Img.width();
 const t4Height = target4Img.height();
 const offsetX4 = (sWidth - t4Width) / 2;
 const offsetY4 = 400;

 images(sourceImg)
 .draw(target1Img, offsetX1, offsetY1)
 .draw(target2Img, offsetX2, offsetY2)
 .draw(target3Img, offsetX3, offsetY3)
 .draw(target4Img, offsetX4, offsetY4)
 .save('./i/card.png', { quality : 90 });
})().catch(e => console.error(e));Notes
text-to-svg에는 중국어 글꼴 지원이 필요합니다. 그렇지 않으면 중국인 will be garbled
내 경우에는 고장난 컴퓨터에서 한 번 실행하는 데 500밀리초 이상이 걸렸습니다. 모든 사람에게 참고할 수 있도록 공유하고 싶습니다.
php 네이티브 이미지 합성 및 텍스트 생성 이미지
Nodejs에서 공유 captchapng를 사용하여 이미지 인증 코드를 생성하는 예
위 내용은 노드는 텍스트 생성 그림을 구현합니다.의 상세 내용입니다. 자세한 내용은 PHP 중국어 웹사이트의 기타 관련 기사를 참조하세요!