이번에는 vue에서 mintui를 사용할 때 주의 사항을 알려드리겠습니다. 다음은 실제 사례입니다.
vue에서 mint-ui를 사용하는 방법은 참고용입니다. 구체적인 내용은 다음과 같습니다
먼저 mint-ui 중국어 문서를 넣어보겠습니다
최근에 mint-ui를 사용하다가 몇몇 플러그인을 발견했습니다. -ins는 설명이 매우 자세하지 않습니다. 사용된 코드를 찾을 수 없는 경우도 있습니다. github에 공유하는 내용은 마크다운 파일이 모두 포함되어 있고, 내용은 온라인 문서인데 우연히 제가 직접 사용하고 있는 내용인데, 온라인에서 찾을 수 있는 정보가 그리 상세하지 않아서 제가 직접 작성합니다. 계속
업데이트...으으음, 괜찮을 것 같은데, 너무 게으릅니다. 다른 사람들에게 도움이 되기를 바랍니다.
mint-ui 기능 소개
기능 소개1. 셀 사용법
먼저 사진을 던집니다 ↓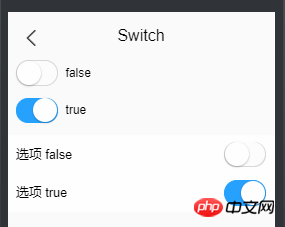
<mt-cell title="开关状态">
 <mt-switch v-model="openValue" @change="changeStatus"></mt-switch>
</mt-cell>

2. 무한 스크롤과 Navbar를 함께 사용합니다
Navbar는 이런 느낌 ↓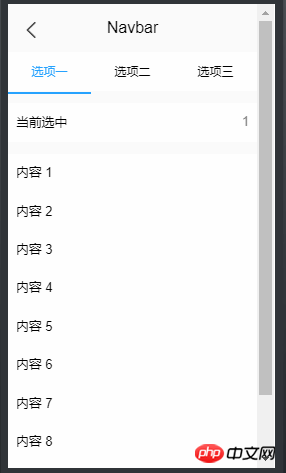
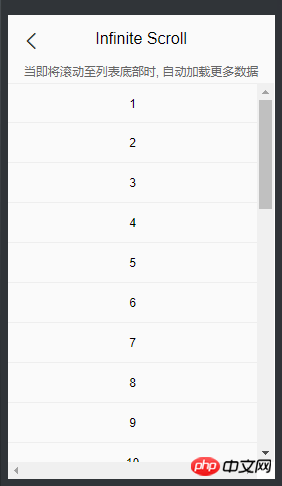
< mt-tab-container-item id="1"> 그러면 효과가 나옵니다.
단순한 보라색이에요.<mt-navbar v-model="selected" > <mt-tab-item id="1">选项一</mt-tab-item> <mt-tab-item id="2">选项二</mt-tab-item> </mt-navbar> <mt-tab-container v-model="selected"> <mt-tab-container-item id="1"> <p v-infinite-scroll="loadMore" infinite-scroll-disabled="loading" infinite-scroll-distance="10" class="content" > </p> </mt-tab-container-item> <mt-tab-container-item id="2"> <p v-infinite-scroll="loadMoreReceive" infinite-scroll-disabled="loadingReceive" infinite-scroll-distance="10" class="content" > </p> </mt-tab-container-item> </mt-tab-container>
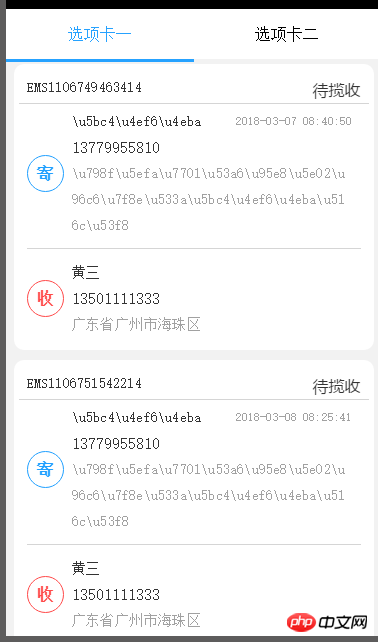
v-if=selected == id를 추가하고, Infinite-scroll을 탭의 id 및 selected와 결합하고, 선택된 selected가 id와 일치하는 경우에만 해당 Infinite-Scroll을 수행합니다.
Infinite-Scroll의 코드는 다음과 같습니다.<p v-infinite-scroll="loadMore" infinite-scroll-disabled="loading" infinite-scroll-distance="10" class="content" v-if="selected == 1" >
before 이전에 처음 실행되므로 별도로 호출할 필요가 없습니다.
3.Picker, 3단계 주소연동
这里有个很简洁的三级联动,之前要用的时候没找到。自己写的一个,好麻烦。先放图
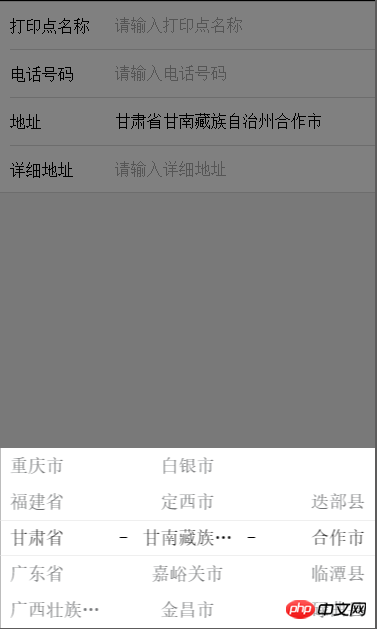
首先获取地址
getRegion(){
 var root=this;
 <!-- 通过/region 接口获取三级地址,然后存入regionArr -->
 http.get("/region").then(function (data) {
 root.regionArr=data.data.data;
 <!-- 存放省 -->
 for(var i=0;i<root.regionArr.length;i++){
  root.region_province[i]=root.regionArr[i].value;
 }
 <!-- 存放市 -->
 for(var i=0;i<root.regionArr[0].children.length;i++){
  root.region_city[i]=root.regionArr[0].children[i].value;
 }
 <!-- 存放区 -->
 for(var i=0;i<root.regionArr[0].children[0].children.length;i++){
  root.region_zone[i]=root.regionArr[0].children[0].children[i].value;
 }
 root.region=[
  {
  flex: 1,
  values: root.region_province,
  textAlign: 'left',
  className:'picker_Slot'
  },
  {
  pider: true,
  content: '-',
  className: 'slot2'
  },
  {
  flex: 1,
  values: root.region_city,
  textAlign: 'center',
  className:'picker_Slot'
  },
  {
  pider: true,
  content: '-',
  className: 'slot2'
  },
  {
  flex: 1,
  values: root.region_zone,
  textAlign: 'right',
  className:'picker_Slot'
  }
 ]
 });
},然后设置三级地址
onValuesChange(picker, values) {
 var root=this;
 var str_1=[];
 var str_2=[];
 for(var i in root.regionArr){
 // 获取省,并重置市级名称
 if(root.regionArr[i].value == values[0]){
  for(var j in root.regionArr[i].children){
  str_1.push(root.regionArr[i].children[j].value);
  // 获取市级,并重置区级的名称
  if(root.regionArr[i].children[j].value == values[1]){
   // 当市级下不存在区名市,置空。
   if(root.regionArr[i].children[j].children != null){
   for(var k in root.regionArr[i].children[j].children){
    str_2.push(root.regionArr[i].children[j].children[k].value);
   }
   }else{
   str_2.push(" ");
   }
  }
  }
  picker.setSlotValues(1, str_1);
  picker.setSlotValues(2, str_2);
 }
 }
 // 赋值,初始时置为上一页返回的值
 root.$set(root.printerMessage,'province',values[0] == null ? root.printerMessage.province : values[0]);
 root.$set(root.printerMessage,'city',values[1] == null ? root.printerMessage.city : values[1]);
 root.$set(root.printerMessage,'area',values[2] == null ? root.printerMessage.area : values[2]);
}相信看了本文案例你已经掌握了方法,更多精彩请关注php中文网其它相关文章!
推荐阅读:
위 내용은 vue에서 mint-ui 사용하기의 상세 내용입니다. 자세한 내용은 PHP 중국어 웹사이트의 기타 관련 기사를 참조하세요!