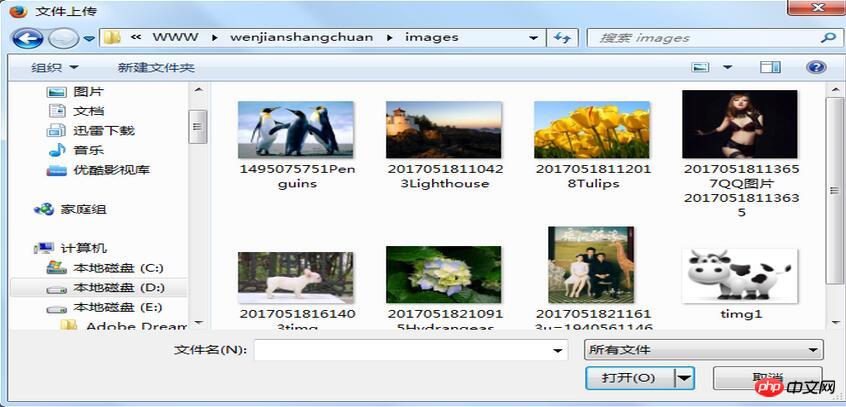
이 글은 주로 PHP의 파일 미리보기 기능을 자세하게 소개하고 있으니 참고할만한 가치가 있으니 관심 있는 친구들은 참고하시면 됩니다.
이전 블로그는 업로드 기능에 대한 내용이고, 이번 글은 업로드 후 이미지 미리보기 및 변경에 대한 글입니다. :


코드는 다음과 같습니다:
1.yulan.php
<!DOCTYPE html PUBLIC "-//W3C//DTD XHTML 1.0 Transitional//EN" "http://www.w3.org/TR/xhtml1/DTD/xhtml1-transitional.dtd">
<html xmlns="http://www.w3.org/1999/xhtml">
<head>
<meta http-equiv="Content-Type" content="text/html; charset=utf-8" />
<title>无标题文档</title>
<style type="text/css">
#yl{ width:200px; height:300px; background-image:url(images/timg1.jpg); background-size:200px 300px;}
#file{ width:200px; height:300px; float:left; opacity:0;}
</style>
</head>
<body>
<form id="sc" action="ylchuli.php" method="post" enctype="multipart/form-data" target="shangchuan">
<input type="hidden" name="tp" value="" id="tp" />
<p id="yl">
<input type="file" name="file" id="file" onchange="document.getElementById('sc').submit()" />
</p>
</form>
<iframe style="display:none" name="shangchuan" id="shangchuan">
</iframe>
</body>
<script type="text/javascript">
//回调函数,调用该方法传一个文件路径,改变背景图
function showimg(url)
{
var p = document.getElementById("yl");
p.style.backgroundImage = "url("+url+")";
document.getElementById("tp").value = url;
}
</script>
</html>2.ylchuli.php
<?php
if($_FILES["file"]["error"])
{
echo $_FILES["file"]["error"];
}
else
{
if(($_FILES["file"]["type"]=="image/jpeg" || $_FILES["file"]["type"]=="image/png")&& $_FILES["file"]["size"]<1024000)
{
$fname = "./images/".date("YmdHis").$_FILES["file"]["name"];
$filename = iconv("UTF-8","gb2312",$fname);
if(file_exists($filename))
{
echo "<script>alert('该文件已存在!');</script>";
}
else
{
move_uploaded_file($_FILES["file"]["tmp_name"],$filename);
$delurl = iconv("UTF-8","gb2312",$_POST["tp"]);
unlink($delurl); //删除文件
echo "<script>parent.showimg('{$fname}');</script>";
}
}
}
관련 추천:
qq 메일함 전송 웹사이트 zip rar 압축 파일 미리보기 PHP로 구현하는 방법
qq 메일함 전송 스테이션 zip rar 압축 파일 미리보기 PHP로 구현하는 방법
기본값 수정 방법 PHP 웹사이트 파일 nginx 구성-인스턴스 분석
에 액세스
위 내용은 PHP에서 파일 미리보기 기능을 구현하는 방법의 상세 내용입니다. 자세한 내용은 PHP 중국어 웹사이트의 기타 관련 기사를 참조하세요!