이 글은 주로 ThinkPHP에서 워터마크를 인쇄하고 워터마크 위치를 설정하는 방법을 소개하며, thinkPHP에서 워터마크를 인쇄하고 설정하는 관련 작업 단계와 구체적인 구현 기술을 예제 형식으로 분석합니다.
이것은 기사에서는 ThinkPHP에서 워터마크를 인쇄하는 방법과 워터마크 위치를 설정하는 방법을 설명합니다. 참고하실 수 있도록 자세한 내용은 다음과 같습니다.
최근 Thinkphp의 워터마킹 기능을 사용해보니 왼쪽 하단에만 인쇄가 되는 것을 발견했습니다. PHP 워터마킹은 매우 쉽습니다.
bool imagecopymerge ( resource $dst_im , resource $src_im , int $dst_x , int $dst_y , int $src_x , int $src_y , int $src_w , int $src_h , int $pct )
를 사용하여 좌표가 src_x, src_y에서 시작하고 너비가 src_w이고 높이가 src_h인 src_im 이미지 부분을 좌표가 dst_x 및 dst_y인 dst_im 이미지 위치로 복사하는 것입니다. 두 이미지는 0~100 범위의 pct를 기준으로 병합됩니다. pct = 0이면 실제로는 아무 작업도 수행하지 않습니다. 100이면 이 함수는 팔레트 이미지의 imagecopy()와 정확히 동일하며 트루 컬러 이미지에 대한 알파 투명도를 구현합니다.
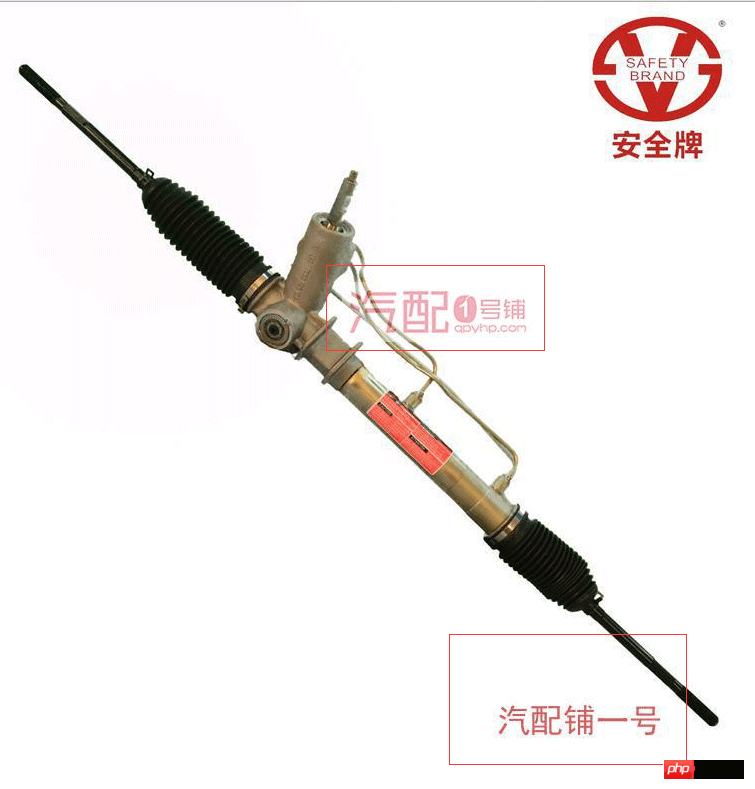
워터마크 데모 사진:

사진 중앙에 워터마크를 넣어야 하는데 Thinkphp 코드를 확인해보세요. 실제로 작성자가 죽도록 쓴 것을 발견했는데, 수정은 한 번 밖에 할 수 없었습니다
/**
* 为图片添加水印
* @static public
* @param string $source 原文件名
* @param string $water 水印图片
* @param string $$savename 添加水印后的图片名
* @param string $postion 水印的具体位置 leftbottom rightbottom lefttop righttop center <新增>
* @param string $alpha 水印的透明度
* @return void
*/
static public function water($source, $water, $savename=null,$postion="center", $alpha=80) {
//检查文件是否存在
if (!file_exists($source) || !file_exists($water))
return false;
//图片信息
$sInfo = self::getImageInfo($source);
$wInfo = self::getImageInfo($water);
//如果图片小于水印图片,不生成图片
if ($sInfo["width"] < $wInfo["width"] || $sInfo['height'] < $wInfo['height']) return false; //建立图像 $sCreateFun = "imagecreatefrom" . $sInfo['type']; $sImage = $sCreateFun($source); $wCreateFun = "imagecreatefrom" . $wInfo['type']; $wImage = $wCreateFun($water); //设定图像的混色模式 imagealphablending($wImage, true); //图像位置,默认为右下角右对齐 $posArr = $this->WaterPostion($postion,$sInfo,$wInfo); //新增
//生成混合图像
imagecopymerge($sImage, $wImage, $posArr[0], $posArr[1], 0, 0, $wInfo['width'], $wInfo['height'], $alpha);
//输出图像
$ImageFun = 'Image' . $sInfo['type'];
//如果没有给出保存文件名,默认为原图像名
if (!$savename) {
$savename = $source;
@unlink($source);
}
//保存图像
$ImageFun($sImage, $savename);
imagedestroy($sImage);
}
private function WaterPostion($postion,$sInfo,$wInfo)
{
$posY = $sInfo["height"] - $wInfo["height"];
$posX = $sInfo["width"] - $wInfo["width"];
switch($postion)
{
case "rightbottom":
return array($posX,$posY);
break;
case "leftbottom":
return array($wInfo["width"],$posY);
break;
case "lefttop":
return array($wInfo["width"],$wInfo["height"]);
break;
case "righttop":
return array($posX,$wInfo["height"]);
break;
case "center":
return array($posX/2,$posY/2);
break;
}
}위 내용은 모두의 연구에 도움이 되기를 바랍니다. 내용이 있으니 PHP 중국어 홈페이지를 주목해주세요!
관련 권장사항:
thinkphp를 사용하여 클라이언트 IP를 얻는 방법
thinkphp 프레임워크에서 데이터를 추가하고 표시하는 기능적 방법에 대하여
위 내용은 ThinkPHP 워터마킹 분석 및 워터마크 위치 설정의 상세 내용입니다. 자세한 내용은 PHP 중국어 웹사이트의 기타 관련 기사를 참조하세요!