먼저 렌더링을 살펴보겠습니다.입자 생성을 위한 경량 JavaScript 라이브러리입니다. 입자 배경 생성을 위한 경량 JavaScript 라이브러리
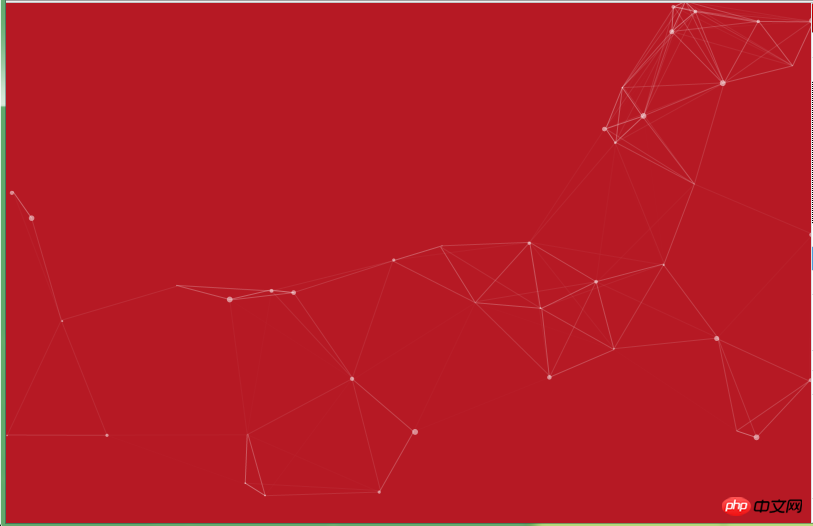
표준 버전:
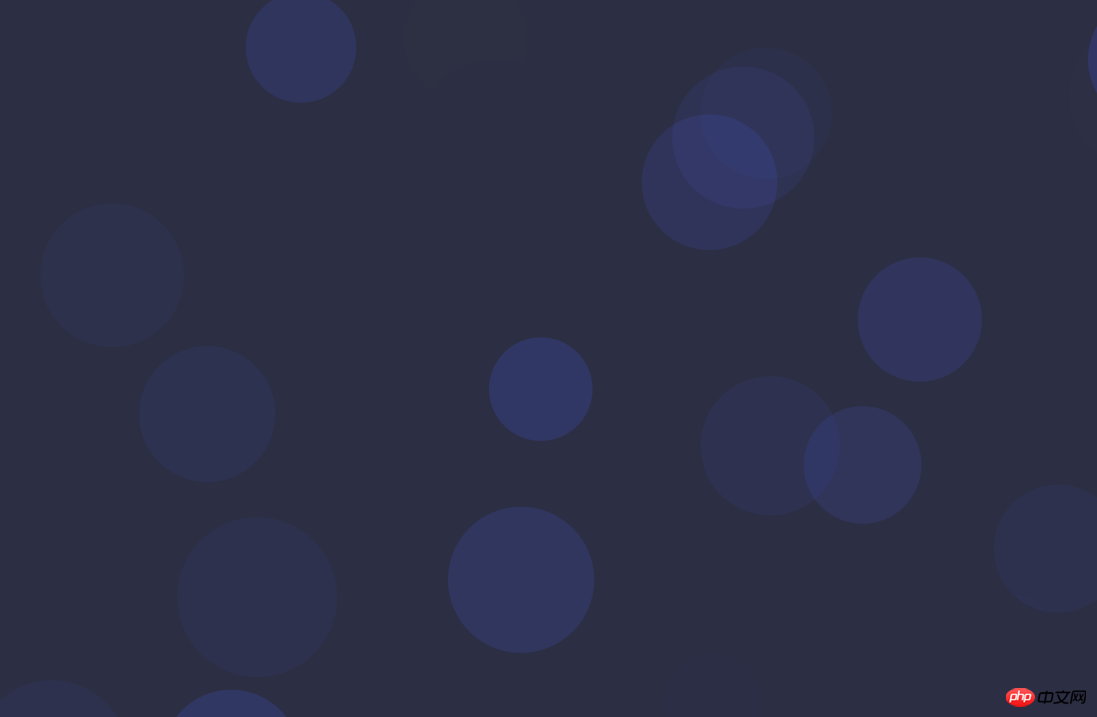
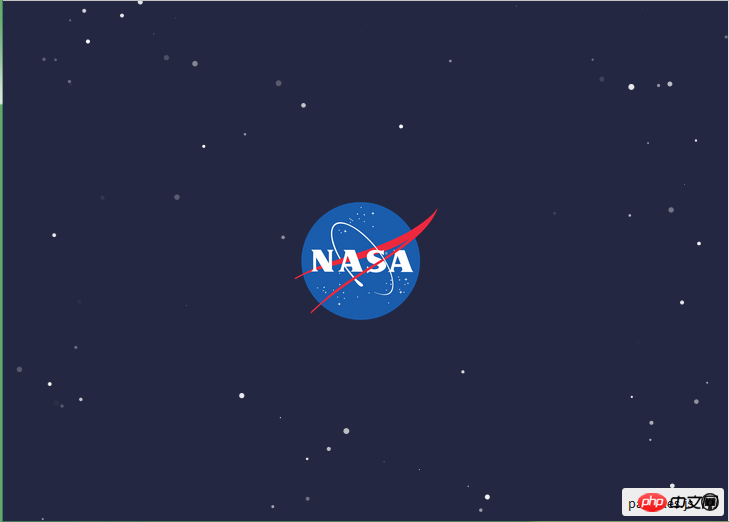 버블 버전:
  눈이 내리는 버전:
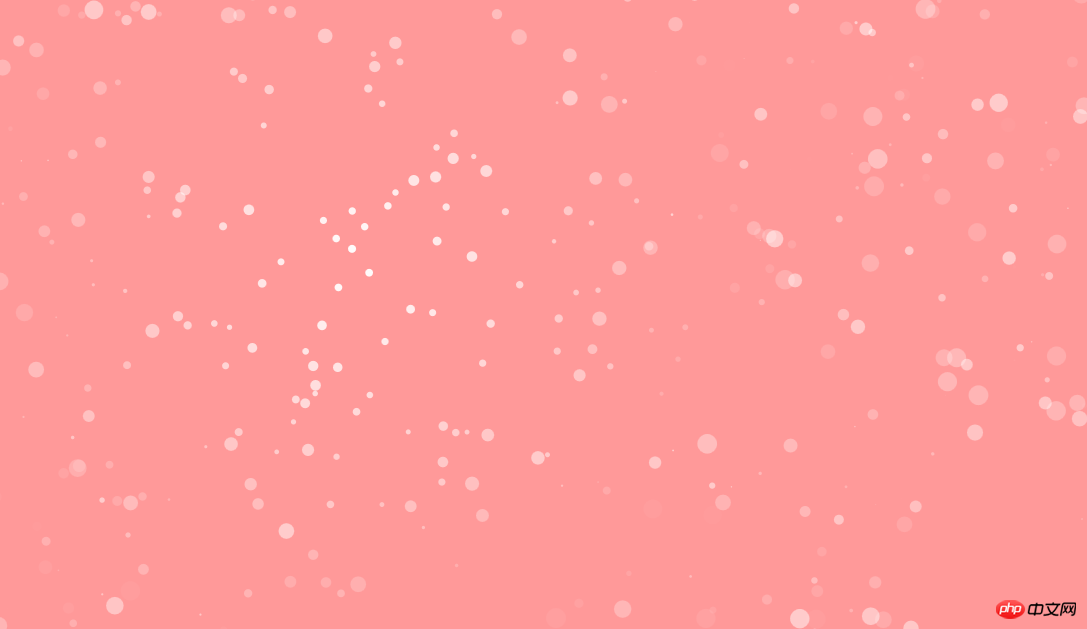
배경이 없는 페이지에 더 적합한 것 같아요. 또는 배경으로 사용할 적절한 사진을 찾을 수 없다면 모두 이것을 사용할 수 있습니다.
예: 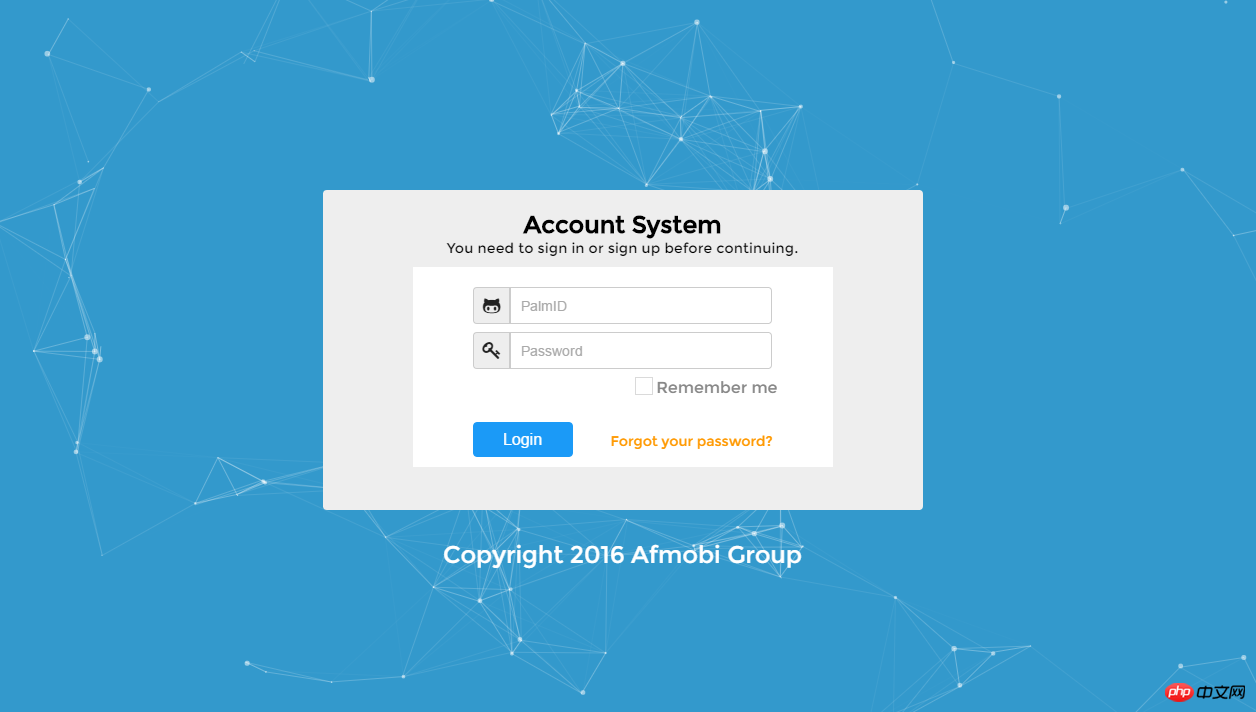
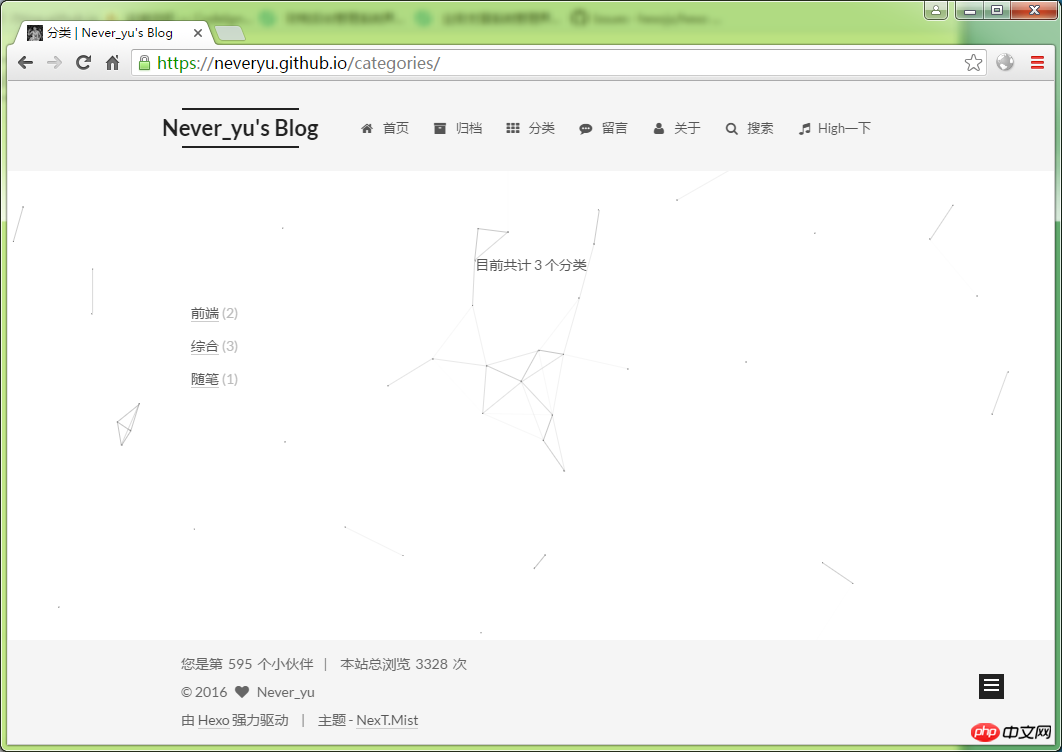
그래서 particles.js를 사용하는 방법은 다음과 같습니다. particles.js 。
particlesJS 开源在Github上:https://github.com/VincentGarreau/particles.js
这个项目中有提供demo,可以直接下载这个项目,打开demo里面的index.html文件,即可看到效果。
那么,如果我们要构建自己的项目,该如何引入文件呢?
建议如下:
<!DOCTYPE html><html lang="en"><head>
  <meta charset="utf-8">
  <title>particles.js</title>
  <meta name="description" content="particles.js is a lightweight JavaScript library for creating particles.">
  <meta name="author" content="Vincent Garreau" />
  <meta name="viewport" content="width=device-width, initial-scale=1.0, minimum-scale=1.0, maximum-scale=1.0, user-scalable=no">
  <link rel="stylesheet" media="screen" href="css/style.css"></head><body><p id="particles-js"></p><!-- scripts --><script src="js/particles.js"></script><script src="js/app.js"></script></body></html>
particles.js 是它的库,我们肯定是要引入的,app.js 是参数配置文件,我们也要引入,而 demo 中的 stats.js 就没有必要引入了。 style.css 我们也可以引入,背景颜色是在css中设置的。
基于这个模板,我们可以在上面添加我们想要实现的功能,比如说注册登录功能,需要注意的是:
用 p 来封装我们要实现的功能代码块,并且在 css 中为这个 p 设置绝对定位。
下面介绍参数配置文件 app.js 文件的使用:
particles.number.value : 粒子的数量
particles.number.density : 粒子的稀密程度
particles.number.density.enable : 启用粒子的稀密程度 (true 或 false)
particles.number.density.value_area : 每一个粒子占据的空间(启用粒子密度,才可用)
particles.color.value : 粒子的颜色 (支持16进制”#b61924”,rgb”{r:182, g:25, b:36}”,hsl,以及random)
particles.shape.type: 粒子的形状 (”circle” “edge” “triangle” “polygon” “star” “image”)
particles.opacity.value: 粒子的透明度
particles.size.anim.enable: 是否启用粒子速度(true/false)
particles.size.anim.speed: 粒子动画频率
particles.size.anim.sync: 粒子运行速度与动画是否同步
particles.move.speed: 粒子移动速度
大家可以根据这些配置文件,配置自己喜欢的背景出来,下面提供两份完整配置文件 app.jsparticlesJS는 Github의 오픈 소스입니다: https://github.com/VincentGarreau/particles.js 이 프로젝트에서는 데모가 제공되며 이 프로젝트를 직접 다운로드하여 색인을 열 수 있습니다. html을 데모 파일에서 확인해보세요.
그렇다면, 우리만의 프로젝트를 만들고 싶다면 파일을 어떻게 가져오나요?
{  "particles": {    "number": {      "value": 80,      "density": {        "enable": true,        "value_area": 800
      }
    },    "color": {      "value": "#ffffff"
    },    "shape": {      "type": "polygon",      "stroke": {        "width": 0,        "color": "#000000"
      },      "polygon": {        "nb_sides": 5
      },      "image": {        "src": "img/github.svg",        "width": 100,        "height": 100
      }
    },    "opacity": {      "value": 0.5,      "random": false,      "anim": {        "enable": false,        "speed": 1,        "opacity_min": 0.1,        "sync": false
      }
    },    "size": {      "value": 3,      "random": true,      "anim": {        "enable": false,        "speed": 40,        "size_min": 0.1,        "sync": false
      }
    },    "line_linked": {      "enable": true,      "distance": 150,      "color": "#ffffff",      "opacity": 0.4,      "width": 1
    },    "move": {      "enable": true,      "speed": 6,      "direction": "none",      "random": false,      "straight": false,      "out_mode": "out",      "bounce": false,      "attract": {        "enable": false,        "rotateX": 600,        "rotateY": 1200
      }
    }
  },  "interactivity": {    "detect_on": "canvas",    "events": {      "onhover": {        "enable": true,        "mode": "repulse"
      },      "onclick": {        "enable": true,        "mode": "push"
      },      "resize": true
    },    "modes": {      "grab": {        "distance": 400,        "line_linked": {          "opacity": 1
        }
      },      "bubble": {        "distance": 400,        "size": 40,        "duration": 2,        "opacity": 8,        "speed": 3
      },      "repulse": {        "distance": 200,        "duration": 0.4
      },      "push": {        "particles_nb": 4
      },      "remove": {        "particles_nb": 2
      }
    }
}, "retina_detect": false}particles.js는 해당 라이브러리이므로 도입해야 하며, app.js는 매개변수 구성 파일이므로 도입해야 합니다. , 데모에서는 stats.js를 도입할 필요가 없습니다. style.css 배경색은 CSS에서 설정한다는 점도 소개할 수 있습니다. 이 템플릿을 기반으로 등록, 로그인 기능 등 구현하려는 기능을 추가할 수 있습니다. 주의할 점은 다음과 같습니다. p를 사용하여 함수 코드를 캡슐화합니다. 우리는 블록을 구현하고 CSS에서 이 p에 대한 절대 위치를 설정하려고 합니다.
particles.number의 사용을 소개합니다. 값< /code>: 입자 수<p><a href="http://www.php.cn/php-weizijiaocheng-403865.html" target="_blank"><code>particles.number.density: 입자의 밀도particles.number.density.enable: 입자의 밀도를 활성화합니다. 입자(참 또는 거짓)위 내용은 입자JS 사용 관련 콘텐츠 소개의 상세 내용입니다. 자세한 내용은 PHP 중국어 웹사이트의 기타 관련 기사를 참조하세요!particles.number.density.value_area: 각 입자가 차지하는 공간(입자 밀도가 활성화된 경우에만 사용 가능)particles.color.value</ code> : 입자의 색상(16진수 "#b61924", rgb "{r:182, g:25, b:36}", hsl 및 무작위 지원)<br/></p><code>particles.shape.type</code > : 입자의 모양("원" "가장자리" "삼각형" "다각형" "별" "이미지")🎜🎜<code>particles.opacity.value: 입자의 투명도🎜🎜< code>particles.size .anim.enable: 입자 속도 활성화 여부(true/false) 🎜🎜particles.size.anim.speed: 입자 애니메이션 빈도 🎜🎜입자 .size.anim.sync : 입자 실행 속도가 애니메이션과 동기화되는지 여부🎜🎜particles.move.speed: 입자 이동 속도🎜🎜이러한 구성 파일을 기반으로 원하는 배경을 구성할 수 있습니다. 두 개의 전체 구성 파일 app.js가 아래에 제공됩니다. 🎜🎜🎜 🎜구성 파일 1(클래식 배경): 🎜{ "particles": { "number": { "value": 160, "density": { "enable": true, "value_area": 800
}
}, "color": { "value": "#ffffff"
}, "shape": { "type": "circle", "stroke": { "width": 0, "color": "#000000"
}, "polygon": { "nb_sides": 5
}, "image": { "src": "img/github.svg", "width": 100, "height": 100
}
}, "opacity": { "value": 1, "random": true, "anim": { "enable": true, "speed": 1, "opacity_min": 0, "sync": false
}
}, "size": { "value": 3, "random": true, "anim": { "enable": false, "speed": 4, "size_min": 0.3, "sync": false
}
}, "line_linked": { "enable": false, "distance": 150, "color": "#ffffff", "opacity": 0.4, "width": 1
}, "move": { "enable": true, "speed": 1, "direction": "none", "random": true, "straight": false, "out_mode": "out", "bounce": false, "attract": { "enable": false, "rotateX": 600, "rotateY": 600
}
}
}, "interactivity": { "detect_on": "canvas", "events": { "onhover": { "enable": true, "mode": "bubble"
}, "onclick": { "enable": true, "mode": "repulse"
}, "resize": true
}, "modes": { "grab": { "distance": 400, "line_linked": { "opacity": 1
}
}, "bubble": { "distance": 250, "size": 0, "duration": 2, "opacity": 0, "speed": 3
}, "repulse": { "distance": 400, "duration": 0.4
}, "push": { "particles_nb": 4
}, "remove": { "particles_nb": 2
}
}
}, "retina_detect": true}