Canvas를 사용하여 Baidu Tieba 클라이언트에서 작은 공을 로드하는 방법을 모방합니다.
이 기사에서는 Baidu Tieba 클라이언트 로딩 볼을 모방하기 위해 Canvas를 사용하는 구현 방법을 주로 소개합니다. 구현 후의 상관 관계는 기사에 나와 있으므로 참조 및 학습이 매우 좋습니다. 모두에게 혜택이 있습니다. 필요한 친구들이 와서 함께 공부할 수 있습니다.
머리말
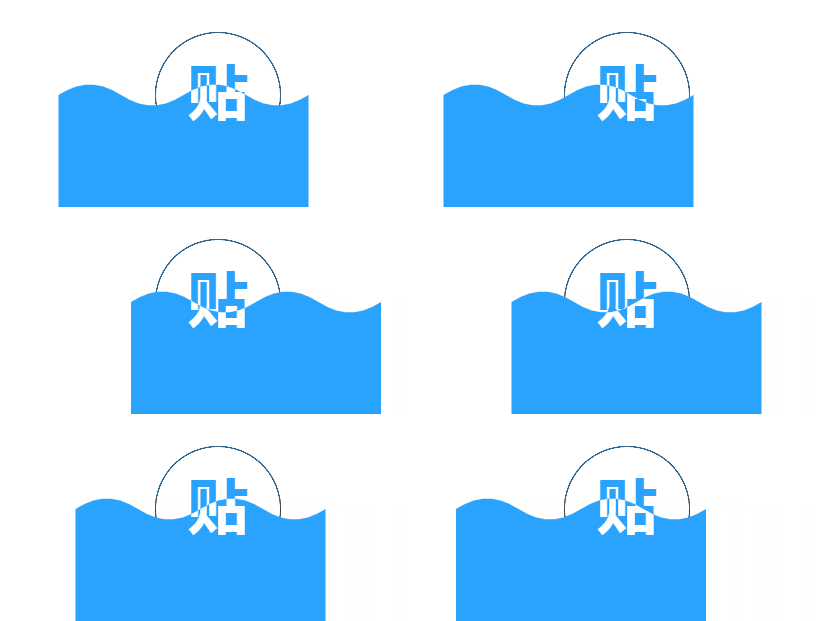
최근에 두 가지 흥미로운 데모를 보았는데, 렌더링은 다음과 같습니다.
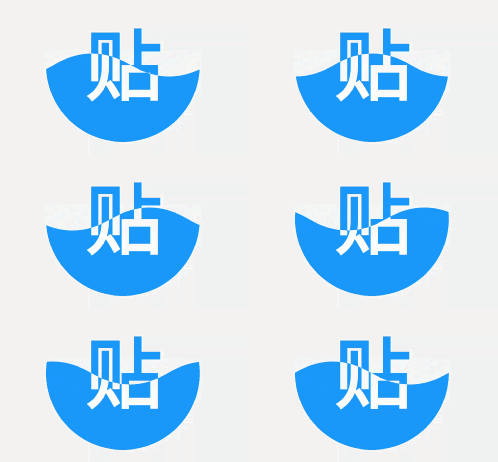
오늘은 주말을 활용해 H5 캔버스를 활용해 흉내냈습니다. 이 문서에서는 첫 번째 렌더링만 구현합니다.
내가 달성한 효과는 다음과 같습니다.
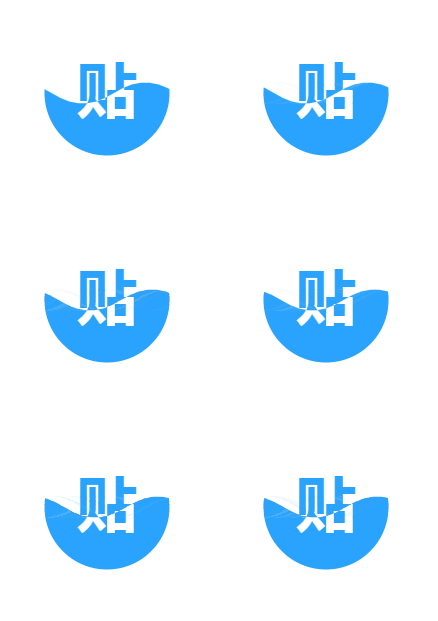
#🎜🎜 #구현 원칙
구현 원칙은 간략한 책의 기사를 기반으로 하며 여기서는 반복하지 않습니다. 이제 이 효과를 단계별로 달성해 보겠습니다.0단계: 원 그리기
소스 코드는 다음과 같습니다. 실행 효과는 다음과 같습니다. 다음:
<!DOCTYPE html>
<html>
<head>
<meta charset="UTF-8">
<title>百度贴吧客户端Loading小球</title>
<style>
canvas {
border: 1px solid #ccc;
}
</style>
</head>
<body>
<canvas id="canvas" width="500" height="500"></canvas>
<script>
var canvas = document.getElementById('canvas')
var ctx = canvas.getContext('2d')
canvas.width = 500
canvas.height = 500
var grid = canvas.width / 4
var cx = canvas.width / 2 // 圆中心点 x 坐标
var cy = canvas.height / 2 // 圆中心点 y 坐标
function circle() {
ctx.beginPath()
ctx.arc(cx, cy, grid / 2, 0, 2 * Math.PI)
}
circle()
ctx.stroke()
</script>
</body>
</html>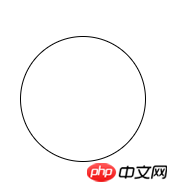
1단계: 파란색 단어 "스티커"를 그립니다.
원 그리기에ctx.fillText 사용 중앙에 파란색 단어 "Tie"가 있습니다. 텍스트는 굵게 표시되고 가로 중앙에 배치됩니다. ctx.fillText,在圆的中心绘制一个蓝色的“帖”字。文字粗体、水平居中。
代码如下:
function text(fillStyle) {
    var fontSize = size / 250 * 120
    ctx.font = 'bold ' + fontSize + 'px Arial'
    ctx.textAlign = 'center'
    ctx.fillStyle = fillStyle
    ctx.fillText('贴', cx, cy + fontSize * 0.3)
}

text('#29a3fe')效果如下:
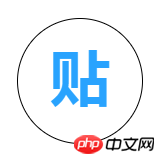
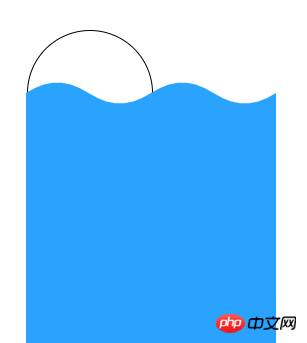
第二步:绘制蓝色的波浪
var waveSize = size / 6 // 波浪大小
var x = 0 // 波浪位置偏移大小

function curve() {
    ctx.beginPath()
    ctx.moveTo(cx - size + x + size / 2, cy)
    ctx.quadraticCurveTo(cx - size + size / 4 + x + size / 2, cy - waveSize, cx - size + size / 2 + x + size / 2, cy)
    ctx.quadraticCurveTo(cx - size + size * 3 / 4 + x + size / 2, cy + waveSize, cx - size + size + x + size / 2, cy)

    ctx.quadraticCurveTo(cx + size / 4 + x + size / 2, cy - waveSize, cx + size / 2 + x + size / 2, cy)
    ctx.quadraticCurveTo(cx + size * 3 / 4 + x + size / 2, cy + waveSize, cx + size + x + size / 2, cy)
    ctx.lineTo(cx + size + x + size / 2, canvas.height)
    ctx.lineTo(cx - size + x + size / 2, canvas.height)
    ctx.lineTo(cx - size + x + size / 2, cy)
    ctx.closePath()
}

ctx.fillStyle = '#29a3fe'
curve()
ctx.fill()效果如下:
第三步:绘制白色的“贴”字
curve()
ctx.clip()
text('#f00')
第一句代码 curve() 创建了一个波浪形状的路径,和第三步不同的是,这里并没有使用 ctx.fill() 填充路径,而是使用了 ctx.clip()코드는 다음과 같습니다:
function loop(){
    ctx.clearRect(0, 0, canvas.width, canvas.height)

    x -= 1.5
    x = x % size

    ctx.save()

    circle()
    ctx.stroke()

    ctx.fillStyle = '#29a3fe'
    curve()
    ctx.fill()

    ctx.restore()

    requestAnimationFrame(loop)
}
loop()효과는 다음과 같습니다 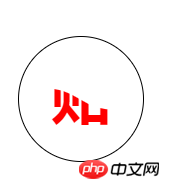 # 🎜🎜#
# 🎜🎜#
#🎜 🎜#2단계: 푸른 파도 그리기
circle()
ctx.stroke()
#🎜🎜 #
 3단계: 흰색 "post" 문자 그리기
circle()
ctx.clip()
curve() 가 생성되었습니다. 물결 모양 경로가 세 번째 단계와의 차이점은 여기서는 경로를 채우는 데 ctx.fill()이 사용되지 않고 ctx.clip() 를 사용하여 클리핑합니다. Path, 이 경우 나중에 그려지는 경로(텍스트 포함)는 클리핑 영역 내에서만 표시될 수 있습니다.  배경색과 구별하기 위해 '포스트'라는 단어를 빨간색으로 변경했습니다.
효과는 다음과 같습니다:
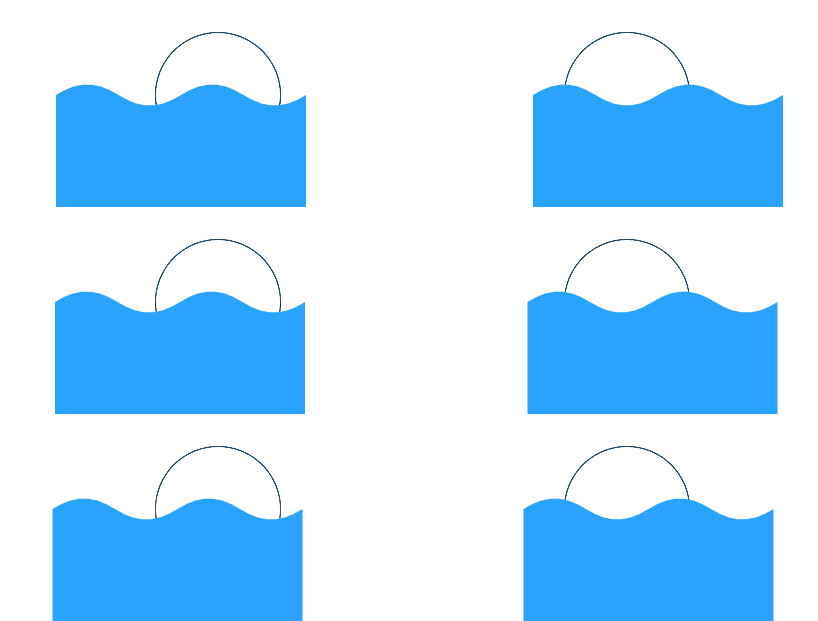
4단계: 움직이는 파도 그리기
#🎜 🎜 #<!DOCTYPE html>
<html lang="en">
<head>
<meta charset="UTF-8">
<title>Title</title>
<style>
html,
body {
height: 100%;
}
canvas {
border: 1px solid #ccc;
}
</style>
</head>
<body>
<canvas id="canvas" width="500" height="500"></canvas>
<script>
var canvas = document.getElementById('canvas')
var ctx = canvas.getContext('2d')
canvas.width = 500
canvas.height = 500
var size = canvas.width / 4 // 圆的大小
var cx = canvas.width / 2 // 圆中心点 x 坐标
var cy = canvas.height / 2 // 圆中心点 y 坐标
var waveSize = size / 6 // 波浪大小
var x = 0 // 波浪位置偏移大小
function circle() {
ctx.beginPath()
ctx.arc(cx, cy, size / 2, 0, 2 * Math.PI)
}
function curve() {
ctx.beginPath()
ctx.moveTo(cx - size + x + size / 2, cy)
ctx.quadraticCurveTo(cx - size + size / 4 + x + size / 2, cy - waveSize, cx - size + size / 2 + x + size / 2, cy)
ctx.quadraticCurveTo(cx - size + size * 3 / 4 + x + size / 2, cy + waveSize, cx - size + size + x + size / 2, cy)
ctx.quadraticCurveTo(cx + size / 4 + x + size / 2, cy - waveSize, cx + size / 2 + x + size / 2, cy)
ctx.quadraticCurveTo(cx + size * 3 / 4 + x + size / 2, cy + waveSize, cx + size + x + size / 2, cy)
ctx.lineTo(cx + size + x + size / 2, canvas.height)
ctx.lineTo(cx - size + x + size / 2, canvas.height)
ctx.lineTo(cx - size + x + size / 2, cy)
ctx.closePath()
}
function text(fillStyle) {
var fontSize = size / 250 * 120
ctx.font = 'bold ' + fontSize + 'px Arial'
ctx.textAlign = 'center'
ctx.fillStyle = fillStyle
ctx.fillText('贴', cx, cy + fontSize * 0.3)
}
function loop(){
ctx.clearRect(0, 0, canvas.width, canvas.height)
x -= 1.5
x = x % size
ctx.save()
circle()
ctx.clip()
text('#29a3fe')
ctx.fillStyle = '#29a3fe'
curve()
ctx.fill()
curve()
ctx.clip()
text('#fff')
ctx.restore()
requestAnimationFrame(loop)
}
loop()
</script>
</body>
</html>로그인 후 복사
효과는 다음과 같습니다.
# 🎜🎜# 5단계: 이전 콘텐츠 통합
효과는 다음과 같습니다.
#🎜 🎜#6단계: 둥근 모양 자르기
to: # 🎜🎜#
rrreee
이 방법으로 원의 바깥쪽 모양을 잘라내면 완성됩니다.
마지막으로 전체 소스코드를 첨부합니다:
rrreee
#🎜🎜#위 내용은 본 내용의 전체 내용입니다. 글이 모두에게 도움이 되었으면 좋겠습니다. 학습에 도움이 될 것입니다. 더 많은 관련 내용은 PHP 중국어 홈페이지를 주목해주세요! #🎜🎜##🎜🎜#관련 권장사항: #🎜🎜##🎜🎜##🎜🎜#html5는 html2canvas를 사용하여 브라우저 스크린샷 구현#🎜🎜##🎜🎜##🎜🎜##🎜🎜##🎜🎜# HTML5 캔버스로 다섯개 별을 그리는 방법#🎜🎜##🎜🎜##🎜🎜##🎜🎜##🎜🎜#html5는 캔버스를 사용하여 커서를 따라가는 불꽃 효과를 얻습니다 #🎜🎜##🎜🎜 ##🎜🎜## 🎜🎜##🎜🎜##🎜🎜##🎜🎜#위 내용은 Canvas를 사용하여 Baidu Tieba 클라이언트에서 작은 공을 로드하는 방법을 모방합니다.의 상세 내용입니다. 자세한 내용은 PHP 중국어 웹사이트의 기타 관련 기사를 참조하세요!

핫 AI 도구

Undresser.AI Undress
사실적인 누드 사진을 만들기 위한 AI 기반 앱

AI Clothes Remover
사진에서 옷을 제거하는 온라인 AI 도구입니다.

Undress AI Tool
무료로 이미지를 벗다

Clothoff.io
AI 옷 제거제

Video Face Swap
완전히 무료인 AI 얼굴 교환 도구를 사용하여 모든 비디오의 얼굴을 쉽게 바꾸세요!

인기 기사

뜨거운 도구

메모장++7.3.1
사용하기 쉬운 무료 코드 편집기

SublimeText3 중국어 버전
중국어 버전, 사용하기 매우 쉽습니다.

스튜디오 13.0.1 보내기
강력한 PHP 통합 개발 환경

드림위버 CS6
시각적 웹 개발 도구

SublimeText3 Mac 버전
신 수준의 코드 편집 소프트웨어(SublimeText3)

뜨거운 주제
 7677
7677
 15
15
 1393
1393
 52
52
 1207
1207
 24
24
 91
91
 11
11
 73
73
 19
19
![VMware Horizon Client를 열 수 없습니다. [수정]](https://img.php.cn/upload/article/000/887/227/170835607042441.jpg?x-oss-process=image/resize,m_fill,h_207,w_330) VMware Horizon Client를 열 수 없습니다. [수정]
Feb 19, 2024 pm 11:21 PM
VMware Horizon Client를 열 수 없습니다. [수정]
Feb 19, 2024 pm 11:21 PM
VMware Horizon Client를 사용하면 가상 데스크톱에 편리하게 액세스할 수 있습니다. 그러나 때로는 가상 데스크톱 인프라에 시작 문제가 발생할 수 있습니다. 이 문서에서는 VMware Horizon 클라이언트가 성공적으로 시작되지 않을 때 취할 수 있는 해결 방법에 대해 설명합니다. VMware Horizon 클라이언트가 열리지 않는 이유는 무엇입니까? VDI 구성 시 VMWareHorizon 클라이언트가 열려 있지 않으면 오류가 발생할 수 있습니다. IT 관리자가 올바른 URL과 자격 증명을 제공했는지 확인하세요. 모든 것이 정상이면 이 가이드에 언급된 해결 방법에 따라 문제를 해결하십시오. Windows 컴퓨터에서 VMW가 열리지 않는 경우 VMWareHorizon 클라이언트가 열리지 않는 문제 수정
![연결하는 동안 VMware Horizon 클라이언트가 정지되거나 정지됨 [수정]](https://img.php.cn/upload/article/000/887/227/170942987315391.jpg?x-oss-process=image/resize,m_fill,h_207,w_330) 연결하는 동안 VMware Horizon 클라이언트가 정지되거나 정지됨 [수정]
Mar 03, 2024 am 09:37 AM
연결하는 동안 VMware Horizon 클라이언트가 정지되거나 정지됨 [수정]
Mar 03, 2024 am 09:37 AM
VMWareHorizon 클라이언트를 사용하여 VDI에 연결할 때 인증 중에 애플리케이션이 정지되거나 연결이 차단되는 상황이 발생할 수 있습니다. 이 문서에서는 이 문제를 살펴보고 이 상황을 해결하는 방법을 제공합니다. VMWareHorizon 클라이언트에 정지 또는 연결 문제가 발생하는 경우 문제를 해결하기 위해 수행할 수 있는 몇 가지 작업이 있습니다. 연결하는 동안 VMWareHorizon 클라이언트가 멈추거나 멈추는 문제 해결 VMWareHorizon 클라이언트가 Windows 11/10에서 멈추거나 연결에 실패하는 경우 아래 언급된 해결 방법을 수행하십시오. 네트워크 연결 확인 Horizon 클라이언트 다시 시작 Horizon 서버 상태 확인 클라이언트 캐시 지우기 Ho 수정
 PHP MQTT 클라이언트 개발 가이드
Mar 27, 2024 am 09:21 AM
MQTT(MessageQueuingTelemetryTransport)는 IoT 장치 간 통신에 일반적으로 사용되는 경량 메시지 전송 프로토콜입니다. PHP는 MQTT 클라이언트를 개발하는 데 사용할 수 있는 일반적으로 사용되는 서버측 프로그래밍 언어입니다. 이 기사에서는 PHP를 사용하여 MQTT 클라이언트를 개발하는 방법을 소개하고 다음 내용을 포함합니다. MQTT 프로토콜의 기본 개념 PHPMQTT 클라이언트 라이브러리의 선택 및 사용 예: PHPMQTT 클라이언트를 사용하여 게시 및
 Baidu Netdisk 웹페이지에서 클라이언트를 시작할 수 없는 문제를 해결하는 방법은 무엇입니까?
Mar 13, 2024 pm 05:00 PM
많은 친구들이 파일을 다운로드할 때 먼저 웹페이지를 탐색한 다음 클라이언트로 전송하여 다운로드합니다. 그러나 때때로 사용자는 Baidu Netdisk 웹 페이지에서 클라이언트를 시작할 수 없는 문제에 직면할 수 있습니다. 이 문제에 대해 편집자는 Baidu Netdisk 웹페이지에서 클라이언트를 시작할 수 없는 문제를 해결하기 위해 솔루션을 준비했습니다. 해결 방법 1. Baidu Netdisk가 최신 버전이 아닐 수 있습니다. Baidu Netdisk 클라이언트를 수동으로 열고 오른쪽 상단에 있는 설정 버튼을 클릭한 다음 버전 업그레이드를 클릭하세요. 업데이트가 없으면 다음 메시지가 나타납니다. 업데이트가 있으면 메시지에 따라 업데이트하세요. 2. Baidu Cloud Disk의 탐지 서비스 프로그램은 비활성화될 수 있습니다. 당사가 수동으로 또는 보안 소프트웨어를 사용하여 Baidu Cloud Disk의 탐지 서비스 프로그램을 자동으로 비활성화할 수 있습니다. 그것을 확인하시기 바랍니다
 Baidu Tieba에서 자신의 게시물을 삭제하는 방법 자신의 게시물을 삭제하는 방법 목록
Mar 12, 2024 pm 05:25 PM
우리는 이 플랫폼을 사용할 때 위의 기능 중 일부에 대해 잘 알고 있어야 하며, 어떤 측면에 있든 거기에 많은 게시물이 있다는 것을 알 수 있습니다. 일부 게시물 등을 통해 다양한 측면에서 일부 선택이 가능하다고 느낄 때마다 오늘은 위 기능의 사용을 더 잘 이해하고 게시물의 품질을 보장하기 위해 직접 다음을 수행하는 것이 가능합니다. 위의 글 중 일부를 삭제했는데, 어떻게 해야 할지 모르겠다면 오늘 편집자가 삭제 방법을 설명해 드릴 것입니다. 관심이 있고 아이디어가 있는 친구들은 지금 편집자에게 이야기해 보시기 바랍니다. 나는 당신이 그것을 좋아할 것 같아요. 삭제
 html2canvas에는 어떤 버전이 있나요?
Aug 22, 2023 pm 05:58 PM
html2canvas 버전에는 html2canvas v0.x, html2canvas v1.x 등이 포함됩니다. 자세한 소개: 1. html2canvas v0.x는 html2canvas의 초기 버전입니다. 최신 안정 버전은 v0.5.0-alpha1입니다. 2. html2canvas v1.x는 html2canvas의 새 버전입니다.
 캔버스 프레임워크를 배우고 일반적으로 사용되는 캔버스 프레임워크에 대해 자세히 설명합니다.
Jan 17, 2024 am 11:03 AM
Canvas 프레임워크 탐색: 일반적으로 사용되는 Canvas 프레임워크가 무엇인지 이해하려면 특정 코드 예제가 필요합니다. 소개: Canvas는 풍부한 그래픽 및 애니메이션 효과를 얻을 수 있는 HTML5에서 제공되는 그리기 API입니다. 그리기의 효율성과 편의성을 향상시키기 위해 많은 개발자들이 다양한 Canvas 프레임워크를 개발했습니다. 이 기사에서는 일반적으로 사용되는 몇 가지 캔버스 프레임워크를 소개하고 독자가 이러한 프레임워크를 사용하는 방법을 더 깊이 이해하는 데 도움이 되는 특정 코드 예제를 제공합니다. 1. EaselJS 프레임워크 Ea
 uniapp은 캔버스를 사용하여 차트와 애니메이션 효과를 그리는 방법을 구현합니다.
Oct 18, 2023 am 10:42 AM
uniapp에서 캔버스를 사용하여 차트와 애니메이션 효과를 그리는 방법에는 특정 코드 예제가 필요합니다. 1. 소개 모바일 장치의 인기로 인해 점점 더 많은 응용 프로그램이 모바일 단말기에 다양한 차트와 애니메이션 효과를 표시해야 합니다. Vue.js를 기반으로 하는 크로스 플랫폼 개발 프레임워크인 uniapp은 캔버스를 사용하여 차트와 애니메이션 효과를 그리는 기능을 제공합니다. 이 기사에서는 uniapp이 캔버스를 사용하여 차트 및 애니메이션 효과를 구현하는 방법을 소개하고 구체적인 코드 예제를 제공합니다. 2. 캔버스


 배경색과 구별하기 위해 '포스트'라는 단어를 빨간색으로 변경했습니다.