이 기사에서는 프런트엔드 개발을 더 쉽게 만드는 12가지 흥미롭고 실용적인 CSS 팁을 공유하겠습니다. 모두에게 도움이 되기를 바랍니다.

(추천 학습: css 동영상 튜토리얼)
코드 구현:
<div class="wrapper">
    <div class="typing-demo">
      有趣且实用的 CSS 小技巧
    </div>
</div>.wrapper {
height: 100vh;
display: flex;
align-items: center;
justify-content: center;
}
.typing-demo {
width: 22ch;
animation: typing 2s steps(22), blink .5s step-end infinite alternate;
white-space: nowrap;
overflow: hidden;
border-right: 3px solid;
font-family: monospace;
font-size: 2em;
}
@keyframes typing {
from {
width: 0
}
}
@keyframes blink {
50% {
border-color: transparent
}
}구현 효과:

<div >
  <div >
    <div >
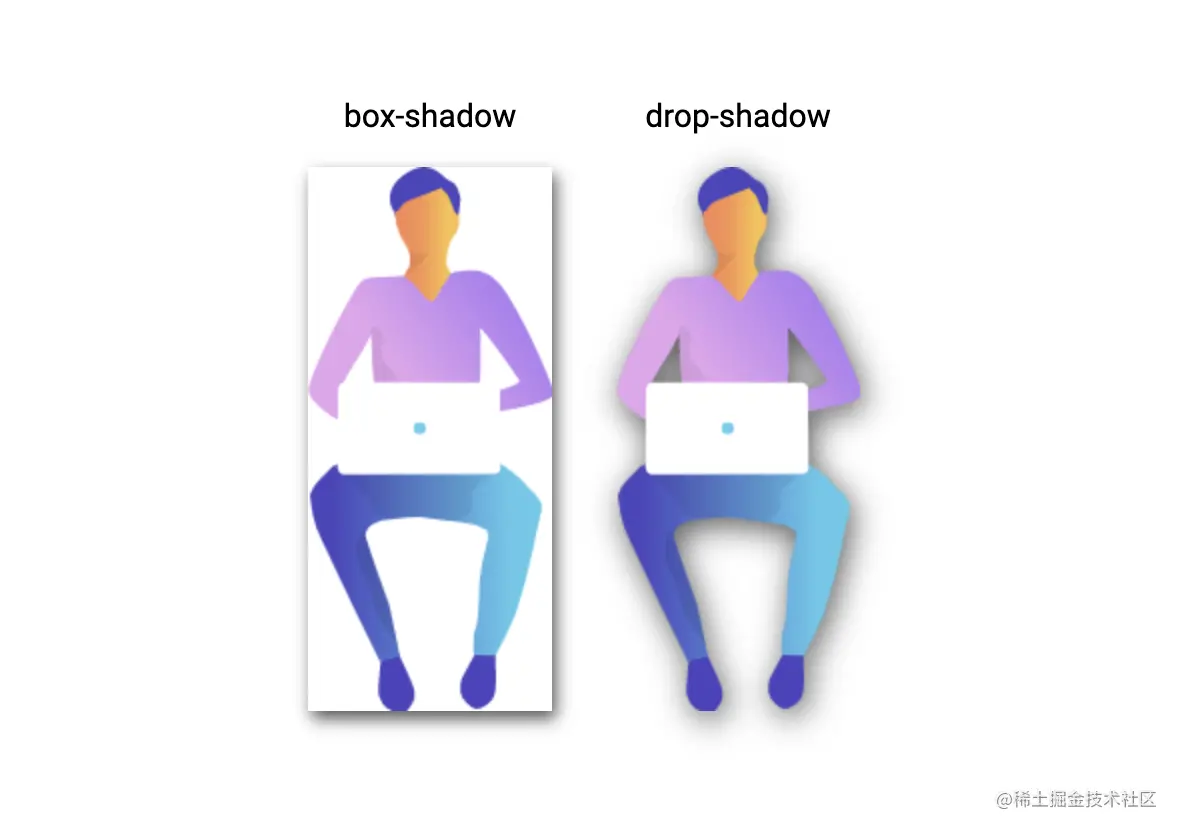
      box-shadow
    </div>

    <img class="box-shadow lazy"  src="/static/imghw/default1.png"  data-src="https://markodenic.com/man_working.png"    alt="Image with box-shadow">
  </div>

  <div>
    <div class="mb-1 text-center">
      drop-shadow
    </div>

    <img class="drop-shadow lazy"  src="/static/imghw/default1.png"  data-src="https://markodenic.com/man_working.png"    alt="Image with drop-shadow">
  </div>
</div>.wrapper {
height: 100vh;
display: flex;
align-items: center;
justify-content: center;
}
.mr-2 {
margin-right: 2em;
}
.mb-1 {
margin-bottom: 1em;
}
.text-center {
text-align: center;
}
.box-shadow {
box-shadow: 2px 4px 8px #585858;
}
.drop-shadow {
filter: drop-shadow(2px 4px 8px #585858);
}
<nav>
  Scroll to:
  <a href="#sectionA" class="link bg-red">A</a>

  <a href="#sectionB" class="link bg-blue">B</a>

  <a href="#sectionC" class="link bg-green">C</a>
</nav>

<div class="wrapper">
  <div id="sectionA" class="section bg-red">A</div>

  <div id="sectionB" class="section bg-blue">B</div>

  <div id="sectionC" class="section bg-green">C</div>
</div>
 5 텍스트 텍스트 오버 플로우 숨기기 :
html {
  scroll-behavior: smooth;
}

nav {
  position: fixed;
  left: calc(50vw - 115px);
  top: 0;
  width: 200px;
  text-align: center;
  padding: 15px;
  background: #fff;
  box-shadow: 0 2px 5px 1px rgba(0, 0, 0, 0.2);
}

nav .link {
  padding: 5px;
  color: white;
}

.section {
  height: 100vh;
  display: flex;
  align-items: center;
  justify-content: center;
  color: #fff;
  font-size: 5em;
  text-shadow:
    0px 2px 0px #b2a98f,
    0px 4px 3px rgba(0,0,0,0.15),
    0px 8px 1px rgba(0,0,0,0.1);
}

.bg-red {
  background: #de5448;
}

.bg-blue {
  background: #4267b2;
}

.bg-green {
  background: #4CAF50;
}6 선택 스타일 사용자 정의
<div class="wrapper">
  <div class="tile">
    Default
  </div>

  <div class="tile tile-image-cursor">
    Image
  </div>

  <div class="tile tile-emoji-cursor">
    Emoji
  </div>
</div>.wrapper {
display: flex;
height: 100vh;
align-items: center;
justify-content: center;
background: #4776e6;
background: linear-gradient(to right, #4776e6, #8e54e9);
padding: 0 10px;
}
.tile {
width: 200px;
height: 200px;display: flex;
align-items: center;
justify-content: center;
background-color: #de5448;
margin-right: 10px;color: #fff;
font-size: 1.4em;
text-align: center;
}
.tile-image-cursor {
background-color: #1da1f2;
cursor: url(https://picsum.photos/20/20), auto;
}
.tile-emoji-cursor {
background-color: #4267b2;
cursor: url("data:image/svg+xml;utf8,<svg xmlns='http://www.w3.org/2000/svg' width='40' height='48' viewport='0 0 100 100' style='fill:black;font-size:24px;'><text y='50%'>?</text></svg>"), auto;
}
7. CSS 모달 상자
CSS에서 :target 의사 요소를 사용하여 모달 상자를 만들 수 있습니다.
<div>
	白日依山尽,黄河入海流。欲穷千里目,更上一层楼。
</div>
div {
  width: 200px;
  background-color: #fff;
  padding: 15px;
  white-space: nowrap;
  overflow: hidden;
  text-overflow: ellipsis;
}업적 효과: 
8. 빈 요소 스타일
:empty 선택기를 사용하여 하위 요소나 텍스트가 전혀 없는 요소의 스타일을 설정할 수 있습니다.
div {
  width: 200px;
  display: -webkit-box;
  -webkit-box-orient: vertical;
  -webkit-line-clamp: 2;
  overflow: hidden;
}<div class="wrapper">
<div>
<p>
默认高亮
</p>
<p class="custom-highlighting">
自定义高亮
</p>
</div>
</div>업적 효과: 

.wrapper {
  height: 100vh;
  display: flex;
  align-items: center;
  justify-content: center;
}

p {
  font-size: 2rem;
  font-family: sans-serif;
}

.custom-highlighting::selection {
  background-color: #8e44ad;
  color: #fff;
}<div class="wrapper">
<a href="#demo-modal">Open Modal</a>
</div>
<div id="demo-modal" class="modal">
<div class="modal__content">
<h1>CSS Modal</h1>
<p>hello world</p>
<a href="#" class="modal__close">×</a>
</div>
</div>10. 동적 도구 설명
.wrapper {
  height: 100vh;
  display: flex;
  align-items: center;
  justify-content: center;
  background: linear-gradient(to right, #834d9b, #d04ed6);
}

.wrapper a {
  display: inline-block;
  text-decoration: none;
  padding: 15px;
  background-color: #fff;
  border-radius: 3px;
  text-transform: uppercase;
  color: #585858;
  font-family: 'Roboto', sans-serif;
}

.modal {
  visibility: hidden;
  opacity: 0;
  position: absolute;
  top: 0;
  right: 0;
  bottom: 0;
  left: 0;
  display: flex;
  align-items: center;
  justify-content: center;
  background: rgba(77, 77, 77, .7);
  transition: all .4s;
}

.modal:target {
  visibility: visible;
  opacity: 1;
}

.modal__content {
  border-radius: 4px;
  position: relative;
  width: 500px;
  max-width: 90%;
  background: #fff;
  padding: 1em 2em;
}

.modal__close {
  position: absolute;
  top: 10px;
  right: 10px;
  color: #585858;
  text-decoration: none;
}<div class="wrapper"> <div class="box"></div> <div class="box">白日依山尽,黄河入海流。欲穷千里目,更上一层楼。</div> </div>

.wrapper {
  height: 100vh;
  display: flex;
  justify-content: center;
  align-items: center;
}

.box {
  display: inline-block;
  background: #999;
  border: 1px solid #585858;
  height: 200px;
  width: 200px;
  margin-right: 15px;
}

.box:empty {
  background: #fff;
}<div class="wrapper">
<div>
<div class="tile mr-1">
<div class="tile-content">
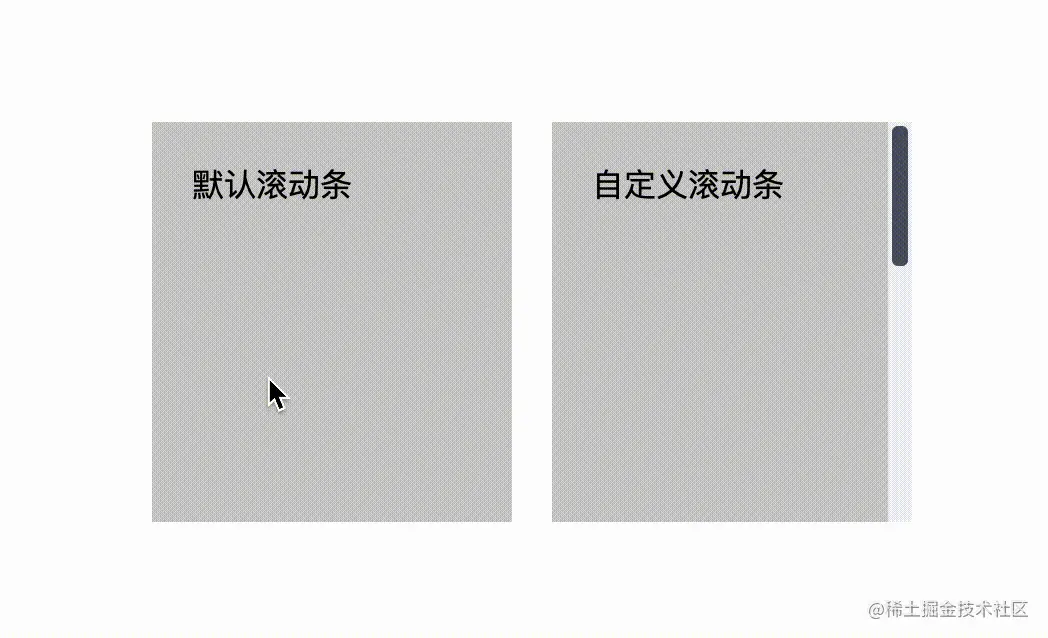
默认滚动条
</div>
</div>
<div class="tile tile-custom-scrollbar">
<div class="tile-content">
自定义滚动条
</div>
</div>
</div>
</div>효과 달성:

웹 프론트엔드 입문 튜토리얼)
위 내용은 12가지 실용적인 CSS 팁 공유(오셔서 수집하세요)의 상세 내용입니다. 자세한 내용은 PHP 중국어 웹사이트의 기타 관련 기사를 참조하세요!