

TV 끝 도시 목록을 구현하기 위한 Vue+flex 레이아웃을 자세히 설명하는 기사

이 기사에서는 Vue가 플렉스 레이아웃을 사용하여 TV 측 도시 목록 효과를 구현하는 방법을 주로 요약하고 소개합니다. 함께 살펴보겠습니다. 친구의 도움이 필요하면 도와주세요.
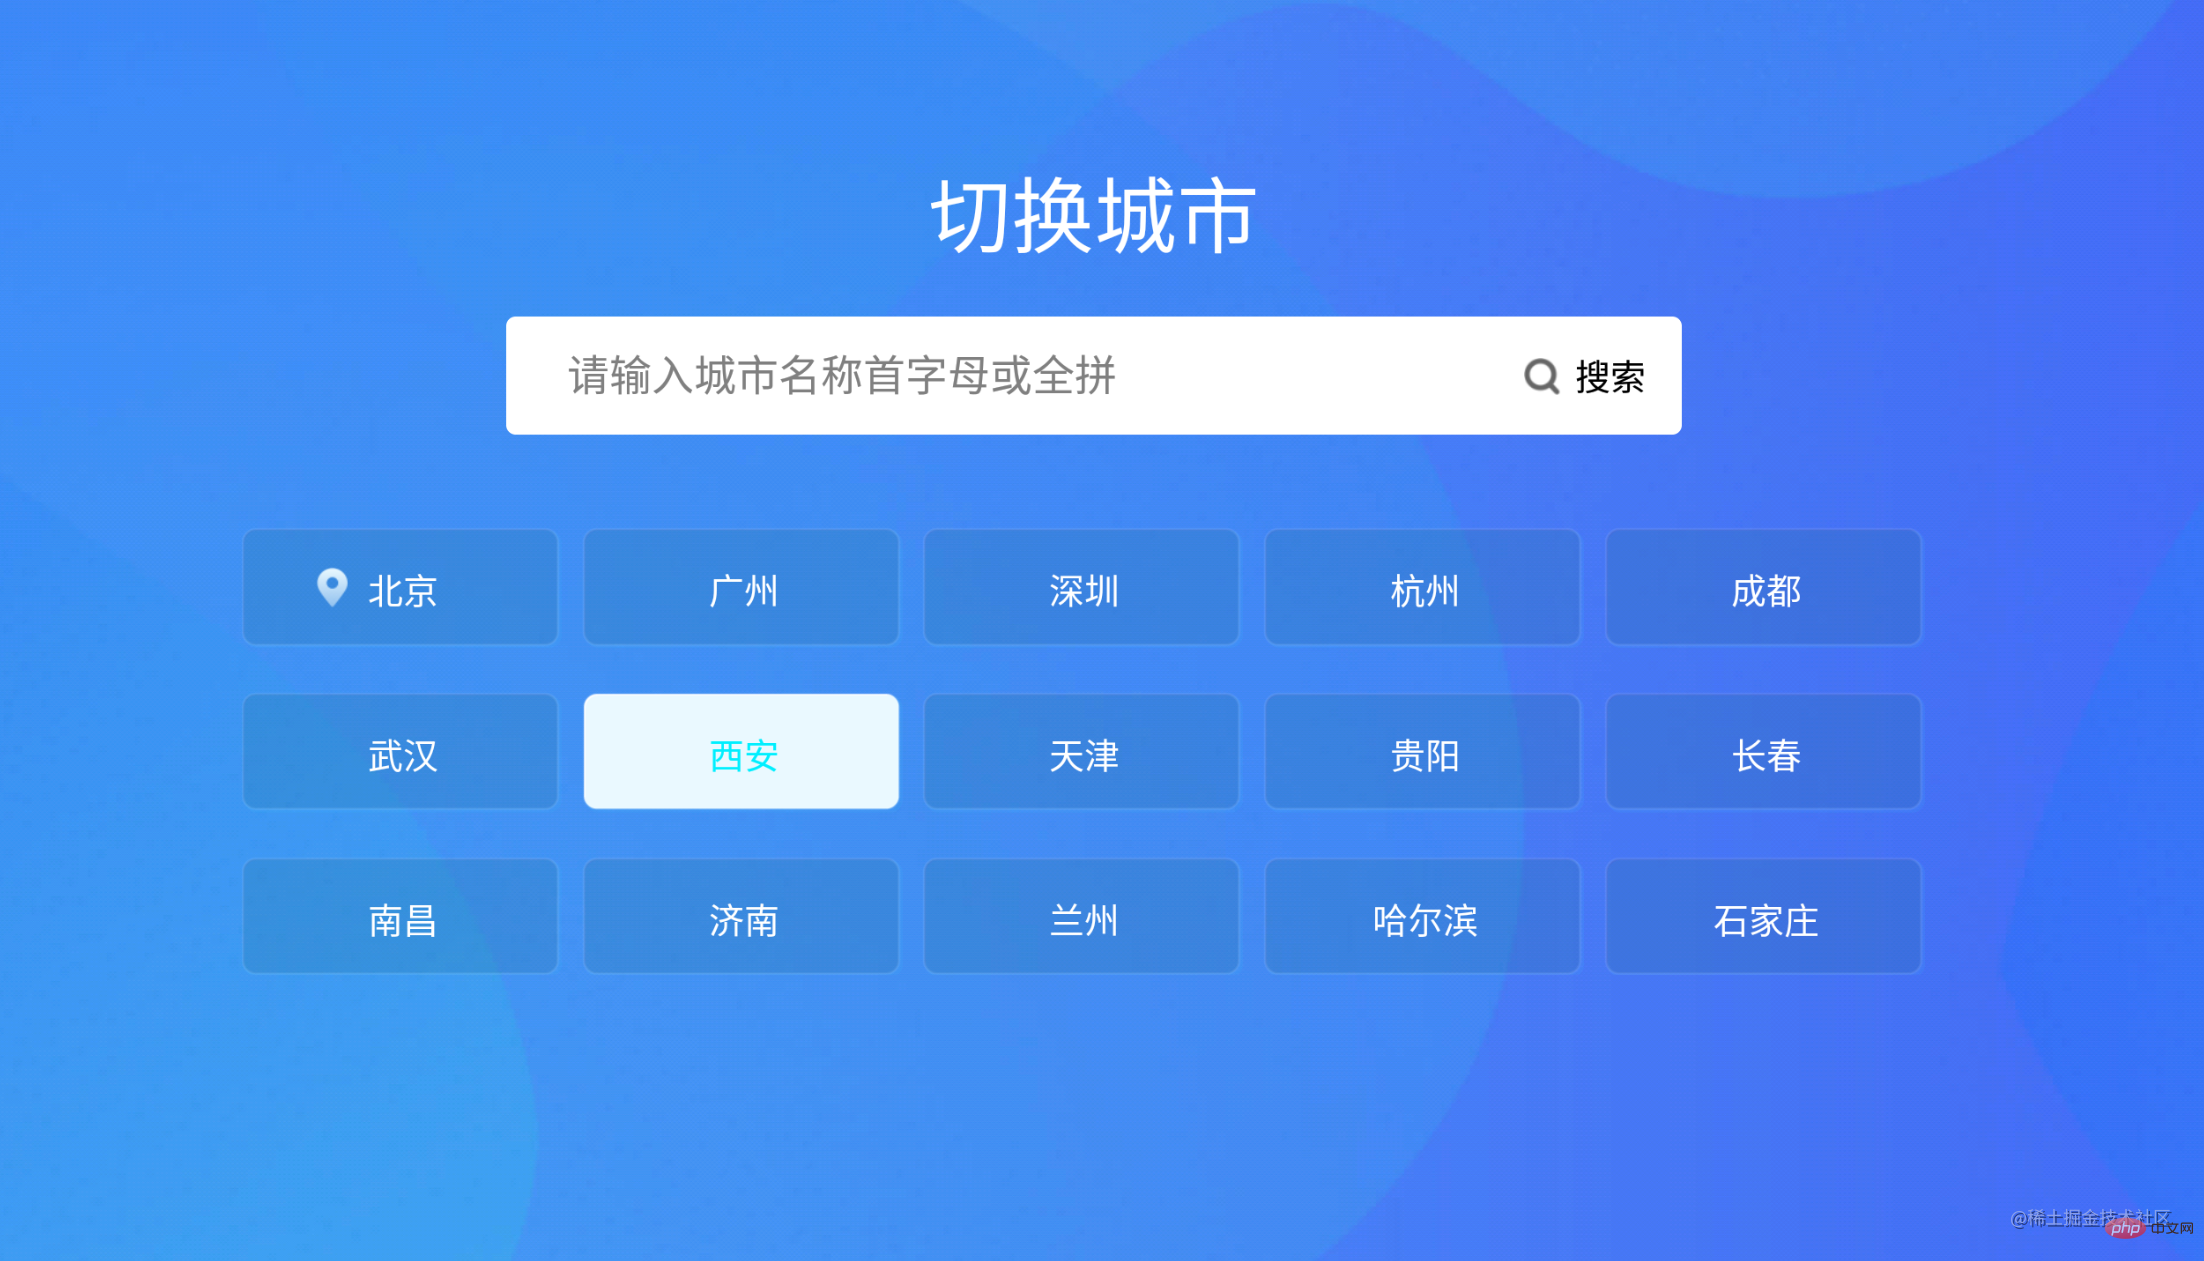
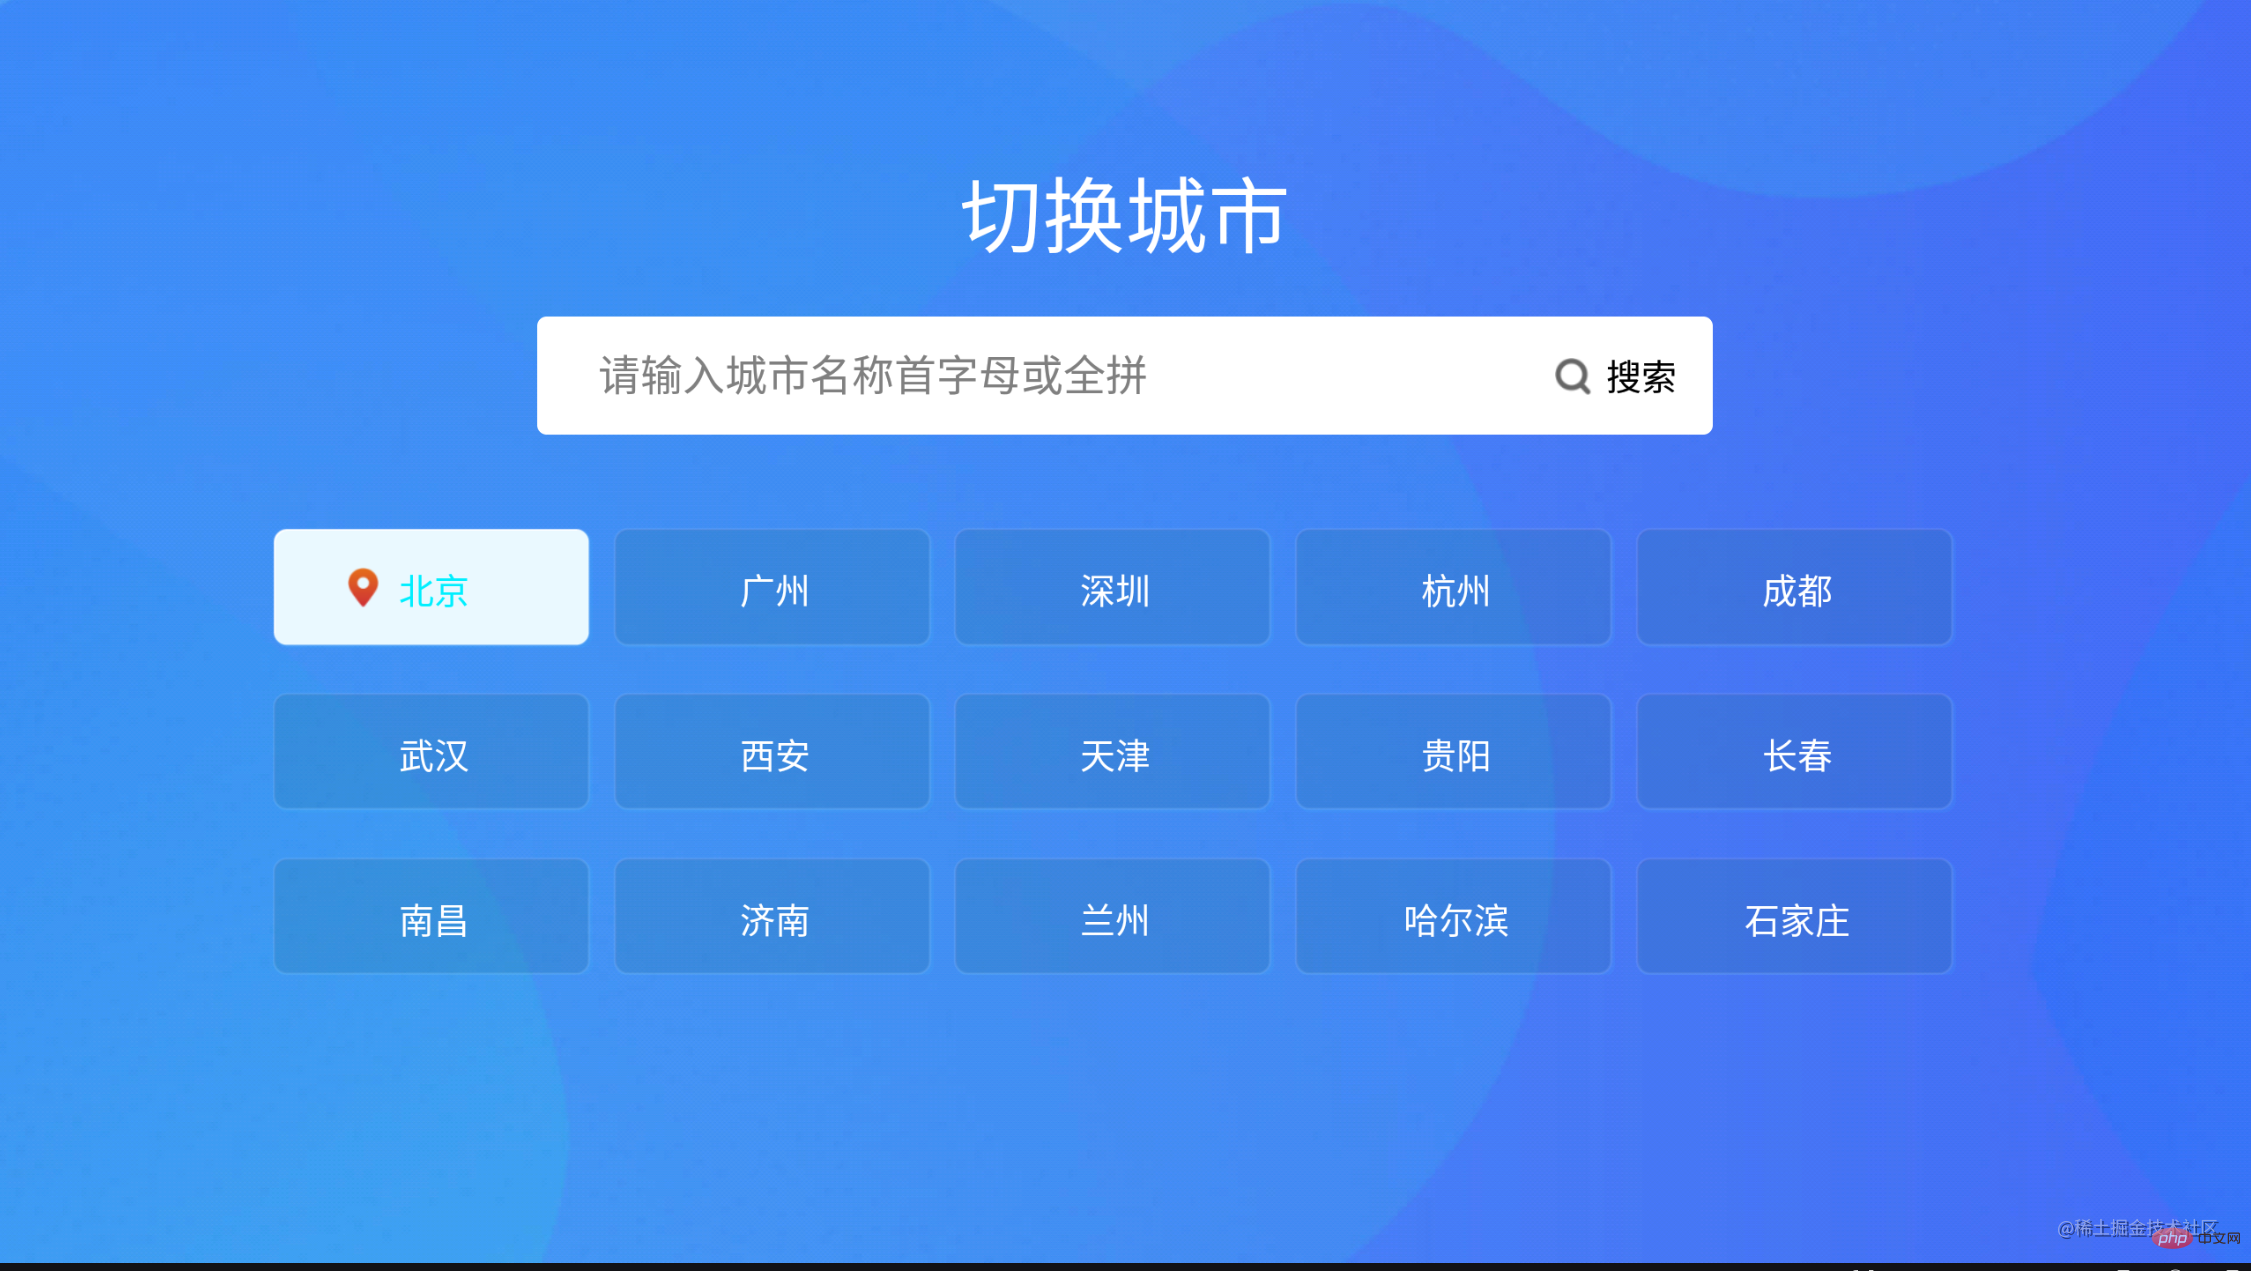
Vue는 플렉스 레이아웃을 사용하여 TV에서 도시 목록을 구현합니다.
도시 목록 및 검색은 Vue에서 매우 일반적입니다. 이 블로그에서는 검색 및 도시 목록을 구현하는 방법에 대해 설명합니다.
1.
<div class="search-bar">
  <input class="search-input" v-model="citySearchResult" :placeholder="searchDefault" :key="searchTitle"
         @endEditing="endEditing" :focusable="true" ref="searchInput" :duplicateParentState="true"
         :enableFocusBorder="true"/>
  <img  class="index-root-search-image-view-css lazy"  src="/static/imghw/default1.png"  data-src="searchIcon"   : alt="TV 끝 도시 목록을 구현하기 위한 Vue+flex 레이아웃을 자세히 설명하는 기사" >
  <span class="index-root-search-text-view-css" ref="textViewCity">{{searchDefaultKeyWord}}</span>
</div>2. 검색 레이아웃 CSS 스타일 코드:
.search-bar-root {
  display: flex;
  flex-direction: column;
  align-items: center;
  justify-content: center;
  margin-top: 140px;
}.index-root-search-title-css {
  flex-direction: column;
  align-items: center;
  justify-content: center;
  margin-bottom: 40px;
}.search-bar-root .search-bar {
  background-color: #ffffff;
  width: 1000px;
  height: 100px;
  display: flex;
  justify-content: center;
  border-radius: 8px;
}.search-input {
  width: 780px;
  border-radius: 8px;
  font-size: 36px;
  font-family: PingFangSC-Regular, PingFang SC;
  font-weight: 400;
  color: #000000;
  margin-left: 40px;
  text-indent: 40px;
}.index-root-search-image-view-css {
  position: absolute;
  width: 32px;
  height: 32px;
  top: 35px;
  bottom: 35px;
  right: 0;
  margin-right: 102px;
  text-align: center;
}.index-root-search-flex-view-css {
  display: flex;
  flex-wrap: wrap;
  flex-direction: row;
  width: 1450px;
  margin-left: 245px;
  margin-right: 245px;
  margin-top: 40px;
}.index-root-search-text-view-css {
  font-size: 30px;
  font-family: PingFangSC-Regular, PingFang SC;
  color: #000000;
  text-align: center;
  font-weight: 400;
  top: 0;
  bottom: 0;
  right: 0;
  position: absolute;
  margin-right: 30px;
}.index-root-search-title-text-view-css {
  font-size: 70px;
  font-family: PingFangSC-Regular, PingFang SC;
  color: #ffffff;
  text-align: center;
  opacity: 1.0;
}.search-city-button-view-css {
  width: 270px;
  height: 100px;
  background-color: rgba(0, 0, 0, .1);
  margin-right: 20px;
  margin-top: 40px;
  border-radius: 11px;
  border-width: 2px;
  border-color: rgba(255, 255, 255, 0.1);
  focus-background-color: #fff;
}.search-city-button-view-css .city-sel-box {
  border-width: 2px;
  border-color: #32C5FF;
}3. 도시 목록 레이아웃 코드:
<div class="index-root-search-flex-view-css" :clipChildren="false" ref="citySearch">
  <div class="search-city-button-view-css"
       v-for="(item,cityId) in hotCity" :focusable="true"
       :key="cityId"
       :ref="`hotRef${cityId}`" @focus="onFocus" :clipChildren="false">
    <div class="icon-location-reactive" ref="searchLocation" :duplicateParentState="true" style="visibility: visible;margin-right: 20px" v-if="showHot && cityId===0">
      <img class="icon-location lazy"  src="/static/imghw/default1.png"  data-src="@/assets/location.png"   alt=""  showOnState="normal">
      <img class="icon-location lazy"  src="/static/imghw/default1.png"  data-src="@/assets/location_hot_focus.png"   alt=""  showOnState="focused">
    </div>
    <span class="search-city-hot-text-iew-css" :duplicateParentState="true" showOnState="focused"
          ref="searchHotSelected"
          :style="{focusColor: focusHotTextColor,fontSize: textFontSize,fontWeight: textFontWeight,}">{{item.cityName}}</span>
</div>4. 도시 목록 가져오기 이벤트. 초점:
주로 div에 설정: focusable="true" 및 @focus="onFocus".index-root-search-flex-view-css {
display: flex;
flex-wrap: wrap;
flex-direction: row;
width: 1450px;
margin-left: 245px;
margin-right: 245px;
margin-top: 40px;
}.index-root-search-text-view-css {
font-size: 30px;
font-family: PingFangSC-Regular, PingFang SC;
color: #000000;
text-align: center;
font-weight: 400;
top: 0;
bottom: 0;
right: 0;
position: absolute;
margin-right: 30px;
}.index-root-search-title-text-view-css {
font-size: 70px;
font-family: PingFangSC-Regular, PingFang SC;
color: #ffffff;
text-align: center;
opacity: 1.0;
}.search-city-button-view-css {
width: 270px;
height: 100px;
background-color: rgba(0, 0, 0, .1);
margin-right: 20px;
margin-top: 40px;
border-radius: 11px;
border-width: 2px;
border-color: rgba(255, 255, 255, 0.1);
focus-background-color: #fff;
}.search-city-button-view-css .city-sel-box {
border-width: 2px;
border-color: #32C5FF;
}.icon-location-reactive {
position: absolute;
width: 26px;
height: 34px;
margin-left: 60px;
margin-top: 30px;
margin-bottom: 30px;
}.icon-location {
width: 26px;
height: 34px;
position: absolute;
left: 0;
top: 0;
z-index: 9;
}.search-city-hot-text-iew-css {
width: 270px;
height: 100px;
background-color: rgba(50, 197, 255, 0.1);
border-radius: 11px;
border: 2px solid #32C5FF;
font-size: 36px;
font-family: PingFangSC-Regular, PingFang SC;
text-align: center;
color: white;
}.search-city-empty {
margin-top: 40px;
width: 425px;
display: flex;
align-items: center;
justify-content: center;
flex-direction: column;
margin-left: 535px;
}.search-city-empty .icon-no-connect {
width: 425px;
height: 307px;
}.search-city-empty .empty-txt {
font-size: 32px;
font-family: PingFangSC-Light, PingFang SC;
font-weight: 300;
color: #FFFFFF;
margin-top: 60px;
}<div class="search-city-button-view-css"
v-for="(item,cityId) in hotCity" :focusable="true"
:key="cityId"
:ref="`hotRef${cityId}`" @focus="onFocus" :clipChildren="false">
<div class="icon-location-reactive" ref="searchLocation" :duplicateParentState="true" style="visibility: visible;margin-right: 20px" v-if="showHot && cityId===0">
<img class="icon-location lazy" src="/static/imghw/default1.png" data-src="@/assets/location.png" alt="" showOnState="normal">
<img class="icon-location lazy" src="/static/imghw/default1.png" data-src="@/assets/location_hot_focus.png" alt="" showOnState="focused">
</div>:enableFocusBorder="true"//设置获得焦点时的边框 :focusScale="1.0"//设置焦点放大时的倍数
7. 검색창 입력 이벤트:
<span class="search-city-hot-text-iew-css" :duplicateParentState="true" showOnState="focused"
      ref="searchHotSelected"
:style="{focusColor: focusHotTextColor,fontSize: textFontSize,fontWeight: textFontWeight,}">{{item.cityName}}</span>8. 검색창 포커스 이벤트:
//输入内容之后请求城市列表接口刷新数据
endEditing(e) {
  console.log("--resultData--", this.citySearchResult)
},9. 기본적으로 TV 소프트 키보드 팝업:
onFocus(e) {
  this.focused = e.isFocused;
  this.$emit("onButtonFocused", e.isFocused);
},10.
mounted() {
  this.hotCity = hotCity;
  this.showHot = true;
  this.pageLoading = true
  //弹出软键盘
  this.$refs.searchInput.focus()
  //搜索框默认获取焦点
  this.setHideLoading()
},11 달성된 효과의 스크린샷은 다음과 같습니다.
 관련 권장 사항:
위 내용은 TV 끝 도시 목록을 구현하기 위한 Vue+flex 레이아웃을 자세히 설명하는 기사의 상세 내용입니다. 자세한 내용은 PHP 중국어 웹사이트의 기타 관련 기사를 참조하세요!

핫 AI 도구

Undresser.AI Undress
사실적인 누드 사진을 만들기 위한 AI 기반 앱

AI Clothes Remover
사진에서 옷을 제거하는 온라인 AI 도구입니다.

Undress AI Tool
무료로 이미지를 벗다

Clothoff.io
AI 옷 제거제

AI Hentai Generator
AI Hentai를 무료로 생성하십시오.

인기 기사
뜨거운 도구

메모장++7.3.1
사용하기 쉬운 무료 코드 편집기

SublimeText3 중국어 버전
중국어 버전, 사용하기 매우 쉽습니다.

스튜디오 13.0.1 보내기
강력한 PHP 통합 개발 환경

드림위버 CS6
시각적 웹 개발 도구

SublimeText3 Mac 버전
신 수준의 코드 편집 소프트웨어(SublimeText3)
뜨거운 주제
 7548
7548
 15
1382
52
83
11
57
19
22
90
15
1382
52
83
11
57
19
22
90

 Vue 용 버튼에 기능을 추가하는 방법
Apr 08, 2025 am 08:51 AM
Vue 용 버튼에 기능을 추가하는 방법
Apr 08, 2025 am 08:51 AM
HTML 템플릿의 버튼을 메소드에 바인딩하여 VUE 버튼에 함수를 추가 할 수 있습니다. 메소드를 정의하고 VUE 인스턴스에서 기능 로직을 작성하십시오.
 Vue에서 부트 스트랩을 사용하는 방법
Apr 07, 2025 pm 11:33 PM
Vue에서 부트 스트랩을 사용하는 방법
Apr 07, 2025 pm 11:33 PM
vue.js에서 bootstrap 사용은 5 단계로 나뉩니다 : Bootstrap 설치. main.js.의 부트 스트랩 가져 오기 부트 스트랩 구성 요소를 템플릿에서 직접 사용하십시오. 선택 사항 : 사용자 정의 스타일. 선택 사항 : 플러그인을 사용하십시오.
 vue.js로 JS 파일을 참조하는 방법
Apr 07, 2025 pm 11:27 PM
vue.js로 JS 파일을 참조하는 방법
Apr 07, 2025 pm 11:27 PM
vue.js에서 JS 파일을 참조하는 세 가지 방법이 있습니다. & lt; script & gt; 꼬리표;; mounted () 라이프 사이클 후크를 사용한 동적 가져 오기; Vuex State Management Library를 통해 수입.
 Vue에서 시계를 사용하는 방법
Apr 07, 2025 pm 11:36 PM
Vue에서 시계를 사용하는 방법
Apr 07, 2025 pm 11:36 PM
vue.js의 시계 옵션을 사용하면 개발자가 특정 데이터의 변경 사항을들을 수 있습니다. 데이터가 변경되면 콜백 기능을 트리거하여 업데이트보기 또는 기타 작업을 수행합니다. 구성 옵션에는 즉시 콜백을 실행할지 여부와 DEEP를 지정하는 즉시 포함되며, 이는 객체 또는 어레이에 대한 변경 사항을 재귀 적으로 듣는 지 여부를 지정합니다.
 Vue가 이전 페이지로 돌아 오는 방법
Apr 07, 2025 pm 11:30 PM
Vue가 이전 페이지로 돌아 오는 방법
Apr 07, 2025 pm 11:30 PM
vue.js는 이전 페이지로 돌아갈 수있는 네 가지 방법이 있습니다. $ router.go (-1) $ router.back () 사용 & lt; router-link to = & quot;/quot; Component Window.history.back () 및 메소드 선택은 장면에 따라 다릅니다.
 Vue 다중 페이지 개발은 무엇을 의미합니까?
Apr 07, 2025 pm 11:57 PM
Vue 다중 페이지 개발은 무엇을 의미합니까?
Apr 07, 2025 pm 11:57 PM
VUE 멀티 페이지 개발은 vue.js 프레임 워크를 사용하여 응용 프로그램을 구축하는 방법입니다. 여기서 응용 프로그램은 별도의 페이지로 나뉩니다. 코드 유지 보수 : 응용 프로그램을 여러 페이지로 분할하면 코드를보다 쉽게 관리하고 유지 관리 할 수 있습니다. 모듈 식 : 각 페이지는 쉬운 재사용 및 교체를 위해 별도의 모듈로 사용할 수 있습니다. 간단한 라우팅 : 페이지 간의 탐색은 간단한 라우팅 구성을 통해 관리 할 수 있습니다. SEO 최적화 : 각 페이지에는 자체 URL이있어 SEO가 도움이됩니다.
 VUE 버전을 쿼리하는 방법
Apr 07, 2025 pm 11:24 PM
VUE 버전을 쿼리하는 방법
Apr 07, 2025 pm 11:24 PM
Vue DevTools를 사용하여 브라우저 콘솔에서 vue 탭을 보면 VUE 버전을 쿼리 할 수 있습니다. npm을 사용하여 "npm list -g vue"명령을 실행하십시오. package.json 파일의 "종속성"객체에서 vue 항목을 찾으십시오. Vue Cli 프로젝트의 경우 "vue -version"명령을 실행하십시오. & lt; script & gt에서 버전 정보를 확인하십시오. vue 파일을 나타내는 html 파일의 태그.
 함수 인터셉트 vue를 사용하는 방법
Apr 08, 2025 am 06:51 AM
함수 인터셉트 vue를 사용하는 방법
Apr 08, 2025 am 06:51 AM
VUE의 기능 차단은 지정된 기간 내에 기능이 호출되는 횟수를 제한하고 성능 문제를 방지하는 데 사용되는 기술입니다. 구현 방법은 다음과 같습니다. lodash 라이브러리 가져 오기 : 'lodash'에서 import {debounce}; Debounce 기능을 사용하여 인터셉트 기능을 만듭니다. const debouncedfunction = debounce (() = & gt; { / logical /}, 500); 인터셉트 함수를 호출하면 제어 기능이 최대 500 밀리 초 안에 한 번 호출됩니다.
