공식 코드 종속성을 따르는 것만으로는 충분하지 않습니다. 여기서는 maven pom 파일을 보완해야 합니다.
<dependency>
            <groupId>org.mybatis.spring.boot</groupId>
            <artifactId>mybatis-spring-boot-starter</artifactId>
            <version>2.2.0</version>
        </dependency>

        <dependency>
            <groupId>mysql</groupId>
            <artifactId>mysql-connector-java</artifactId>
            <scope>runtime</scope>
</dependency>여기에서는 여전히 mysql을 테스트 데이터베이스로 사용합니다. FM(fluent mybatis의 약자)은 당분간 다양한 종류의 데이터베이스를 지원하지 않습니다.
application.properties 파일에 mysql 데이터베이스 구성을 추가하세요. druid 연결 풀 사용에 대해서는 이후 장에서 설명합니다. application.yml을 사용할 수도 있습니다. 이는 선택 사항입니다.
spring.datasource.username=root
spring.datasource.password=123456
spring.datasource.url=jdbc:mysql://192.168.0.108:3306/test?useSSL=false&useUnicode=true&characterEncoding=utf-8
spring.datasource.driver-class-name=com.mysql.jdbc.Driver
테스트 패키지에 테스트 코드를 추가합니다. 주로 간단한 데이터 삽입 테스트를 수행합니다.
코드는 다음과 같습니다:
package com.hy.fmp.test;

import com.hy.fmp.Application;
import com.hy.fmp.fluent.entity.TestFluentMybatisEntity;
import com.hy.fmp.fluent.mapper.TestFluentMybatisMapper;
import org.junit.jupiter.api.Test;
import org.springframework.beans.factory.annotation.Autowired;
import org.springframework.boot.test.context.SpringBootTest;

import java.util.Date;

@SpringBootTest(classes = Application.class)
public class InsertTest {
  @Autowired TestFluentMybatisMapper testFluentMybatisMapper;

  @Test
  public void testInsertDefaultValue() {
    // 插入数据
    testFluentMybatisMapper.insert(
        new TestFluentMybatisEntity()
            .setAge(18)
            .setName("法外狂徒张三")
            .setCreateTime(new Date())
            .setDelFlag(0));
  }
}지침:
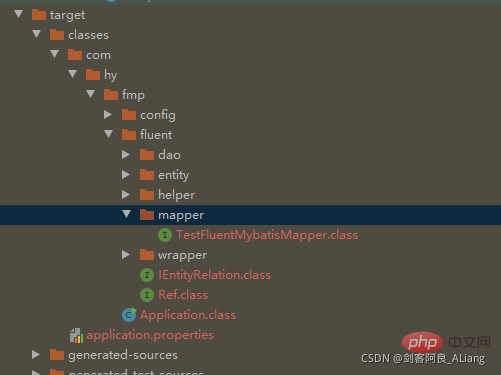
1. TestFluentMybatisMapper는 대상 패키지의 매퍼 클래스입니다.
2. 테이블 엔터티 TestFluentMybatisEntity는 체인 코드로 작성될 수 있습니다.
@Accessors(
    chain = true
)스캔된 매퍼는 대상 패키지의 매퍼 디렉터리이기도 합니다
@SpringBootApplication
@MapperScan({"com.hy.fmp.fluent.mapper"})
public class Application {

  public static void main(String[] args) {
    SpringApplication.run(Application.class, args);
  }
}
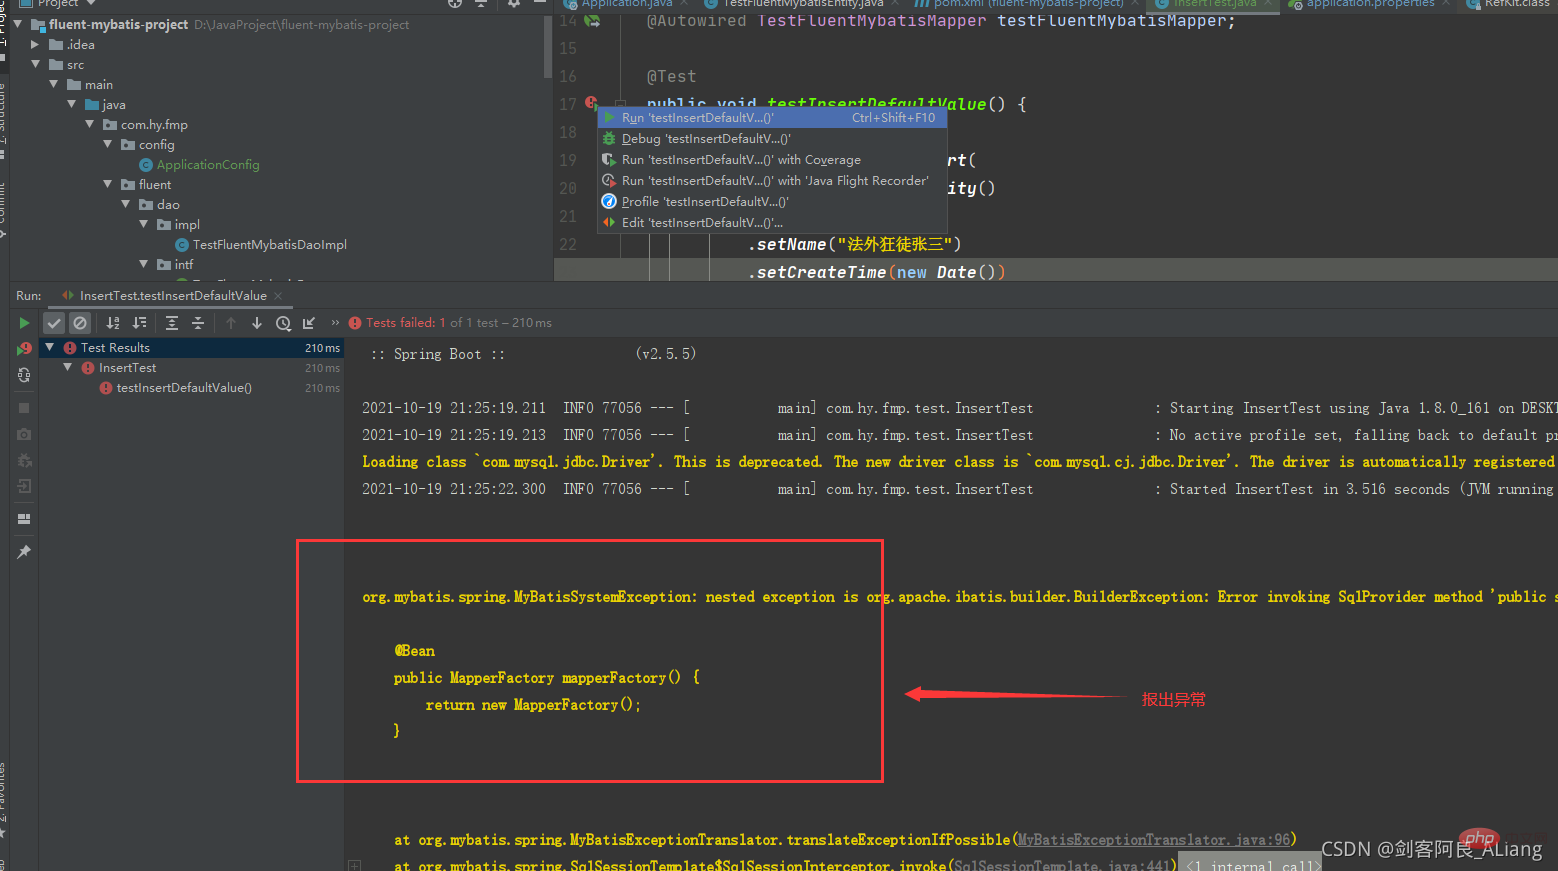
삽입된 코드를 테스트해 보겠습니다

여기서 보고된 예외를 발견했습니다. 코드를 조정하고 구성 클래스를 추가하십시오.

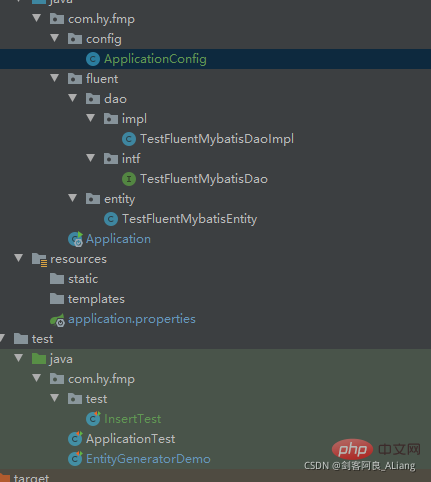
MapperFactory 인젝션을 추가한 코드는 다음과 같습니다.
package com.hy.fmp.config;

import cn.org.atool.fluent.mybatis.spring.MapperFactory;
import org.springframework.context.annotation.Bean;
import org.springframework.context.annotation.Configuration;

@Configuration
public class ApplicationConfig {

  //  @Bean("dataSource")
  //  public DruidDataSource newDataSource() {
  //    return DataSourceCreator.create("datasource");
  //  }
  //
  //  @Bean
  //  public SqlSessionFactoryBean sqlSessionFactoryBean() throws Exception {
  //    SqlSessionFactoryBean bean = new SqlSessionFactoryBean();
  //    bean.setDataSource(newDataSource());
  //    ResourcePatternResolver resolver = new PathMatchingResourcePatternResolver();
  //    // 以下部分根据自己的实际情况配置
  //    // 如果有mybatis原生文件, 请在这里加载
  //    bean.setMapperLocations(resolver.getResources("classpath*:mapper/*.xml"));
  //    /* bean.setMapperLocations(
  //    /*      new ClassPathResource("mapper/xml1.xml"),
  //    /*      new ClassPathResource("mapper/xml2.xml")
  //    /* );
  //    */
  //    org.apache.ibatis.session.Configuration configuration =
  //        new org.apache.ibatis.session.Configuration();
  //    configuration.setLazyLoadingEnabled(true);
  //    configuration.setMapUnderscoreToCamelCase(true);
  //    bean.setConfiguration(configuration);
  //    return bean;
  //  }

  // 定义fluent mybatis的MapperFactory
  @Bean
  public MapperFactory mapperFactory() {
    return new MapperFactory();
  }
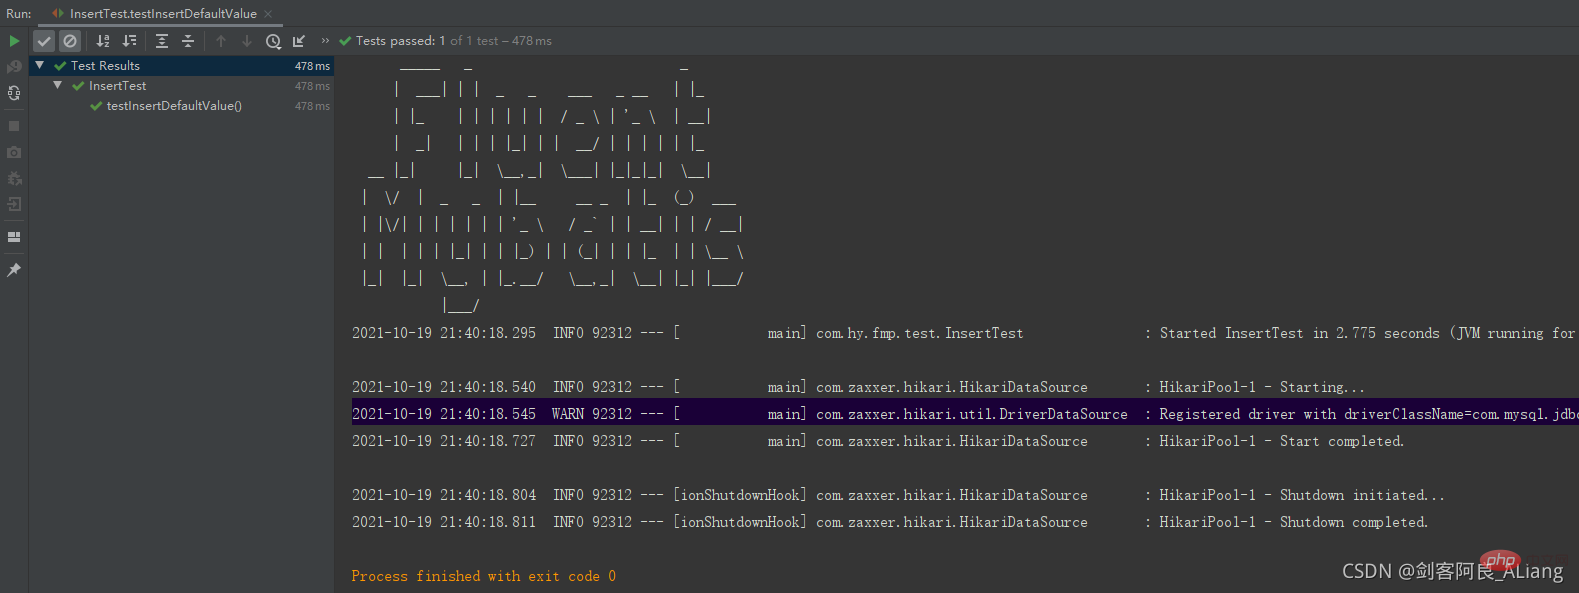
}다시 실행해 보시면 효과를 보실 수 있습니다.

실행이 성공했습니다. 테이블의 데이터를 확인하세요. 좋아, 완벽해.

위 내용은 Java Fluent Mybatis를 사용하여 데이터베이스 작업을 확인하는 방법의 상세 내용입니다. 자세한 내용은 PHP 중국어 웹사이트의 기타 관련 기사를 참조하세요!