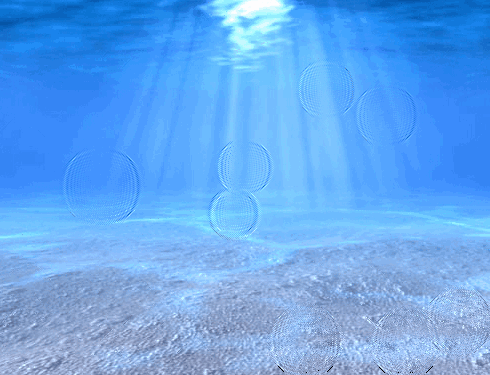
함수 drop(x, y, 감쇠, 음영, 굴절, ctx, screenWidth, screenHeight){
this.x = x;
this.y = y;
this.shading = 음영;
this.refraction = 굴절;
this.bufferSize = this.x * this.y;
this.damping = 감쇠;
this.Background = ctx.getImageData(0, 0, screenWidth, screenHeight).data;
this.imageData = ctx.getImageData(0, 0, screenWidth, screenHeight);
this.buffer1 = [];
this.buffer2 = [];
for (var i = 0; i < this.bufferSize; i ){
this.buffer1.push(0);
this.buffer2.push(0);
}
this.update = function(){
for (var i = this.x 1, x = 1; i < this.bufferSize - this.x; i , x ){
if ((x < this.x)){
this.buffer2[i] = ((this.buffer1[i - 1] this.buffer1[i 1] this.buffer1[i - this.x] this.buffer1[i this.x]) / 2) - this.buffer2[i];
this.buffer2[i] *= this.damping;
} else x = 0;
}
var temp = this.buffer1;
this.buffer1 = this.buffer2;
this.buffer2 = 임시;
}
this.draw = function(ctx){
var imageDataArray = this.imageData.data;
for (var i = this.x 1, index = (this.x 1) * 4; i < this.bufferSize - (1 this.x); i , index = 4){
var xOffset = ~~(this.buffer1[i - 1] - this.buffer1[i 1]);
var yOffset = ~~(this.buffer1[i - this.x] - this.buffer1[i this.x]);
var 그늘 = xOffset * this.shading;
var 텍스처 = 인덱스(xOffset * this.refraction yOffset * this.refraction * this.x) * 4;
imageDataArray[index] = this.Background[texture] 그늘;
imageDataArray[색인 1] = this.배경[텍스처 1] 그늘;
imageDataArray[index 2] = 50 this.Background[texture 2] 그늘;
}
ctx.putImageData(this.imageData, 0, 0);
}
}
var fps = 0;
var watereff = {
// 변수
timeStep : 20,
refractions : 2,
shading : 3,
damping : 0.99,
screenWidth : 500,
screenHeight : 400,
연못 : null,
textureImg : null,
간격 : null,
backgroundURL : 'data_images/underwater1.jpg',
// 초기화
init : function() {
var canvas = document.getElementById('water');
if (canvas.getContext){
// fps countrt
fps = 0;
setInterval(function() {
document.getElementById('fps').innerHTML = fps / 2 'FPS';
fps = 0;
}, 2000);
canvas.onmousedown = function(e) {
var mouse = watereff.getMousePosition(e).sub(new vector2d(canvas.offsetLeft, canvas.offsetTop));
watereff.pond.buffer1[mouse.y * watereff.pond.x mouse.x ] = 200;
}
canvas.onmouseup = function(e) {
canvas.onmousemove = null;
}
canvas.width = this.screenWidth;
canvas.height = this.screenHeight;
this.textureImg = 새 이미지(256, 256);
this.textureImg.src = this.BackgroundURL;
canvas.getContext('2d').drawImage(this.textureImg, 0, 0);
this.pond = 새 드롭(
this.screenWidth,
this.screenHeight,
this.damping,
this.shading,
this.refractions,
canvas. getContext('2d'),
this.screenWidth, this.screenHeight
);
if (this.interval != null){
clearInterval(this.interval);
}
this.interval = setInterval(watereff.run, this.timeStep);
}
},
// 이미지 변경 func
changePicture : function(url){
this.BackgroundURL = url;
this.init();
},
// 마우스 위치 가져오기 func
getMousePosition : function(e){
if (!e){
var e = window.event;
}
if (e.pageX || e.pageY){
return new vector2d(e.pageX, e.pageY);
} else if (e.clientX || e.clientY){
return new vector2d(e.clientX, e.clientY);
}
},
// 루프 그리기
run : function(){
var ctx = document.getElementById('water').getContext('2d');
watereff.pond.update();
watereff.pond.draw(ctx);
fps ;
}
}
window.onload = function(){
watereff.init();
}
정확한 Vector2D 函数, 这个函数에서 vector2d.js를 사용합니다.实现,感兴趣的可以自己实验一下。
