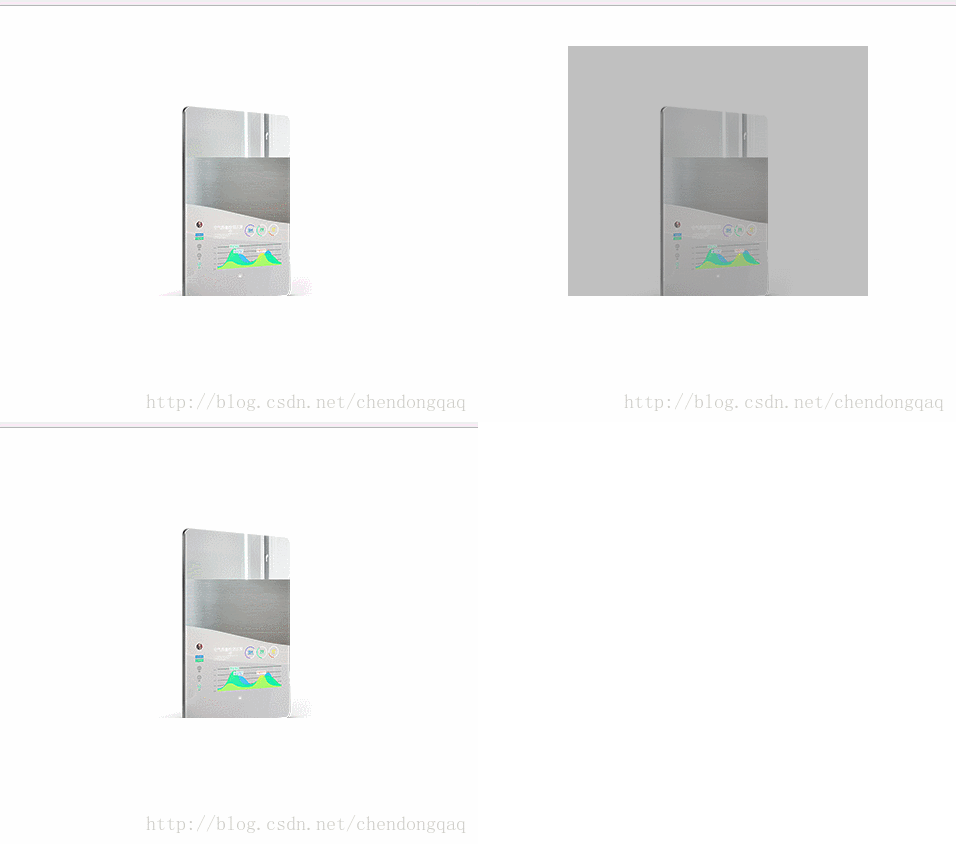
本文实例为大家分享了js实现鼠标移动到图片产生遮罩效果的具体代码,供大家参考,具体内容如下
<!DOCTYPE html>
<html lang="en">
<head>
  <meta charset="UTF-8">
  <title>mask</title>
<style>
  .pic{
    width:300px;
    height:250px;
    background:url(icon/product1.jpg) no-repeat;
    margin:40px auto;
  }
  #mask{
    width:300px;
    height:250px;
    background-color: gray;
    margin:40px auto;
    opacity: 0.5;
    z-index: 1000;
  }
</style>
</head>
<body>
  <p class="pic">
    <!-- <p id="mask"></p> -->
  </p>
</body>
<script>
  var pic=document.getElementsByClassName("pic")[0];
  var d=document.createElement("p");
  pic.onmouseenter=function(){
    // var d=document.createElement("p");
    d.id="mask";
    pic.appendChild(d);
  };
  pic.onmouseleave=function(){
    this.removeChild(d);
  };
</script>
</html>效果图:

Atas ialah kandungan terperinci JS实现鼠标放到图片上产生遮罩效果的代码案例. Untuk maklumat lanjut, sila ikut artikel berkaitan lain di laman web China PHP!


