本文主要介绍了vue中使用localstorage来存储页面信息,小编觉得挺不错的,现在分享给大家,也给大家做个参考。一起跟随小编过来看看吧,希望能帮助到大家。
环境搭建:
参考:vue API
超简单的Vue.js环境搭建教程
详情:
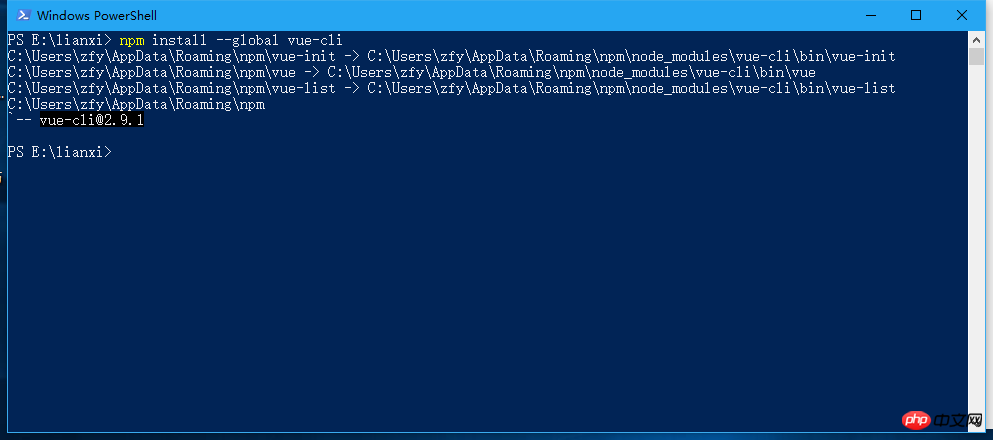
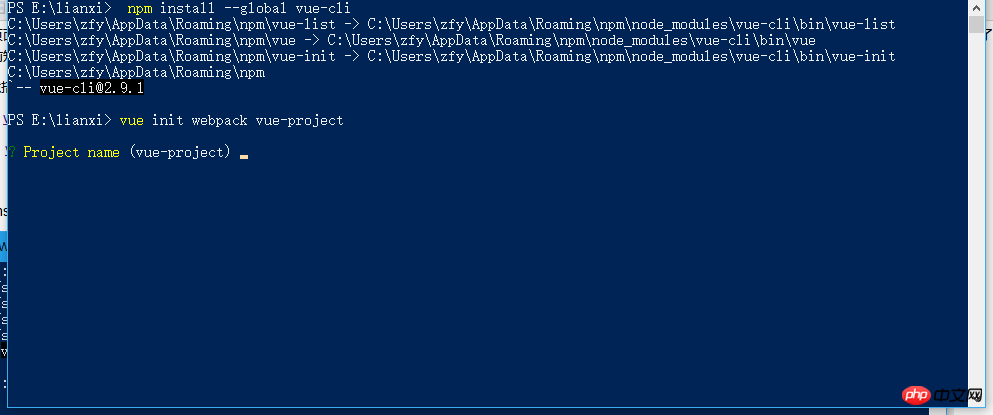
npm install --global vue-cli

vue init webpack vue-project

然后:

cd vue-project
npm install 如果你配置了淘宝镜像,也可以用cnpm install
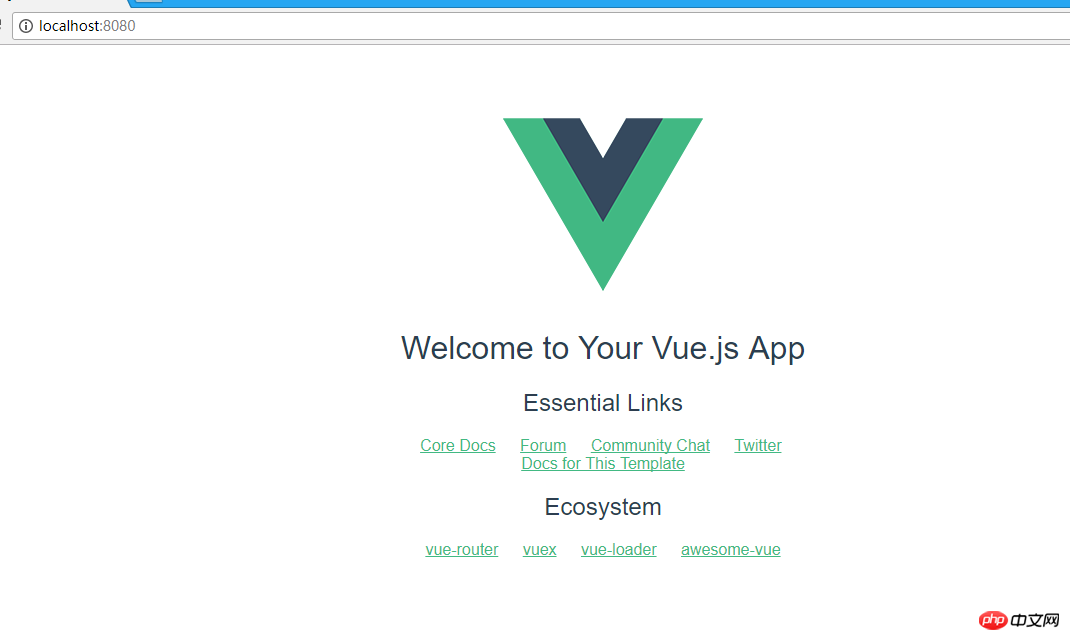
npm run dev
我们就在浏览器看到:

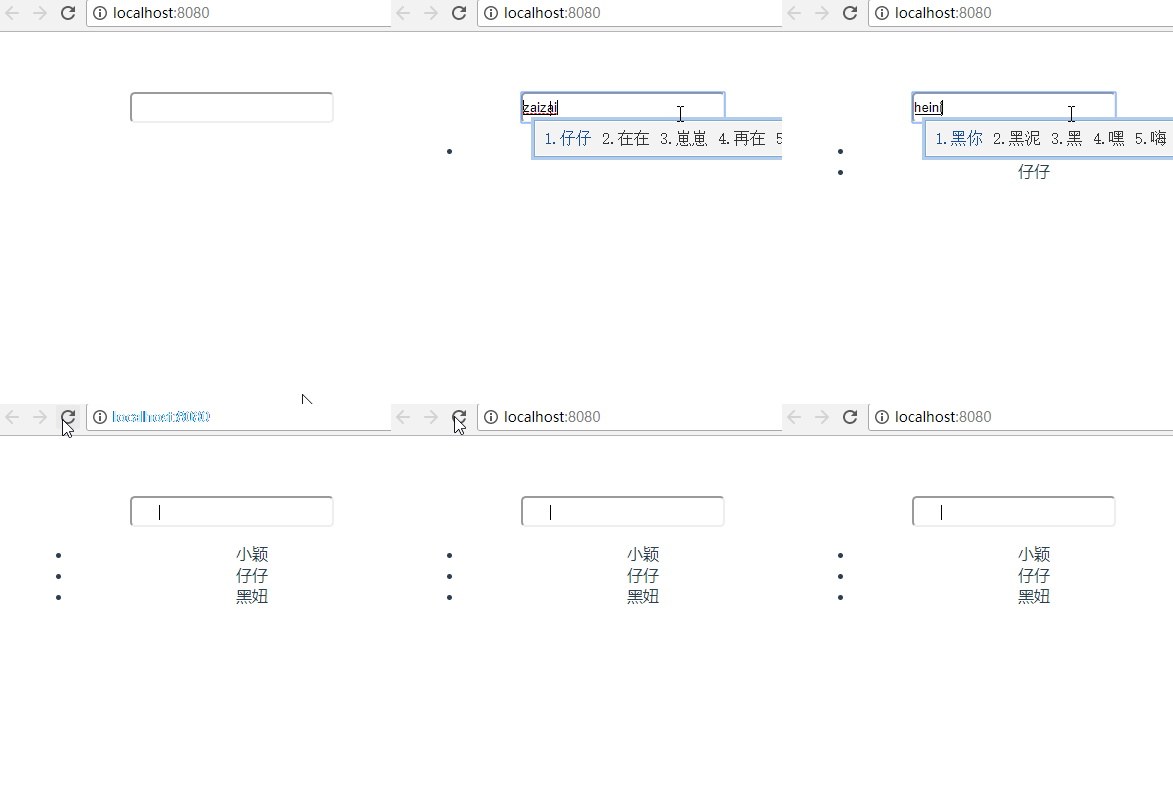
但我们最终要实现:

如何实现如图的效果呢?
1.将App.vue修改为:
<template>
<p id="app">
<p class='vue-demo'>
<input type="text" class="txt" v-model='newItem' @keyup.enter='addItemFun'>
<ul>
<li v-for="its in items">{{its.name}}</li>
</ul>
</p>
</p>
</template>
<script>
import store from './store'
export default {
name: 'app',
data() {
return {
newItem: '',
items: store.fetch()
}
},
watch: {
items: {
handler: function(val, oldVal) {
store.save(val);
},
deep: true
}
},
methods: {
addItemFun() {
var _this = this;
_this.items.push({ 'name': _this.newItem });
_this.newItem = '';
}
}
}
</script>
<style>
#app {
font-family: 'Avenir', Helvetica, Arial, sans-serif;
-webkit-font-smoothing: antialiased;
-moz-osx-font-smoothing: grayscale;
text-align: center;
color: #2c3e50;
margin-top: 60px;
}
.vue-demo {
width: 400px;
margin: 0 30px;
}
.txt {
width: 200px;
height: 25px;
line-height: 24px;
border-radius: 5px;
}
</style>对于初学vue的同学,可能对于watch可能不太熟悉,那就麻烦大家移步到 vue API 或参考下小颖之前写的文章:vue——实例方法 / 数据
2.在与App.vue同级目录下,新建store.js文件:
const STORAGE_KEY = 'todos-vuejs'

export default {

 fetch: function() {

  return window.JSON.parse(window.localStorage.getItem(STORAGE_KEY) || '[]')

 },

 save: function(items) {

  window.localStorage.setItem(STORAGE_KEY, window.JSON.stringify(items))

 }

}3.在项目中打开cmd窗口,运行:npm run dev,就完成啦嘻嘻。
相关推荐:
详解cookie解决微信不能存储localStorage的问题
Atas ialah kandungan terperinci 实例详解vue中使用localstorage来存储页面信息. Untuk maklumat lanjut, sila ikut artikel berkaitan lain di laman web China PHP!


