

WordPress搭建个人博客

本文主要和大家分享WordPress搭建个人博客,主要以图文和代码的形式和大家分享,希望能帮助到大家。
1 LNMP组合
1.1 验证Nginx到php的连通性
在前几篇博文中所有环境都已经配置好了,下面测试Nginx和php之间的连通
LNMP之Nginx服务搭建及三种类型虚拟主机
LNMP之二进制安装mysql-5.5.54
LNMP之源码编译安装php-5.5.32
# 修改/application/nginx/conf/extra/blog.conf[root@web01 extra]# cat blog.conf
    server {        listen       80;
        server_name  blog.rsq.com;
        location / {
            root   html/blog;            index  index.html index.htm;
        }
        location ~ .*\.(php|php5)?$ {
            root html/blog;
        fastcgi_pass 127.0.0.1:9000;
        fastcgi_index index.php;
        include fastcgi.conf;
        }
    }# 重启nginx服务[root@web01 extra]# ../../sbin/nginx -tnginx: the configuration file /application/nginx-1.6.3//conf/nginx.conf syntax is ok
nginx: configuration file /application/nginx-1.6.3//conf/nginx.conf test is successful
[root@web01 extra]# ../../sbin/nginx -s reload# 在/application/nginx/html/blog/目录中写一个phpinfo文件,测试连通性[root@web01 extra]# cd /application/nginx/html/blog/[root@web01 blog]# echo "<?php phpinfo(); ?>" >test_info.php[root@web01 blog]# cat test_info.php<?php phpinfo(); ?># windows浏览器中做访问测试,若出现以下页面则测试成功 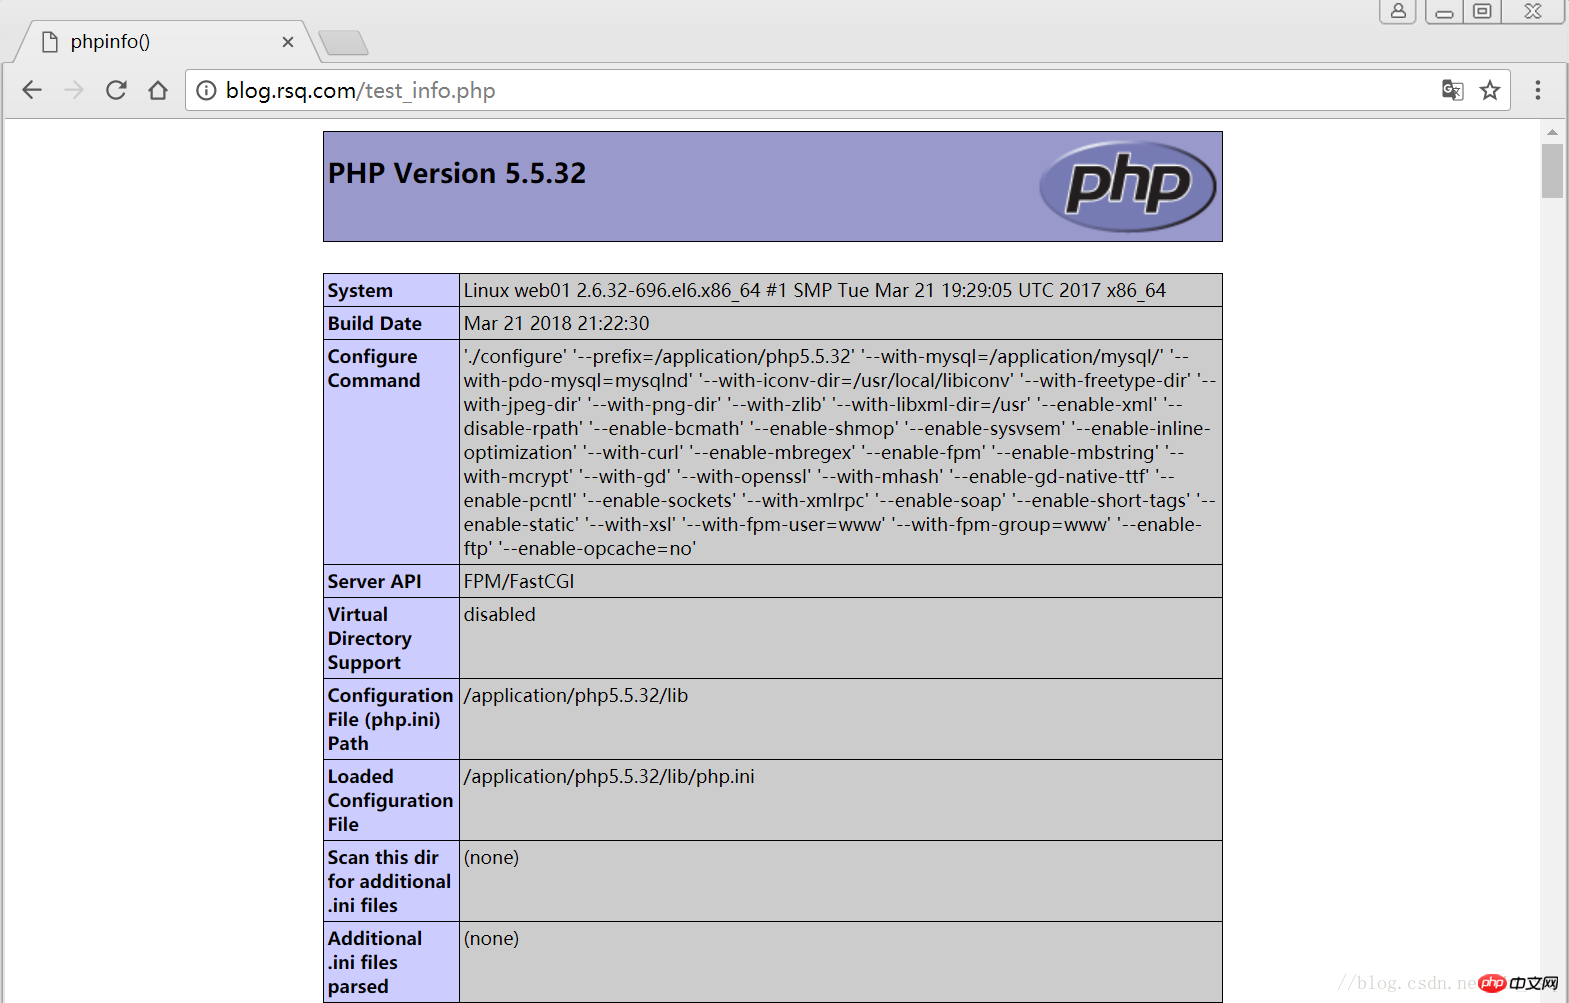
1.2 验证php到mysql的连通性
# 写一个简单的数据库连接脚本[root@web01 blog]# cat test_mysql.php<?php
$link_id=mysql_connect('localhost','root','oldboy123') or mysql_error(); if($link_id){ echo "Mysql successful by RSQ !";
}else{ echo mysql_error();
}?># 浏览器端测试 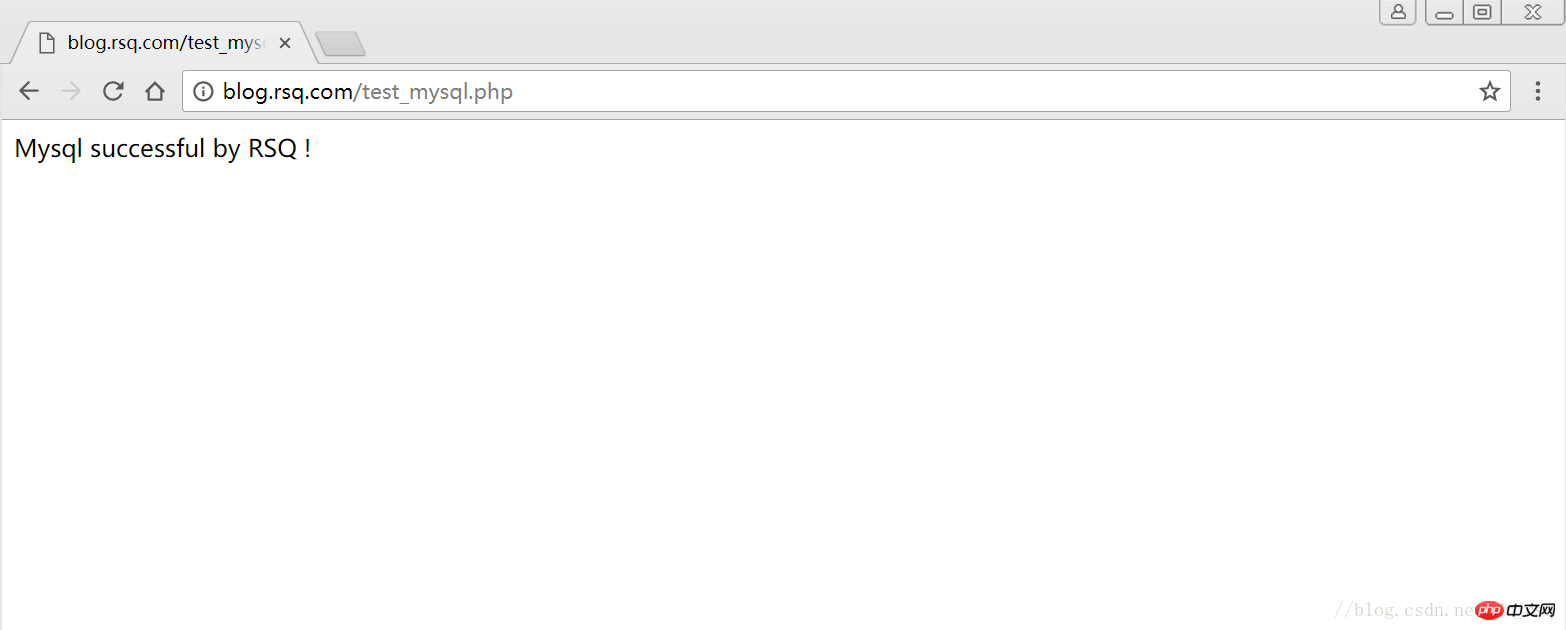
2 LNMP之wordpress个人博客搭建
2.1 创建wordpress数据库
# 先登录mysql,创建WordPress所需要的数据库
[root@web01 ~]# mysql -uroot -poldboy123mysql> show databases;
+--------------------+| Database           |
+--------------------+| information_schema |
| mysql              |
| performance_schema || test               |
+--------------------+4 rows in set (0.01 sec)

mysql> drop database test;          # 删除多余的test数据库
Query OK, 0 rows affected (0.02 sec)mysql> show databases;          #显示数据库
+--------------------+| Database           |
+--------------------+| information_schema |
| mysql              |
| performance_schema |+--------------------+3 rows in set (0.00 sec)

mysql> create database wordpress;           # 创建wordpress用户
Query OK, 1 row affected (0.00 sec)mysql> show databases;
+--------------------+| Database           |
+--------------------+| information_schema |
| mysql              |
| performance_schema || wordpress          |
+--------------------+4 rows in set (0.00 sec)mysql> select user();
+----------------+| user()         |
+----------------+| root@localhost |
+----------------+1 row in set (0.00 sec)mysql> select user,host from mysql.user;        #查看当前数据库用户
+------+-----------+| user | host      |
+------+-----------+| root | 127.0.0.1 |
| root | ::1       |
|      | localhost || root | localhost |
+------+-----------+4 rows in set (0.00 sec)

# 为wordpress数据库创建专门管理的wordpress用户并授予所有权限
mysql> grant all on wordpress.* to wordpress@'localhost' identified by '123456';
Query OK, 0 rows affected (0.00 sec)mysql> select user,host from mysql.user;    # 查看wordpress数据库用户是否创建
+-----------+-----------+| user      | host      |
+-----------+-----------+| root      | 127.0.0.1 |
| root      | ::1       |
|           | localhost |
| root      | localhost || wordpress | localhost |
+-----------+-----------+5 rows in set (0.00 sec)
mysql> show grants for wordpress@'localhost';   # 查看指定用户所具有的权限
mysql> flush privileges;        # 刷新一下,使用户权限生效
Query OK, 0 rows affected (0.00 sec)
2.2 修改blog.conf配置文件
# blog.conf配置文件中index新增index.html[root@web01 extra]# cat blog.conf
    server {
        listen       80;
        server_name  blog.rsq.com;
        location / {
            root   html/blog;
            index  index.php index.html index.htm;
        }
        location ~ .*\.(php|php5)?$ {
            root html/blog;
        fastcgi_pass 127.0.0.1:9000;
        fastcgi_index index.php;
        include fastcgi.conf;
        }
    }
[root@web01 tools]# /application/nginx/sbin/nginx -t nginx: the configuration file /application/nginx-1.6.3//conf/nginx.conf syntax is oknginx: configuration file /application/nginx-1.6.3//conf/nginx.conf test is successful
[root@web01 tools]# /application/nginx/sbin/nginx -s reload2.3 下载wordpress软件包
# 先去官网查看所支持插件的版本 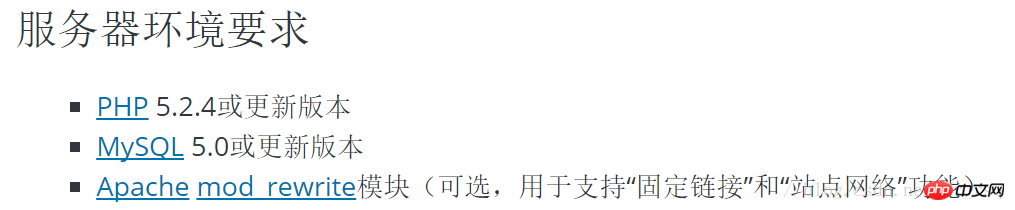
# 去官网下载最新的wordpress软件包[root@web01 extra]# cd /home/oldboy/tools/[root@web01 tools]# wget https://cn.wordpress.org/wordpress-4.9.4-zh_CN.tar.gz# 解压缩[root@web01 tools]# tar -xf wordpress-4.9.4-zh_CN.tar.gz# 拷贝wordpress目录下的所有内容到/application/nginx/html/blog/目录下[root@web01 tools]# cp -a wordpress/* /application/nginx/html/blog/[root@web01 tools]# ls /application/nginx/html/blog/index.php wp-blog-header.php wp-includes wp-settings.phplicense.txt wp-comments-post.php wp-links-opml.php wp-signup.phpreadme.html wp-config-sample.php wp-load.php wp-trackback.phpwp-activate.php wp-content wp-login.php xmlrpc.phpwp-admin wp-cron.php wp-mail.php# 授予权限,先暂时授予所有文件,以后再调整权限[root@web01 tools]# chown -R www.www /application/nginx/html/blog/
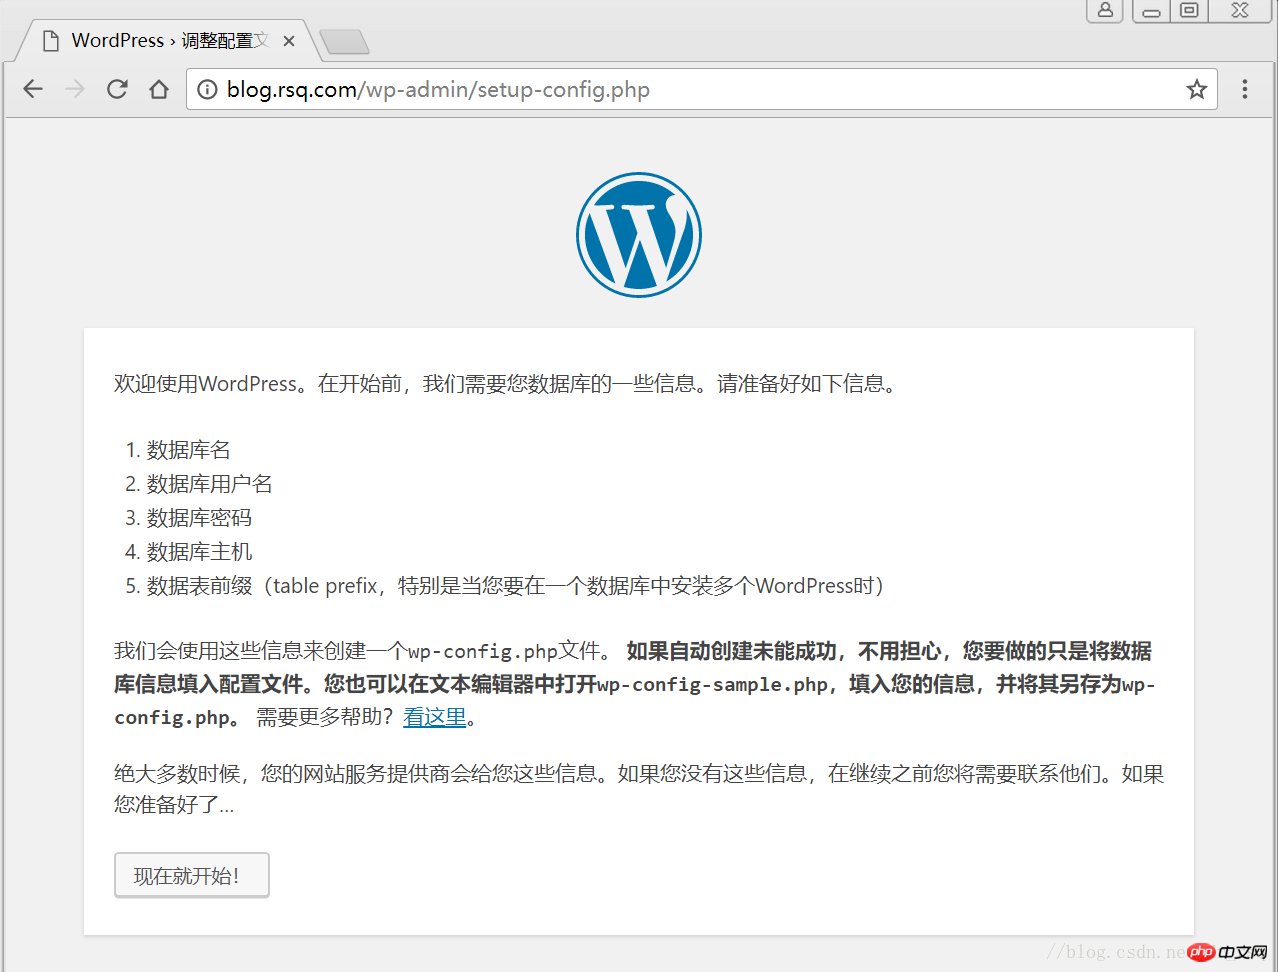
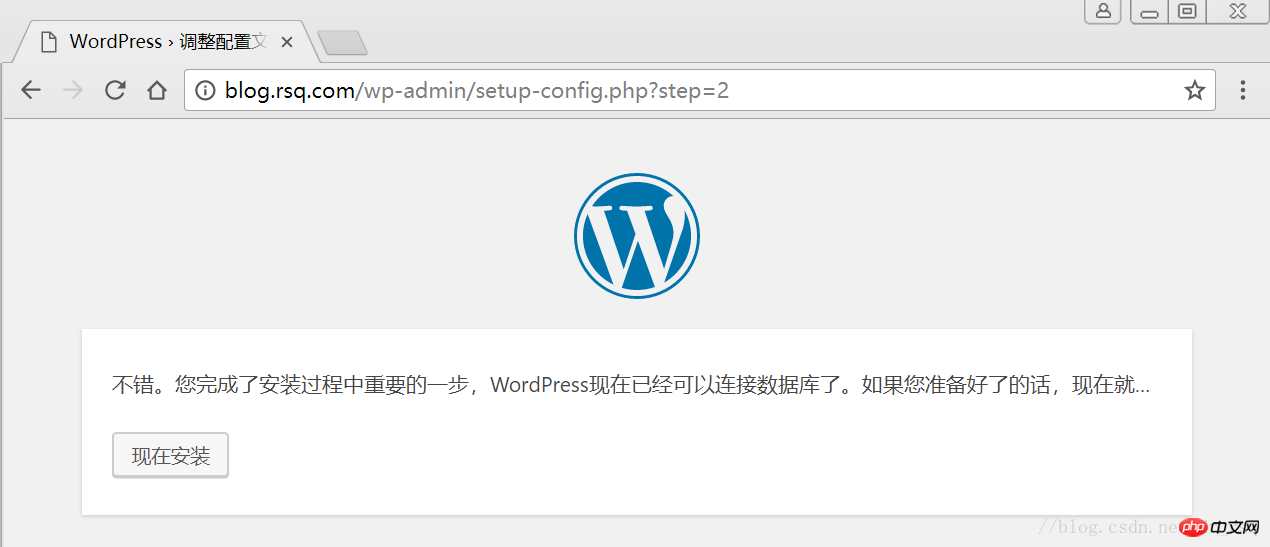
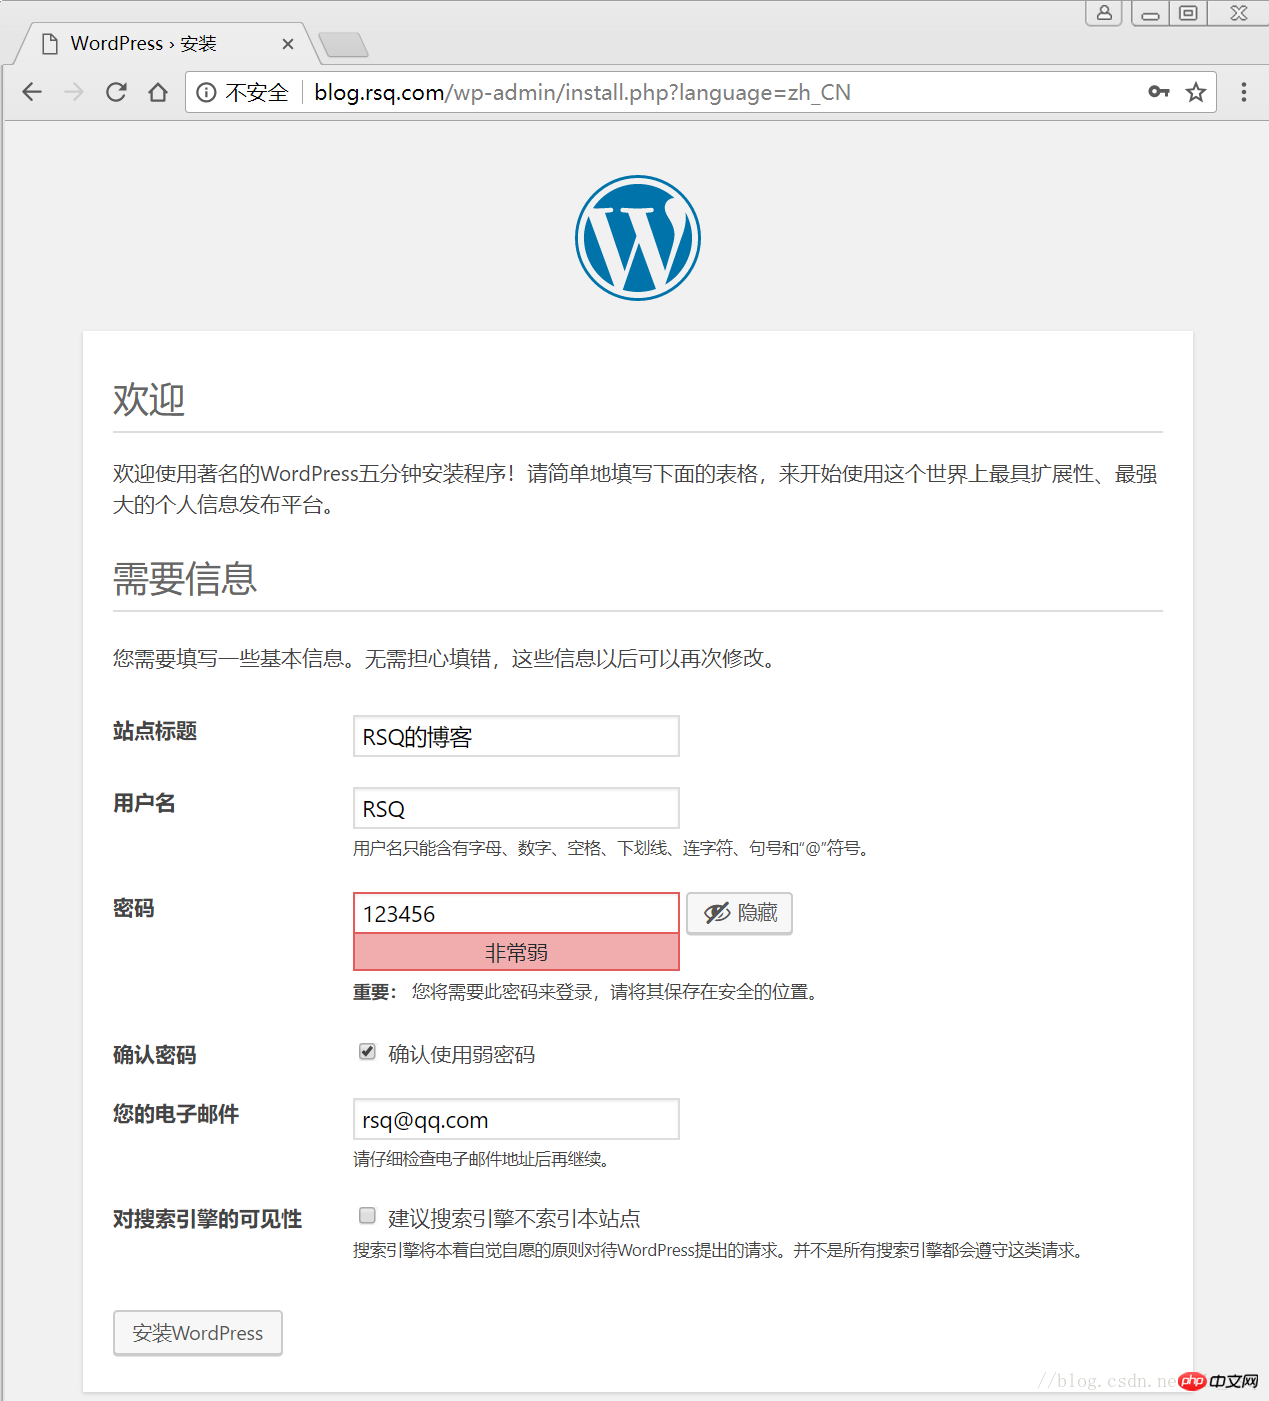
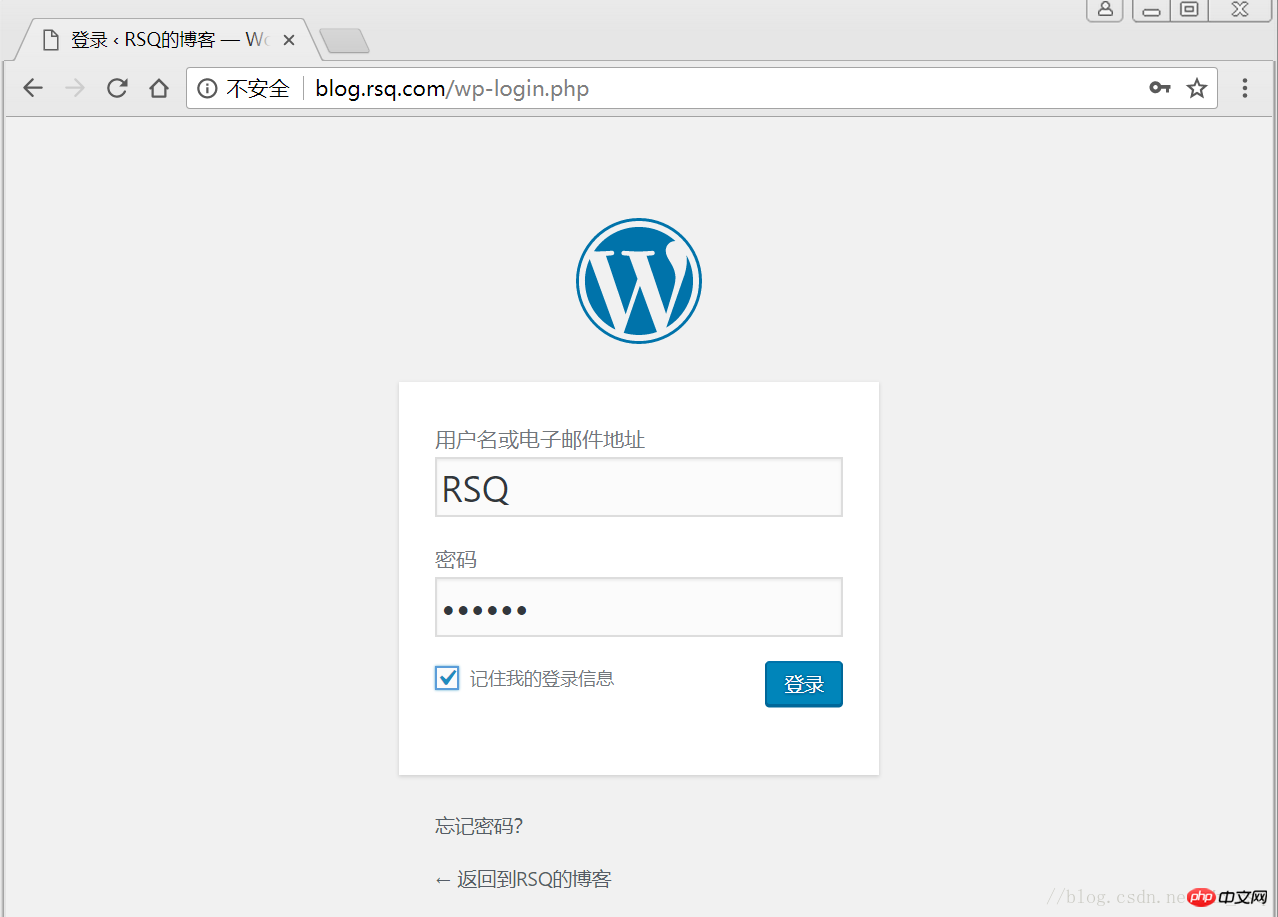
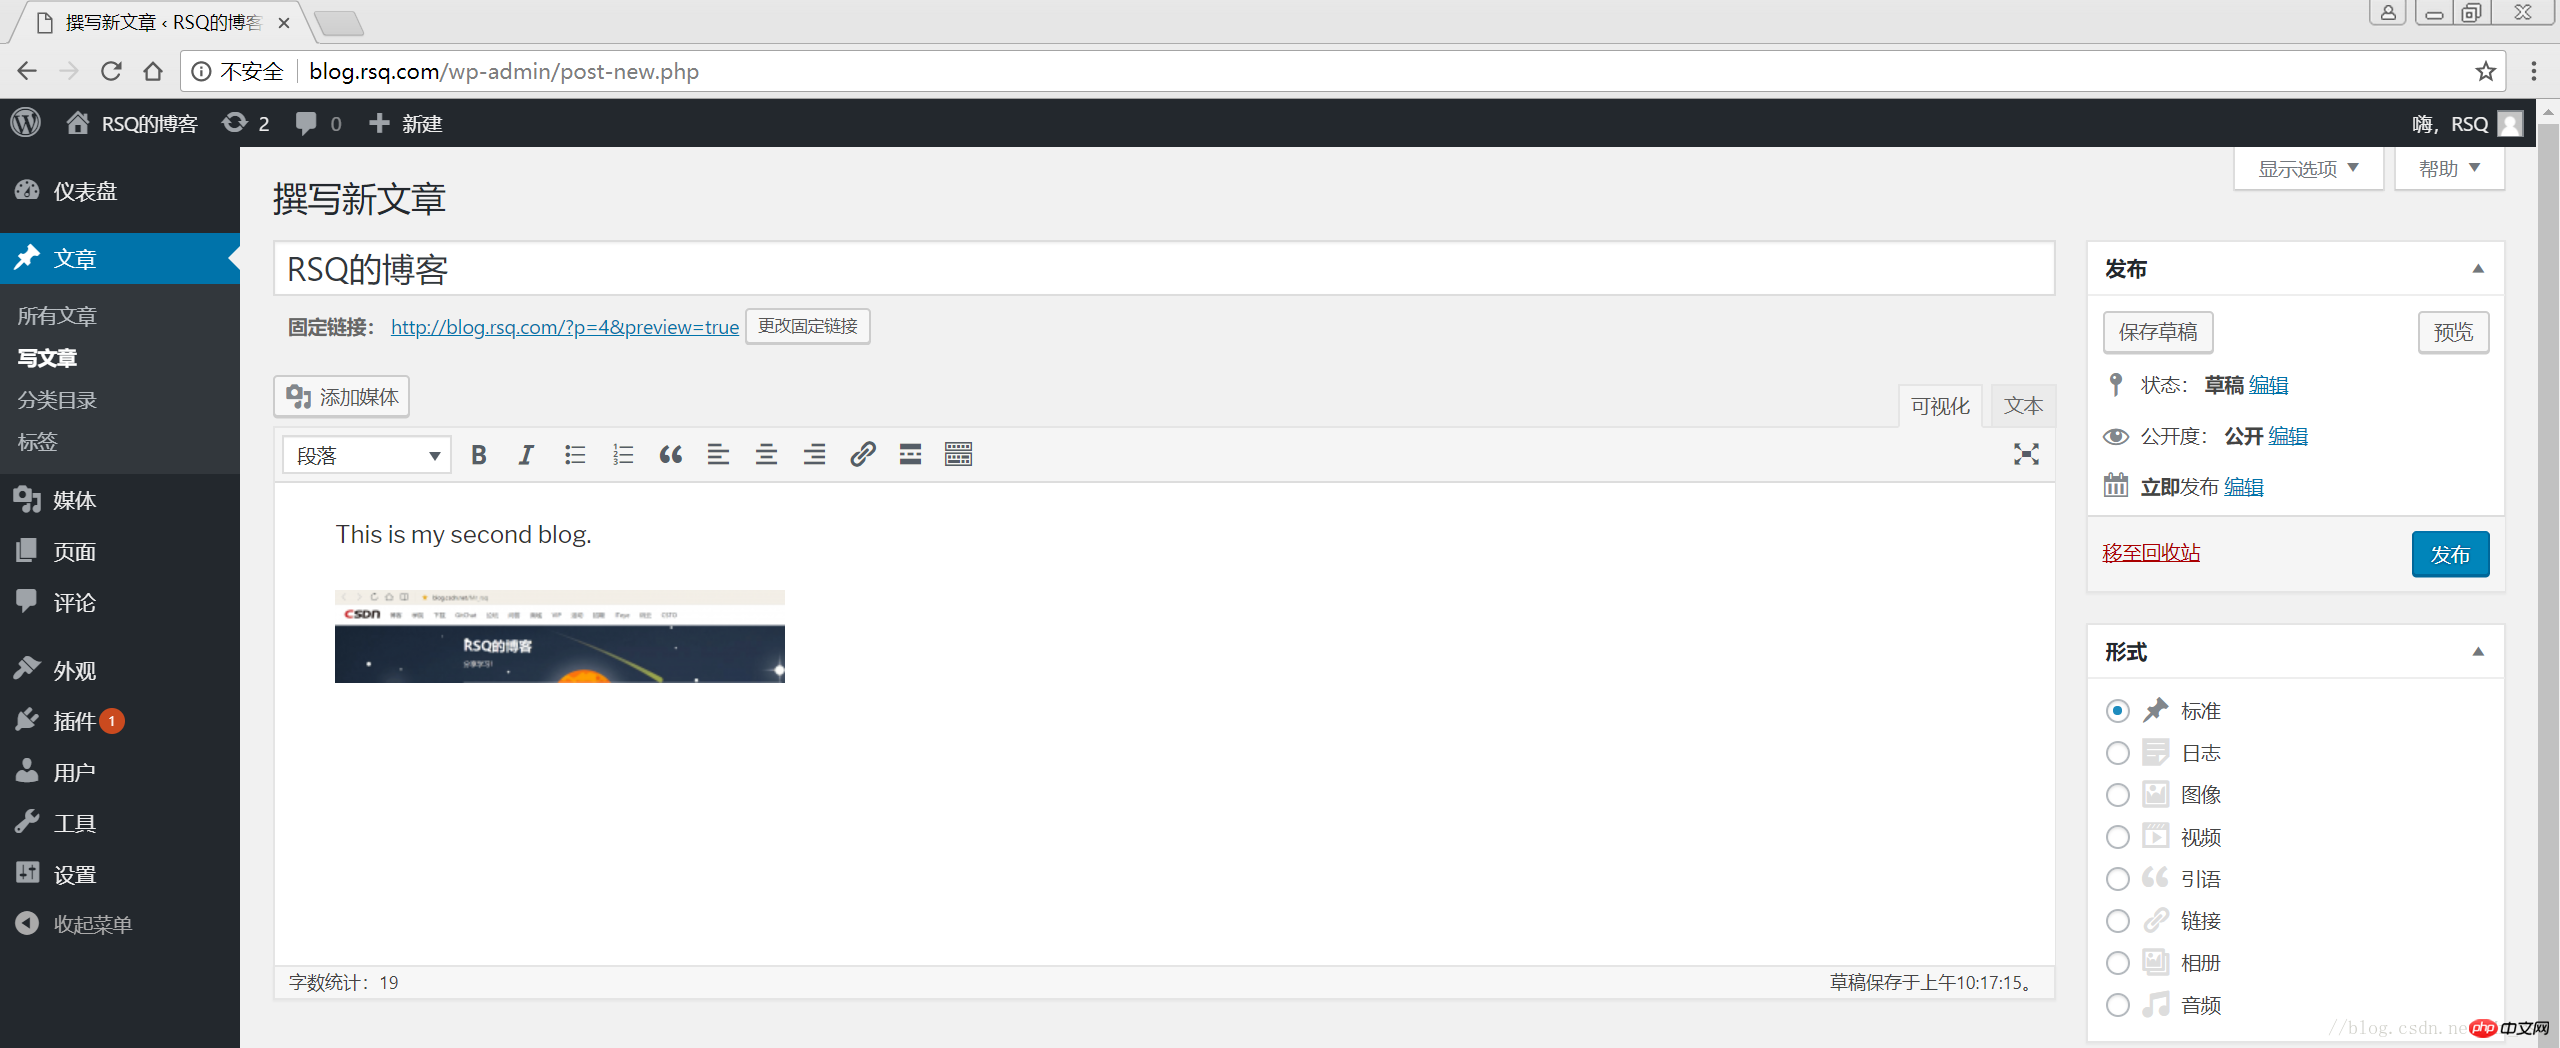
2.4 网页安装wordpress
# 客户端 hosts文件要做解析


———————————————END!
目录
1 LNMP组合
1.1 验证Nginx到php的连通性
1.2 验证php到mysql的连通性
2 LNMP之wordpress个人博客搭建
2.1 创建wordpress数据库
2.2 修改blog.conf配置文件
2.3 下载wordpress软件包
2.4 网页安装wordpress
1 LNMP组合
1.1 验证Nginx到php的连通性
在前几篇博文中所有环境都已经配置好了,下面测试Nginx和php之间的连通
LNMP之Nginx服务搭建及三种类型虚拟主机
LNMP之二进制安装mysql-5.5.54
LNMP之源码编译安装php-5.5.32
# 修改/application/nginx/conf/extra/blog.conf[root@web01 extra]# cat blog.conf
    server {        listen       80;
        server_name  blog.rsq.com;
        location / {
            root   html/blog;            index  index.html index.htm;
        }
        location ~ .*\.(php|php5)?$ {
            root html/blog;
        fastcgi_pass 127.0.0.1:9000;
        fastcgi_index index.php;
        include fastcgi.conf;
        }
    }# 重启nginx服务[root@web01 extra]# ../../sbin/nginx -tnginx: the configuration file /application/nginx-1.6.3//conf/nginx.conf syntax is ok
nginx: configuration file /application/nginx-1.6.3//conf/nginx.conf test is successful
[root@web01 extra]# ../../sbin/nginx -s reload# 在/application/nginx/html/blog/目录中写一个phpinfo文件,测试连通性[root@web01 extra]# cd /application/nginx/html/blog/[root@web01 blog]# echo "<?php phpinfo(); ?>" >test_info.php[root@web01 blog]# cat test_info.php<?php phpinfo(); ?># windows浏览器中做访问测试,若出现以下页面则测试成功
1.2 验证php到mysql的连通性
# 写一个简单的数据库连接脚本[root@web01 blog]# cat test_mysql.php<?php
$link_id=mysql_connect('localhost','root','oldboy123') or mysql_error(); if($link_id){ echo "Mysql successful by RSQ !";
}else{ echo mysql_error();
}?># 浏览器端测试
2 LNMP之wordpress个人博客搭建
2.1 创建wordpress数据库
# 先登录mysql,创建WordPress所需要的数据库
[root@web01 ~]# mysql -uroot -poldboy123mysql> show databases;
+--------------------+| Database           |
+--------------------+| information_schema |
| mysql              |
| performance_schema || test               |
+--------------------+4 rows in set (0.01 sec)

mysql> drop database test;          # 删除多余的test数据库
Query OK, 0 rows affected (0.02 sec)mysql> show databases;          #显示数据库
+--------------------+| Database           |
+--------------------+| information_schema |
| mysql              |
| performance_schema |+--------------------+3 rows in set (0.00 sec)

mysql> create database wordpress;           # 创建wordpress用户
Query OK, 1 row affected (0.00 sec)mysql> show databases;
+--------------------+| Database           |
+--------------------+| information_schema |
| mysql              |
| performance_schema || wordpress          |
+--------------------+4 rows in set (0.00 sec)mysql> select user();
+----------------+| user()         |
+----------------+| root@localhost |
+----------------+1 row in set (0.00 sec)mysql> select user,host from mysql.user;        #查看当前数据库用户
+------+-----------+| user | host      |
+------+-----------+| root | 127.0.0.1 |
| root | ::1       |
|      | localhost || root | localhost |
+------+-----------+4 rows in set (0.00 sec)

# 为wordpress数据库创建专门管理的wordpress用户并授予所有权限
mysql> grant all on wordpress.* to wordpress@'localhost' identified by '123456';
Query OK, 0 rows affected (0.00 sec)mysql> select user,host from mysql.user;    # 查看wordpress数据库用户是否创建
+-----------+-----------+| user      | host      |
+-----------+-----------+| root      | 127.0.0.1 |
| root      | ::1       |
|           | localhost |
| root      | localhost || wordpress | localhost |
+-----------+-----------+5 rows in set (0.00 sec)
mysql> show grants for wordpress@'localhost';   # 查看指定用户所具有的权限
mysql> flush privileges;        # 刷新一下,使用户权限生效
Query OK, 0 rows affected (0.00 sec)
2.2 修改blog.conf配置文件
# blog.conf配置文件中index新增index.html[root@web01 extra]# cat blog.conf
    server {
        listen       80;
        server_name  blog.rsq.com;
        location / {
            root   html/blog;
            index  index.php index.html index.htm;
        }
        location ~ .*\.(php|php5)?$ {
            root html/blog;
        fastcgi_pass 127.0.0.1:9000;
        fastcgi_index index.php;
        include fastcgi.conf;
        }
    }
[root@web01 tools]# /application/nginx/sbin/nginx -t nginx: the configuration file /application/nginx-1.6.3//conf/nginx.conf syntax is oknginx: configuration file /application/nginx-1.6.3//conf/nginx.conf test is successful
[root@web01 tools]# /application/nginx/sbin/nginx -s reload2.3 下载wordpress软件包
# 先去官网查看所支持插件的版本
# 去官网下载最新的wordpress软件包[root@web01 extra]# cd /home/oldboy/tools/[root@web01 tools]# wget https://cn.wordpress.org/wordpress-4.9.4-zh_CN.tar.gz# 解压缩[root@web01 tools]# tar -xf wordpress-4.9.4-zh_CN.tar.gz# 拷贝wordpress目录下的所有内容到/application/nginx/html/blog/目录下[root@web01 tools]# cp -a wordpress/* /application/nginx/html/blog/[root@web01 tools]# ls /application/nginx/html/blog/index.php wp-blog-header.php wp-includes wp-settings.phplicense.txt wp-comments-post.php wp-links-opml.php wp-signup.phpreadme.html wp-config-sample.php wp-load.php wp-trackback.phpwp-activate.php wp-content wp-login.php xmlrpc.phpwp-admin wp-cron.php wp-mail.php# 授予权限,先暂时授予所有文件,以后再调整权限[root@web01 tools]# chown -R www.www /application/nginx/html/blog/
2.4 网页安装wordpress
# 客户端 hosts文件要做解析
相关推荐:
Atas ialah kandungan terperinci WordPress搭建个人博客. Untuk maklumat lanjut, sila ikut artikel berkaitan lain di laman web China PHP!

Alat AI Hot

Undresser.AI Undress
Apl berkuasa AI untuk mencipta foto bogel yang realistik

AI Clothes Remover
Alat AI dalam talian untuk mengeluarkan pakaian daripada foto.

Undress AI Tool
Gambar buka pakaian secara percuma

Clothoff.io
Penyingkiran pakaian AI

AI Hentai Generator
Menjana ai hentai secara percuma.

Artikel Panas
Alat panas

Notepad++7.3.1
Editor kod yang mudah digunakan dan percuma

SublimeText3 versi Cina
Versi Cina, sangat mudah digunakan

Hantar Studio 13.0.1
Persekitaran pembangunan bersepadu PHP yang berkuasa

Dreamweaver CS6
Alat pembangunan web visual

SublimeText3 versi Mac
Perisian penyuntingan kod peringkat Tuhan (SublimeText3)
Topik panas
 1382
1382
 52
52

 PHP vs. Flutter: Pilihan terbaik untuk pembangunan mudah alih
May 06, 2024 pm 10:45 PM
PHP vs. Flutter: Pilihan terbaik untuk pembangunan mudah alih
May 06, 2024 pm 10:45 PM
PHP dan Flutter ialah teknologi popular untuk pembangunan mudah alih. Flutter cemerlang dalam keupayaan merentas platform, prestasi dan antara muka pengguna, dan sesuai untuk aplikasi yang memerlukan prestasi tinggi, merentas platform dan UI tersuai. PHP sesuai untuk aplikasi sebelah pelayan dengan prestasi yang lebih rendah dan bukan merentas platform.
 Bagaimana untuk menukar lebar halaman dalam wordpress
Apr 16, 2024 am 01:03 AM
Bagaimana untuk menukar lebar halaman dalam wordpress
Apr 16, 2024 am 01:03 AM
Anda boleh mengubah suai lebar halaman WordPress anda dengan mudah dengan mengedit fail style.css anda: Edit fail style.css anda dan tambahkan .site-content { max-width: [lebar pilihan anda]; Edit [lebar pilihan anda] untuk menetapkan lebar halaman. Simpan perubahan dan kosongkan cache (pilihan).
 Dalam folder manakah artikel wordpress terletak?
Apr 16, 2024 am 10:29 AM
Dalam folder manakah artikel wordpress terletak?
Apr 16, 2024 am 10:29 AM
Catatan WordPress disimpan dalam folder /wp-content/uploads. Folder ini menggunakan subfolder untuk mengkategorikan pelbagai jenis muat naik, termasuk artikel yang disusun mengikut tahun, bulan dan ID artikel. Fail artikel disimpan dalam format teks biasa (.txt), dan nama fail biasanya termasuk ID dan tajuknya.
 Cara membuat halaman produk dalam wordpress
Apr 16, 2024 am 12:39 AM
Cara membuat halaman produk dalam wordpress
Apr 16, 2024 am 12:39 AM
Buat halaman produk dalam WordPress: 1. Buat produk (nama, penerangan, gambar); 4 . Buat variasi (warna, saiz yang berbeza);
 Di manakah fail templat wordpress?
Apr 16, 2024 am 11:00 AM
Di manakah fail templat wordpress?
Apr 16, 2024 am 11:00 AM
Fail templat WordPress terletak dalam direktori /wp-content/themes/[theme name]/. Ia digunakan untuk menentukan penampilan dan kefungsian tapak web, termasuk pengepala (header.php), pengaki (footer.php), templat utama (index.php), artikel tunggal (single.php), halaman (page.php) , Arkib (archive.php), kategori (category.php), tag (tag.php), carian (search.php) dan halaman ralat 404 (404.php). Dengan mengedit dan mengubah suai fail ini, anda boleh menyesuaikan penampilan laman web WordPress anda
 Bagaimana untuk mencari pengarang dalam WordPress
Apr 16, 2024 am 01:18 AM
Bagaimana untuk mencari pengarang dalam WordPress
Apr 16, 2024 am 01:18 AM
Cari pengarang dalam WordPress: 1. Setelah log masuk ke panel pentadbir anda, navigasi ke Catatan atau Halaman, masukkan nama pengarang menggunakan bar carian, dan pilih Pengarang dalam Penapis. 2. Petua lain: Gunakan kad bebas untuk meluaskan carian anda, gunakan operator untuk menggabungkan kriteria atau masukkan ID pengarang untuk mencari artikel.
 Versi wordpress yang manakah stabil?
Apr 16, 2024 am 10:54 AM
Versi wordpress yang manakah stabil?
Apr 16, 2024 am 10:54 AM
Versi WordPress yang paling stabil ialah versi terkini kerana ia mengandungi tampung keselamatan terkini, peningkatan prestasi dan memperkenalkan ciri dan penambahbaikan baharu. Untuk mengemas kini kepada versi terkini, log masuk ke papan pemuka WordPress anda, pergi ke halaman Kemas Kini dan klik Kemas Kini Sekarang.
 Adakah wordpress perlu didaftarkan?
Apr 16, 2024 pm 12:07 PM
Adakah wordpress perlu didaftarkan?
Apr 16, 2024 pm 12:07 PM
WordPress memerlukan pendaftaran. Menurut "Langkah Pengurusan Keselamatan Internet" negara saya, tapak web yang menyediakan perkhidmatan maklumat Internet dalam negara mesti mendaftar dengan Pejabat Maklumat Internet wilayah tempatan, termasuk WordPress. Proses pendaftaran termasuk langkah-langkah seperti memilih penyedia perkhidmatan, menyediakan maklumat, menghantar permohonan, menyemak dan menerbitkan, dan mendapatkan nombor pendaftaran. Faedah pemfailan termasuk pematuhan undang-undang, meningkatkan kredibiliti, memenuhi keperluan akses, memastikan akses biasa, dsb. Maklumat pemfailan mestilah benar dan sah, dan mesti dikemas kini dengan kerap selepas pemfailan.
