
这篇文章主要介绍了CSS实现精灵图与字体图标的相关知识,非常不错,具有参考借鉴价值,需要的朋友参考下吧
精灵图:
在以前,每个图片资源都是独立的一张张图片,浏览器访问网站中的不同网页时是重复获取这一张张图片的,这代表需要访问很多次资源。
为了减少资源的访问次数,将多个常用的图片集合到一张图片中(网页的缓存机制是会略去本地已经有的资源,如果前一次获取到了这个资源,那么后面不会再访问了,直到缓存的资源失效了。【意思有点类似去游乐园,有些票能玩所有游戏,而有些票只能玩一个游戏,如果你拿着能玩所有游戏的票,那你就不用麻烦去一次次买票了】)。
将多个常用的图片集合到一张图片中之后,把这个图设置成背景图片,然后利用background-position来显示图片的不同部分。
示例:
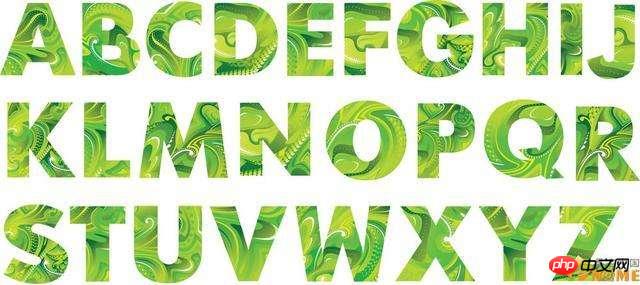
下面是一张26字母表,我们利用这张图来拼出一个GOOGLE
<!DOCTYPE html>
<html>
<head>
<meta charset="UTF-8" />
<title>Document</title>
<style>
p{
display:inline-block;
}
p:first-child{
width:79px;
height: 79px;
background-image:url('abcd.jpg');
background-position:-396px 0;
}
p:nth-child(2){
width:82px;
height: 82px;
background-image:url('abcd.jpg');
background-position:-326px -98px;
}
p:nth-child(3){
width:82px;
height: 82px;
background-image:url('abcd.jpg');
background-position:-326px -98px;
}
p:nth-child(4){
width:79px;
height: 79px;
background-image:url('abcd.jpg');
background-position:-396px 0;
}
p:nth-child(5){
width:48px;
height: 77px;
background-image:url('abcd.jpg');
background-position:-81px -101px;
}
p:nth-child(6){
width:48px;
height: 77px;
background-image:url('abcd.jpg');
background-position:-286px 0;
}
</style>
</head>
<body>
<p></p>
<p></p>
<p></p>
<p></p>
<p></p>
<p></p>
</body>
</html>结果:

如上例所示,我们可以把多张图片放到一张大图中,然后利用background-position就可以截取出我们想要看到的内容.
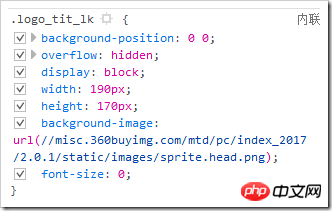
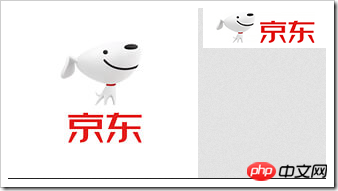
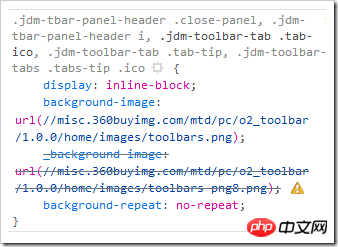
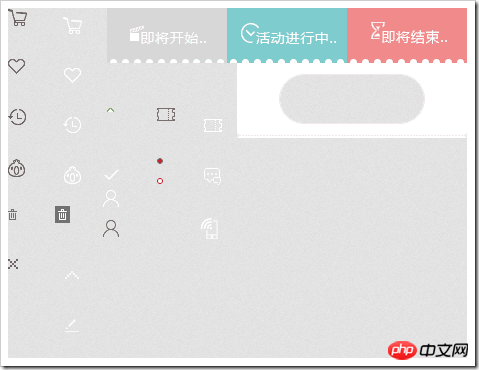
在现实中很多的背景图片都使用了这种技术.
比如京东LOGO:
京东的一些小图标:
字体图标:
众所周知,单位字体的文件大小小于图片的大小,考虑精灵图处理的是一张张图片,有人就有了一个奇思妙想--把图片转换成字体(实际上字体本来就是那么设计下来的。)
转换成字体后,可以使用特殊的代码来显示出指定的图片。
字体图标比精灵图有一个非常明显的好处,因为他是字体,所以它能够改变字体颜色,能改变字体大小(并且不会失真)。
例子:【下面仅演示使用,不演示如何制作字体图标】
我利用icomoon制作了一套字体图标,【icomoon有现成的图标选择】,并下载下来。下面是文件名。
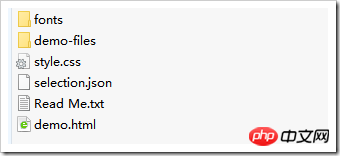
style.css能提供一种使用字体图标的方式
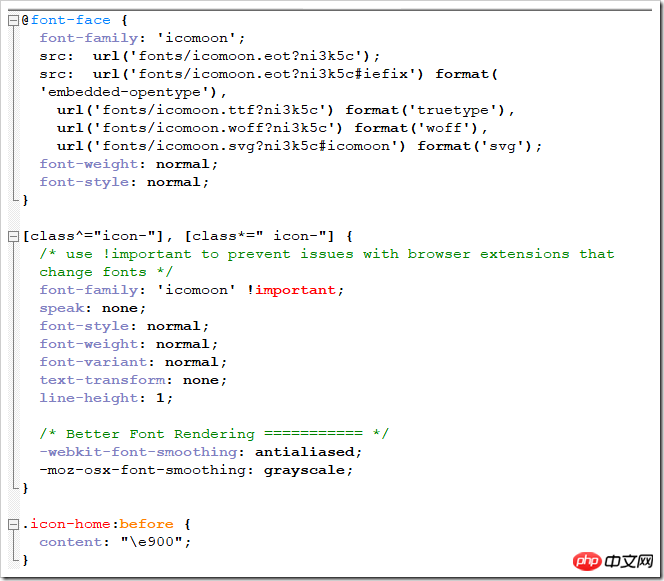
demo.html能提供第二种使用字体图标的方式。

然后使用:
<!DOCTYPE html>
<html>
<head>
<meta charset="UTF-8" />
<title>Document</title>
<style >
/* 声明字体 这下面一堆文字在下载的文件夹中的css文件中*/
@font-face {
font-family: 'icomoon';
src: url('fonts/icomoon.eot?ni3k5c');
src: url('fonts/icomoon.eot?ni3k5c#iefix') format('embedded-opentype'),
url('fonts/icomoon.ttf?ni3k5c') format('truetype'),
url('fonts/icomoon.woff?ni3k5c') format('woff'),
url('fonts/icomoon.svg?ni3k5c#icomoon') format('svg');
font-weight: normal;
font-style: normal;
}
/* 使用 */
[class^="icon-"], [class*=" icon-"] {
/* use !important to prevent issues with browser extensions that change fonts */
font-family: 'icomoon' !important;
speak: none;
font-style: normal;
font-weight: normal;
font-variant: normal;
text-transform: none;
line-height: 1;
/* Better Font Rendering =========== */
-webkit-font-smoothing: antialiased;
-moz-osx-font-smoothing: grayscale;
}
.icon-home:before {
content: "\e900";
}
.icon-image:before {
content: "\e90d";
}
.icon-music:before {
content: "\e911";
}
p{
font-family:'icomoon';/* 要与上面一致 */
}
</style>
</head>
<body>
<p class=".icon-imagee"></p>
<!-- 第一种使用方式:
导入style.css文件,并使用指定图标的类选择器的属性作为对应的class属性值
-->
<p></p> <!-- 第二种使用方式:
对标签进行字体声明,然后打开demo.html复制那个图标下来【左边一个代码,右边一个图标】
-->
<!-- 第一种方法是使用::before来增加,我们也可以使用别的::before方式来添加 -->
</body>
</html>相关推荐:
Atas ialah kandungan terperinci CSS实现精灵图与字体图标. Untuk maklumat lanjut, sila ikut artikel berkaitan lain di laman web China PHP!


