
这篇文章主要介绍了AngularJS实现的锚点楼层跳转功能,涉及AngularJS事件响应实现锚点跳转功能的相关操作技巧,需要的朋友可以参考下
本文实例讲述了AngularJS实现的锚点楼层跳转功能。分享给大家供大家参考,具体如下:
<!DOCTYPE html>
<html ng-app="myApp">
<head>
<meta charset="UTF-8">
<title>anchor</title>
<style>
#wei p{
width:100%;
height:720px;
background: red;
color:#fff;
text-align:center;
line-height: 720px;
margin:20px;
font-size: 80px;
}
#wei ul{
position: fixed;
top:300px;
right:60px;
}
#wei ul li{
width:20px;
display:block;
height:20px;
background: gray;
color:#fff;
text-align:center;
line-height: 20px;
border-radius: 50%;
margin-bottom: 20px;
cursor: pointer;
}
</style>
</head>
<body ng-controller="show">
<p id="wei">
<p ng-repeat="attr in arr" ng-attr-id="p{{attr}}">{{attr}}</p>
<ul><!-- 定义右边的点 -->
<li ng-repeat="attr in arr" ng-click="jump('p'+attr)">{{attr}}</li>
</ul>
</p>
<script src="angular.min.js" type="text/javascript" charset="utf-8"></script>
<script type="text/javascript">
var app = angular.module('myApp',[]);
app.controller('show',['$scope','$location','$anchorScroll',function($scope,$location,$anchorScroll){
$scope.arr=[1,2,3,4,5];
$scope.jump=function(id){
//console.log(id);
$location.hash(id);//添加锚点
$anchorScroll(); //重新定义服务,解决当滑动时点击锚点无作用的bug
}
}]);
</script>
</body>
</html>运行效果如下:
点击锚点2:
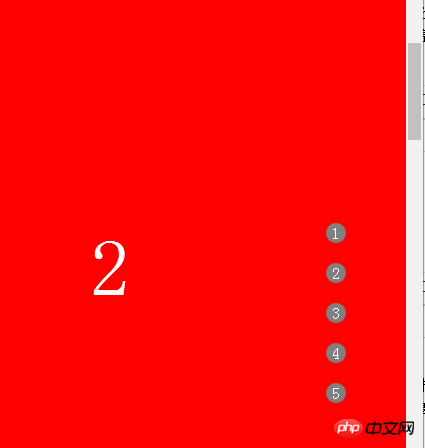
点击锚点3:

上面是我整理给大家的,希望今后会对大家有帮助。
相关文章:
Atas ialah kandungan terperinci 在AngularJS中如何实现跳转功能. Untuk maklumat lanjut, sila ikut artikel berkaitan lain di laman web China PHP!


![[Web front-end] Permulaan pantas Node.js](https://img.php.cn/upload/course/000/000/067/662b5d34ba7c0227.png)


